Create, Schedule, and Preview a Post
Creating and scheduling posts in Emplifi Publisher is an easy process with plenty of options that give you control over the look and feel, and thus the impact, of your content.
When you create a post, you can also use advanced features such as AI Composer and Emplifi Link in Bio.
Create and schedule a post
Steps:
Click Create post.
In the panel that opens, select one or more profiles, then click Use selected profiles.
Create the post’s content using the available tools and options.
 To compose text for your post quickly, we suggest that you use AI Composer.
(Optional) After you upload or create the asset, click Publish asset as and choose the media type from the dropdown menu:
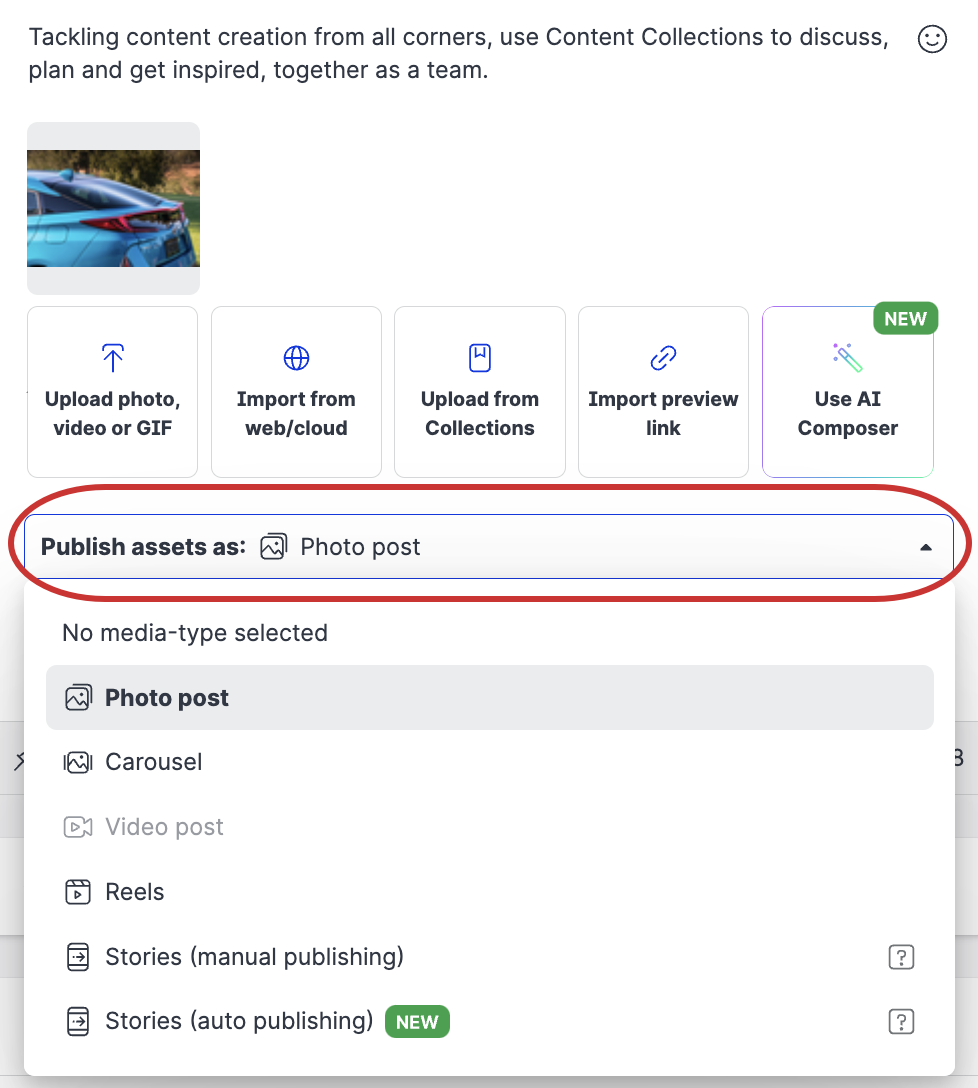 Your options will depend on the selected social network. You will see a notification if the asset is not compatible with the media type. To learn more, see Publishing Formats, Options, and Sizes in Publisher.
If there are any required content label groups, select at least one label from each required group.
Only the users that can see the required content label group must select a label from the group.Review the post’s appearance using the Post preview menu. The post preview is an approximation of what the post will look like on the social channel you are publishing to. There may be differences between the preview in Publisher and the published post once the post goes live.
LinkedIn document posts show only the first page of the document as part of the preview. Page counts are only available for PDF.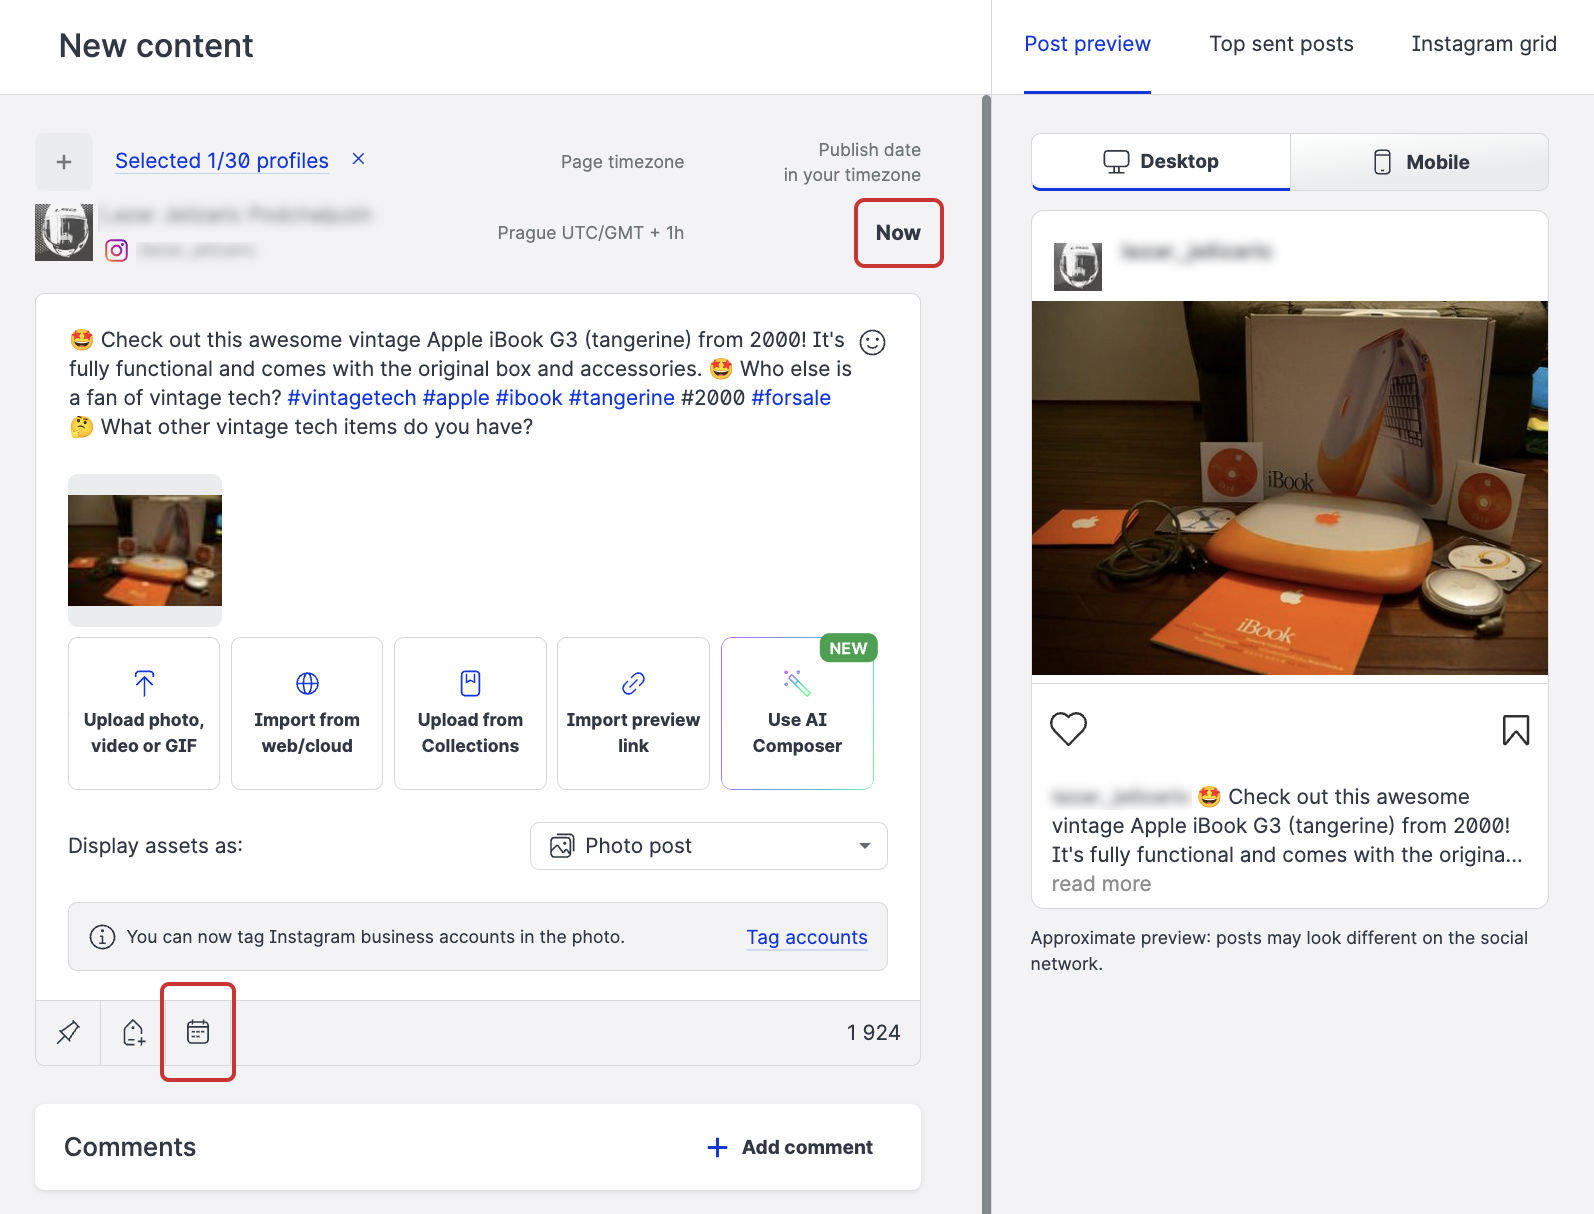
You can now publish or schedule your post.
Click Publish to make the post go live immediately.
Click Now or the Schedule icon to set the date and time for your post.
The scheduling panel opens and you can proceed to step 7.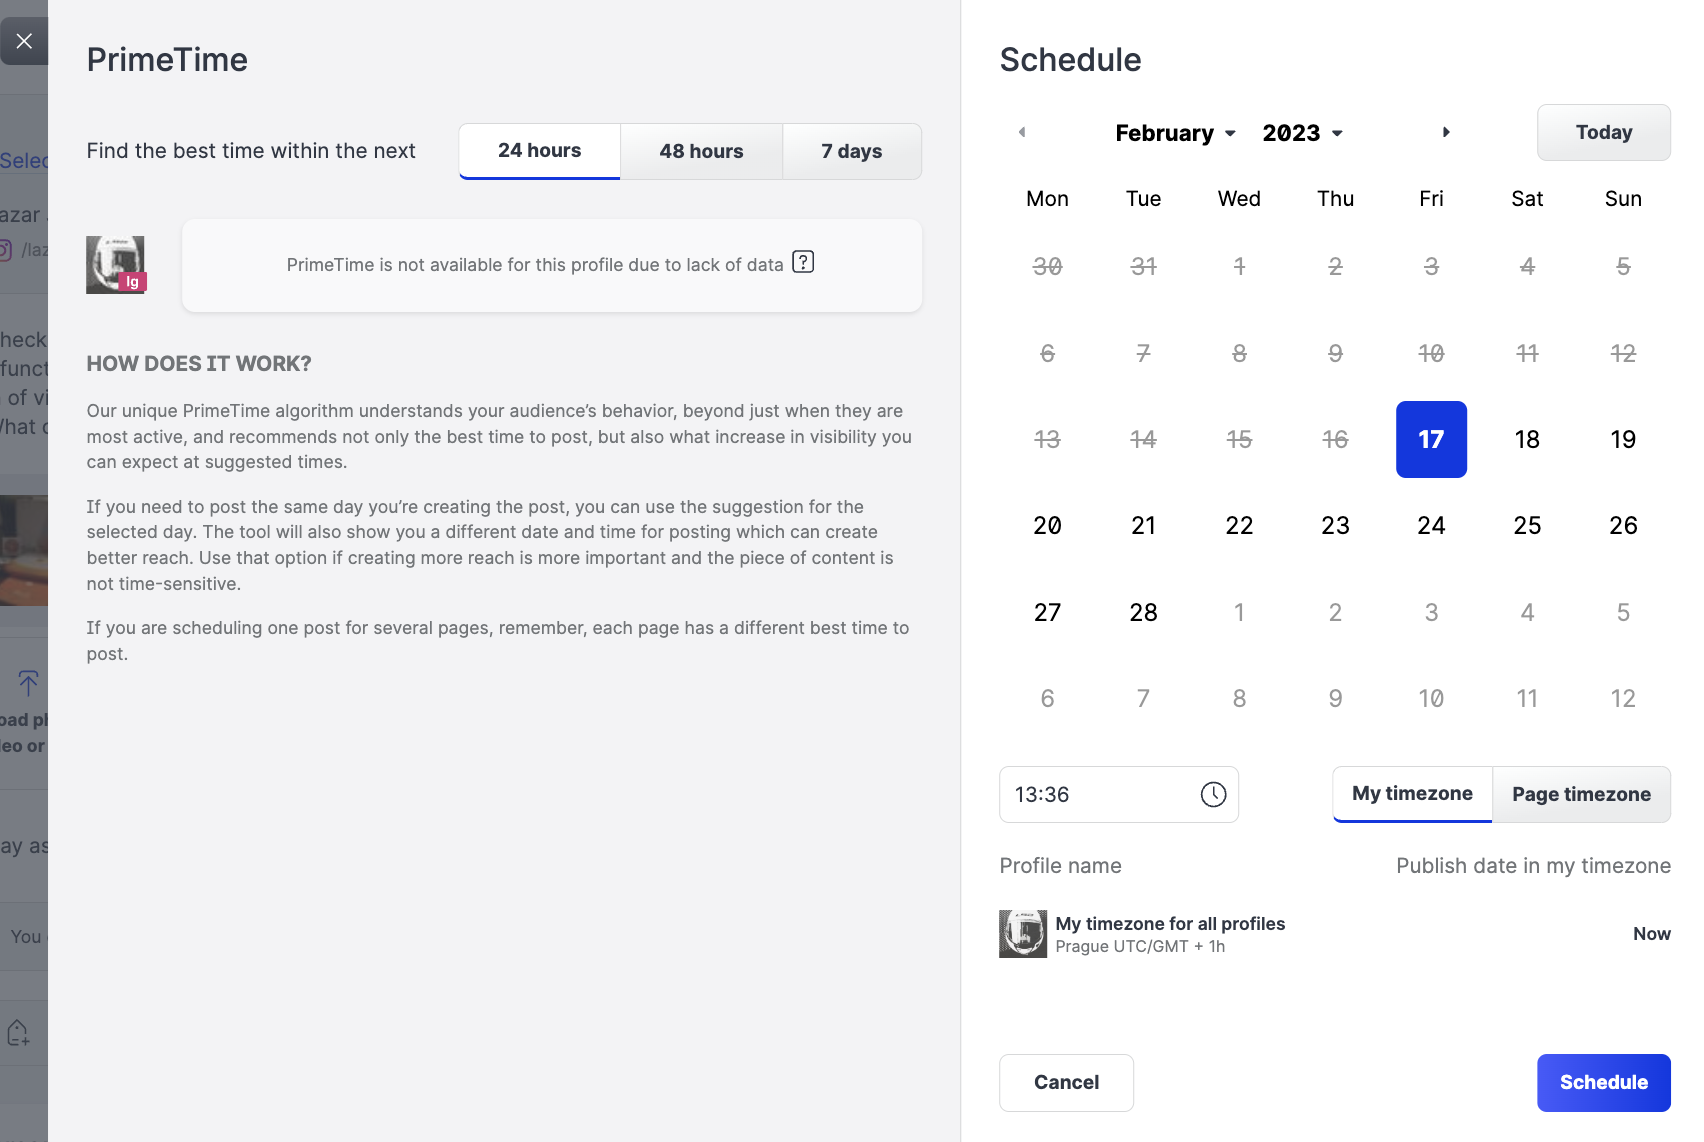
Select the date and the time, then click Schedule.
Back on the New content screen, click Schedule.
Your posts appear in your publishing Calendar.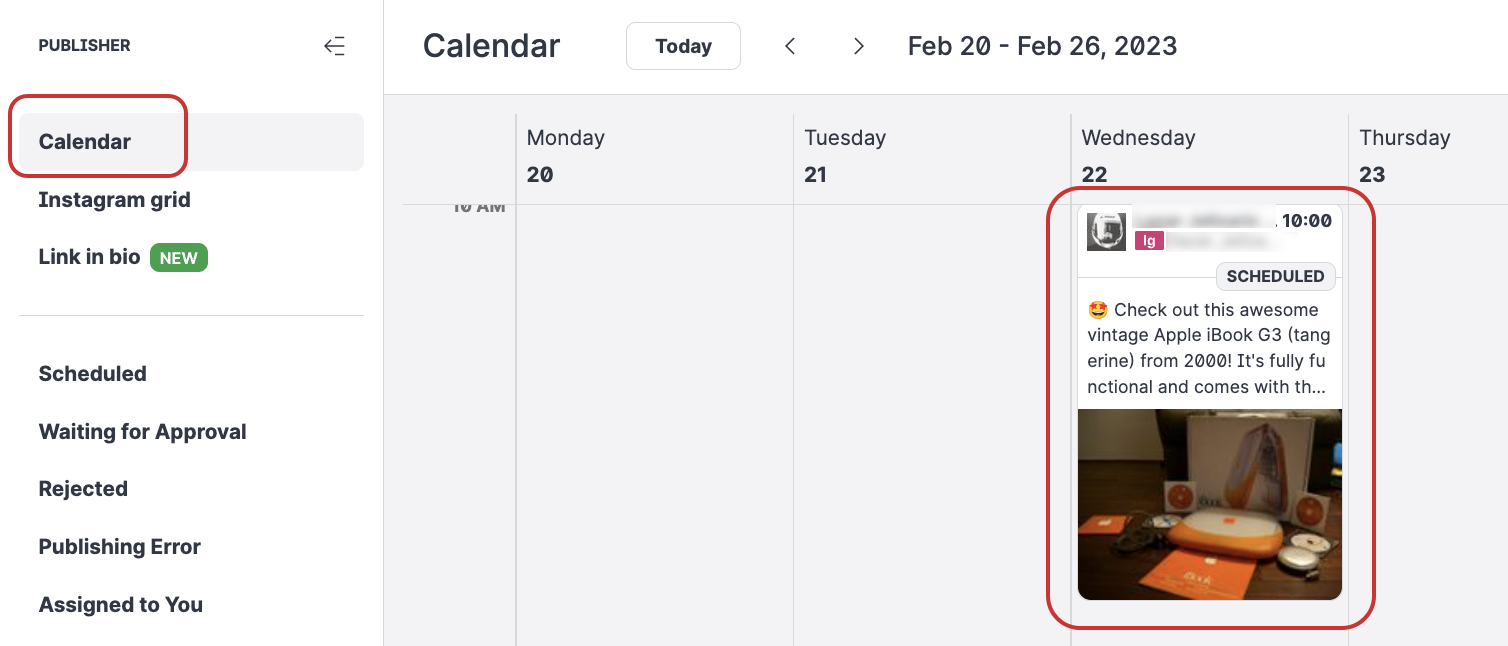
To start again, simply click Clear publisher.
Discover more Publisher features
Content Publishing Workflow in Emplifi Learning
https://vimeo.com/552071688/a6b721440d?share=copy