There are two settings pages that are relevant to bot configuration. Refer to the sections Bot authoring settings, Additional settings, and Company settings below.
Bot authoring settings
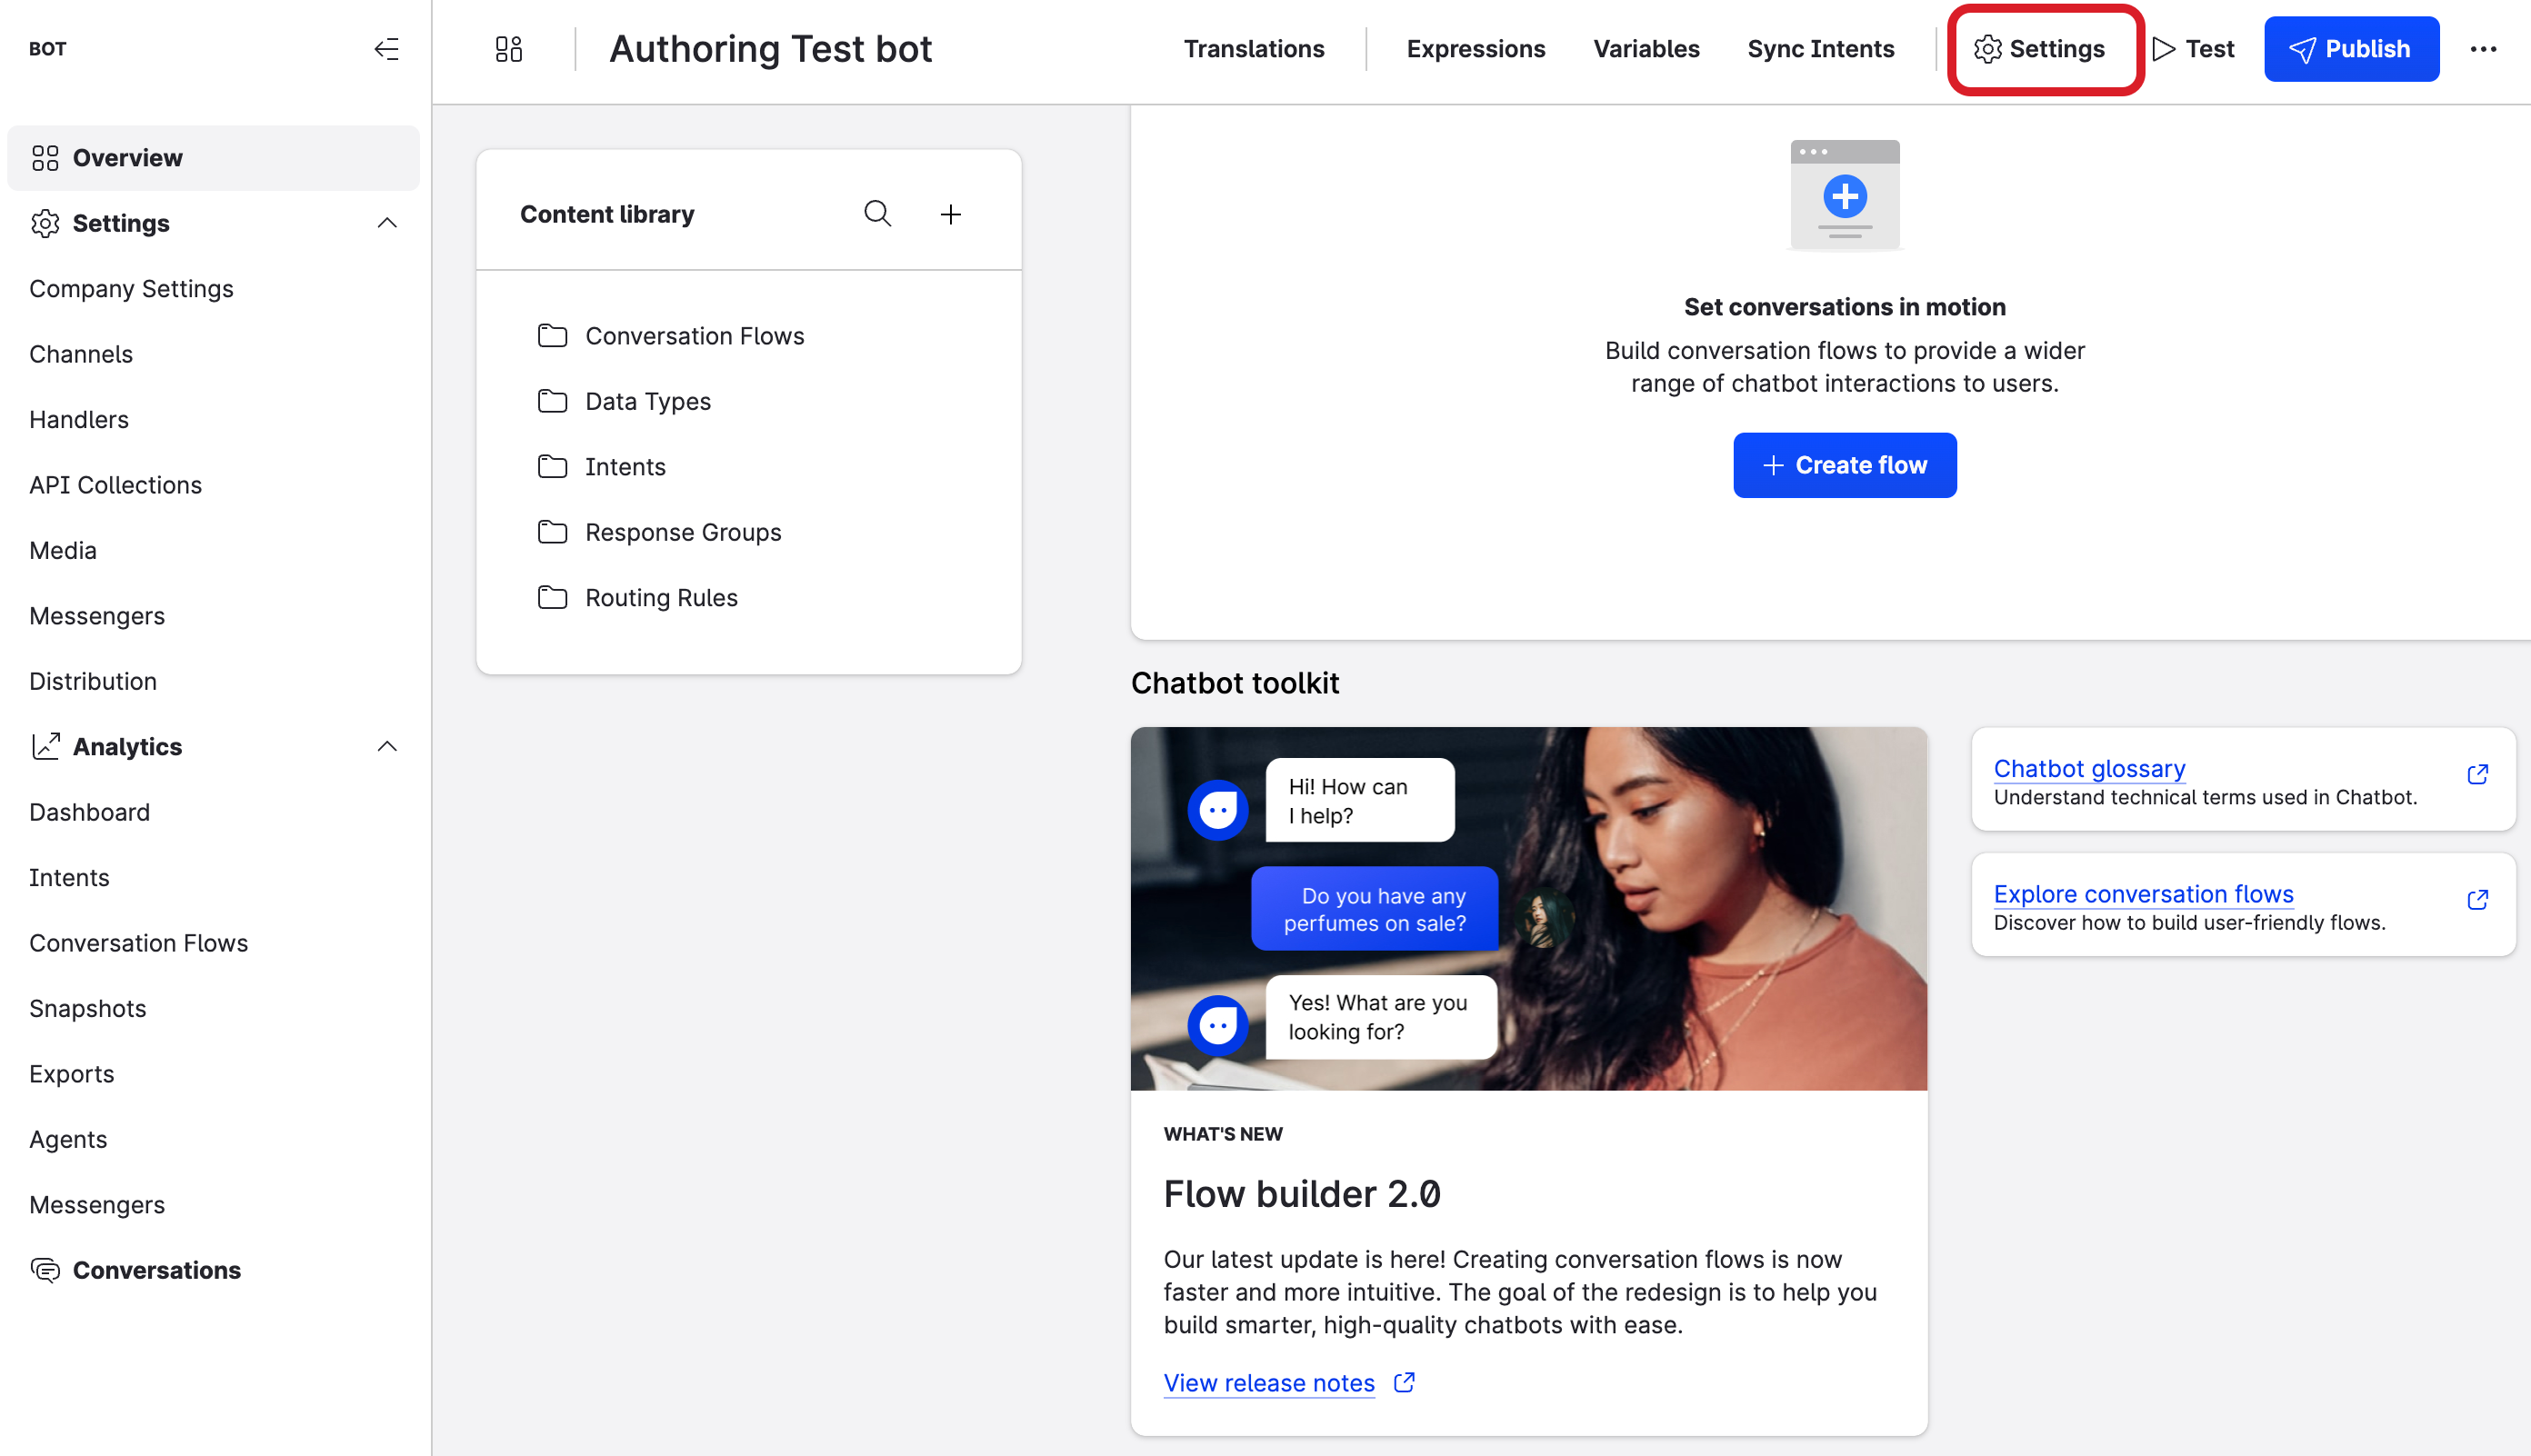
To access your bot settings, open Emplifi Bot. The overview page will show your list of bots. Click on the name of the relevant Bot to open the authoring menu. On the bot authoring page, click Settings in the top-right corner.
The following tabs are available for you to configure:
After you configure any of the settings below, ensure you click Save changes in the bottom-right corner of your screen.
General tab
The General tab allows you to configure several essential features of your bot.
Configure the following:
-
Default conversation flow: Select the conversation flow that the bot should use by default. The default flow will be used if the bot has no other option to give a response to the user's input. For more information, refer to: Conversation Flows.
-
Create conversation break after [xxx] minutes without user activity: Tick the checkbox for the system to automatically generate conversation breaks in the conversation flow. Enter the number of minutes that a conversation is permitted to have no response before adding the conversation break. This is used for calculating the bot containment metrics.
-
Force initial contact event after conversation break: An "Initial contact event" treats a post-break conversation as a customer's first interaction, useful for social channels or first-time routing rules. Tick the checkbox to enable it.
-
Use language translation V2: This activates the Translation V2 beta feature. We recommend reading through the following articles before enabling this feature: Language Translations V2.
Intents tab
The Intents tab allows you to configure your bot's intent and fulfilment settings, in addition to some optional settings related to intent feedback.
Configure the following:
-
Default intent handler: The default intent handler used to identify intents expressed in user conversations with your Bot. You must have a handler configured in order to use this feature.
-
Default fulfillment handler: The default fulfilment handler used by your bot to fulfil or otherwise take actions when an expressed intent is identified. This is typically the same handler as your intent handler.
-
Disable sending postback messages to Intent handlers: A global setting to avoid sending the postback messages contained within interactive elements (quick replies, carousel buttons etc) to intent handlers (used to reduce confusion between intent identification and remove postback inclusion in Bot analytics).
-
Intent match confirmation: An optional setting allowing the Bot to ask a user to confirm that their expressed utterance was matched to the correct intent (we advise careful consideration before using).
-
Intent feedback: An optional setting allowing users to react via emojis to provide feedback on intent matches and provided content. Not available for all channels.
-
Use Simple Intent Engine: Allows users to enable the new Simple Intent Engine Beta (coming soon). For more information, refer to: Enabling the Simple Intent Engine.
Channels tab
The Channels tab allows you to set up channel-specific configurations and optional elements.
Configure the following:
-
Chatbot language: Allows users to select the language variant they are editing for the below, optional features. Note that this is not available on all channels.
-
Get started button: Allows a default "get started" button prompt to be shown to users on supported channels during their first interaction with a bot. This is a simple way to ensure that users on these channels always pass a "Get Started" event to the bot as their first interaction, which makes it easier to create greeting/intro logic. The button is supported on: Webchat, Facebook Messenger, App (embedded webchat).
-
To enable the get started button, switch the slider on.
-
To change the label (otherwise known as displayed text), click on the textbox and enter a new label.
-
-
Persistent Menu: This allows you to configure up to three persistent menu buttons that appear in a collapsible “hamburger” menu next to the message input box on Webchat and Facebook channels. The buttons can be configured to send a specific payload to the bot in order to trigger configured logic actions, or to take the user to an external website.
-
To add an item to the persistent menu, click + Add button. Configure the following:
-
Button label: Enter a name for the button.
-
Action type: To have the item trigger an event in the bot, choose "Postback"; to have the item send the user to a website, choose "URL".
-
Action value: If you selected the "Postback" type, enter the text that triggers the event; if you selected the "URL" type, enter a URL address.
-
-
-
SMS message filtering: This allows you to filter out duplicate user messages that can occasionally occur when the user is sending SMS messages under poor network conditions.
-
To enable this feature, tick the checkbox.
-
To configure this feature, use the + and - buttons to adjust the time range in milliseconds.
-
-
SMS stop message: This allows you to provide users with the option to opt-out of further messages from your bot.
-
To enable this feature, switch the slider on.
-
Fill in the textbox with your preferred stop message.
-
To have the message sent repeatedly, tick the checkbox beside Send every XX days and adjust the time period according to your preferences
-
This feature is only available for SMS channels.
Business hours tab
The business hours tab allows you to configure the hours of operation for the live agents who manage the bot's escalated conversations.
-
Timezone: Use the drop-down menu to set the time zone that you would like your bot to operate in.
-
Business Hours: Configure the times when your live agents are available to manage the bot's escalated conversations.
-
Switch the slider on to enable the feature.
-
In the relevant day’s panel, use the slider to turn the day’s business hours on.
-
Adjust the Start time and End time accordingly.
-
Optionally, click + to add second start and end times.
-
To copy the time intervals of the selected day to every day, click the Copy button.
-
-
Holiday Hours: Configure dates with altered hours of operation or dates when live agents are unavailable.
-
Switch the slider on to enable the feature.
-
Click the + Add Holiday button.
-
Configure the date and optional working hours.
-
Additional settings
Some additional settings are available in the menu next to the Publish button.
Click the ellipses button (…) and select one of the following:
Version history
The Version history displays a history of your bot's previous versions, beginning with the initial version. For each version, you have the following options:
-
View version changes: Click the i icon to view an in-depth history of the changes that have been made to your bot.
-
Restore this version: Click the arrow icon replace the current version of your bot with the version you have selected. A dialog window appears to verify that you want to publish the selected version. Click Publish bot version to confirm.
-
Duplicate as a new chatbot: Click the copy icon to create a new bot from the selected version of your bot. Enter the company and bot name, then click Clone bot.
User access
User access allows an administrator to specify the users who have access to the selected bot. When permissions are restricted, this limits a user’s ability to view or edit a bot and any of its metrics, analytics, or conversations.
-
Limit user access: By default, the Limit user access slider is disabled (OFF), meaning that there are no restrictions on which users can view or edit the bot (depending on other permissions). Clicking the Limit user access slider to ON allows an administrator to add users to the list of who can access the selected bot.
-
+ Add users: Click this button to add users to the list of those who have access to the selected bot. A Select User window will display for you to search for a specific user or to choose from the list. Click the Add button to give the user permission to view and edit the bot. Added users can later be removed.
Company settings
Company Settings is where administrators configure and manage global settings related to Emplifi Bot.
To access your company settings, open Emplifi Bot and click Settings → Company Settings.
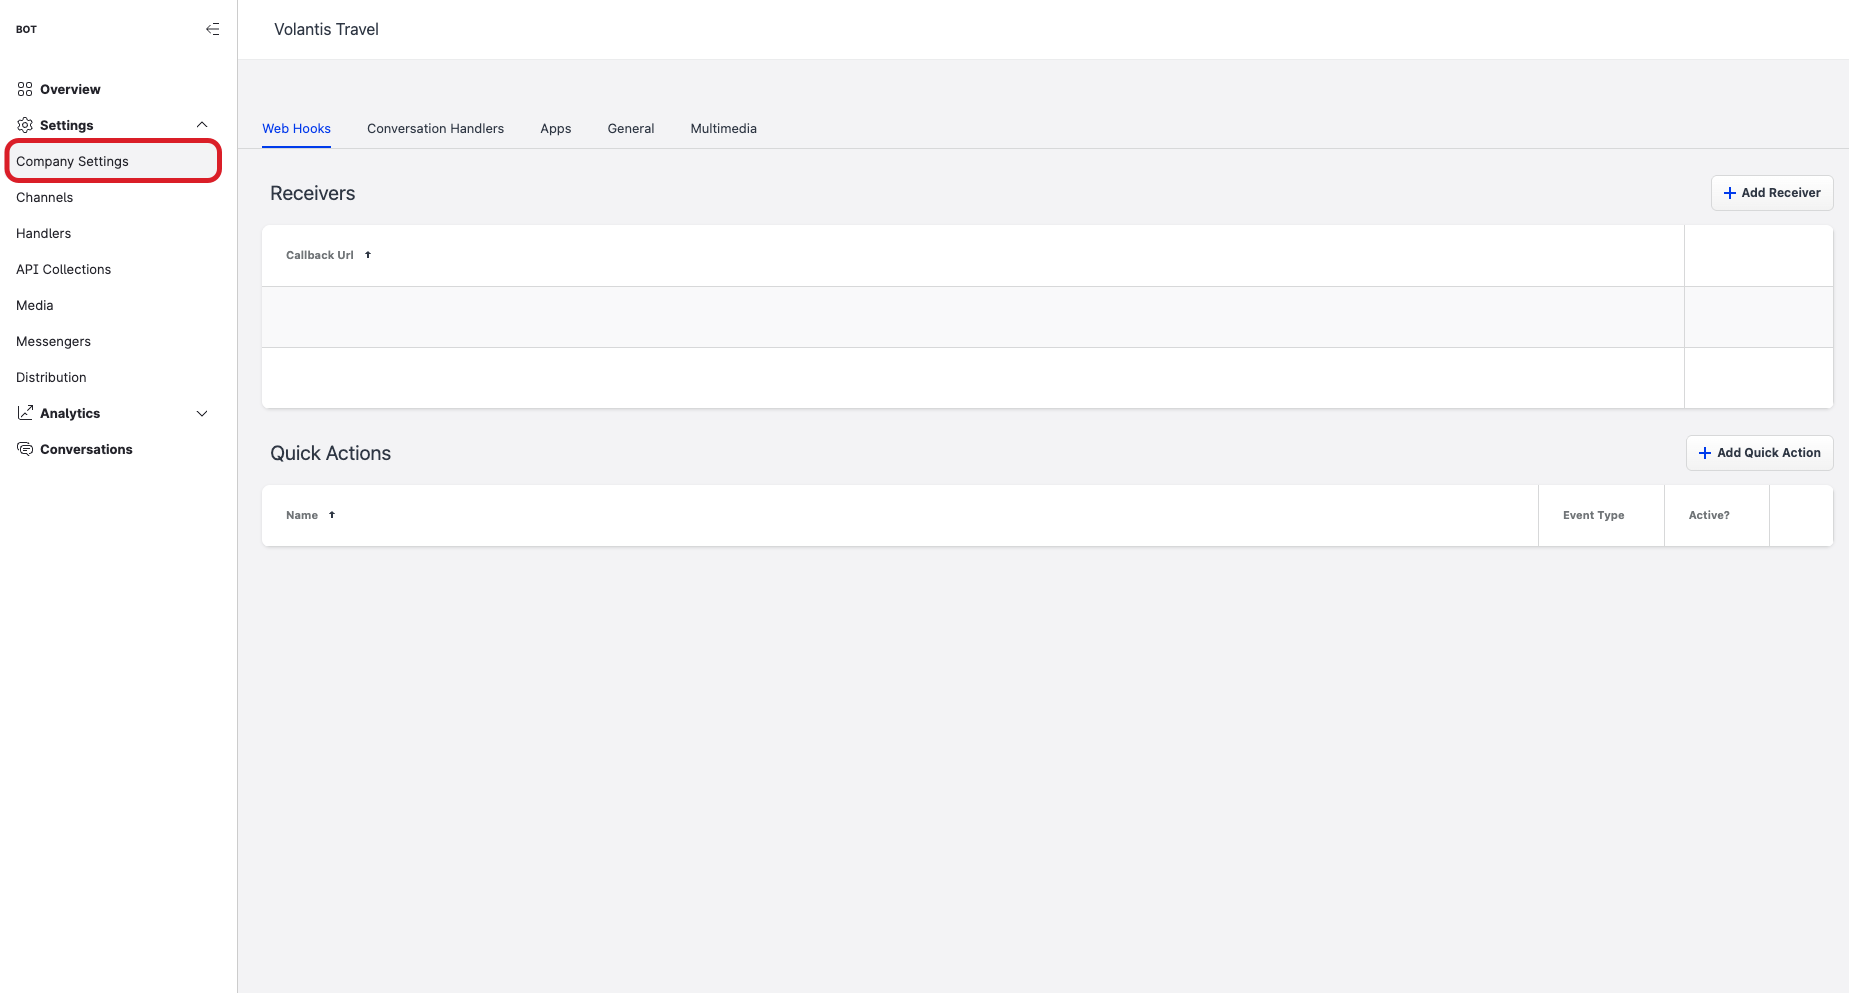
The following tabs are available for administrators to configure:
-
Web Hooks: On this tab, you can add and manage the web hooks to be used by your bots. This function is now performed through application programming interfaces (APIs).
-
Conversation Handlers: This tab allows configuration of conversation handlers for intent and fulfillment purposes. While this functionality exists, we recommend you manage conversation handlers via the Authoring Settings menu. For more information, refer to: Conversation Handlers.
-
Apps: On this tab, you can add and manage the applications associated with your bots. For more information, refer to: Apps.
-
General: On this tab, you can configure general settings, such as your location and password settings. While this functionality exists, we recommend managing user and password details via the Emplifi suite settings. For more information, refer to: Settings.
-
Multimedia: On this tab, you can configure the audio/video chat feature for your bots. For more information, refer to: Multimedia.
All settings are described in greater detail in the following sections: