Dashboard templates
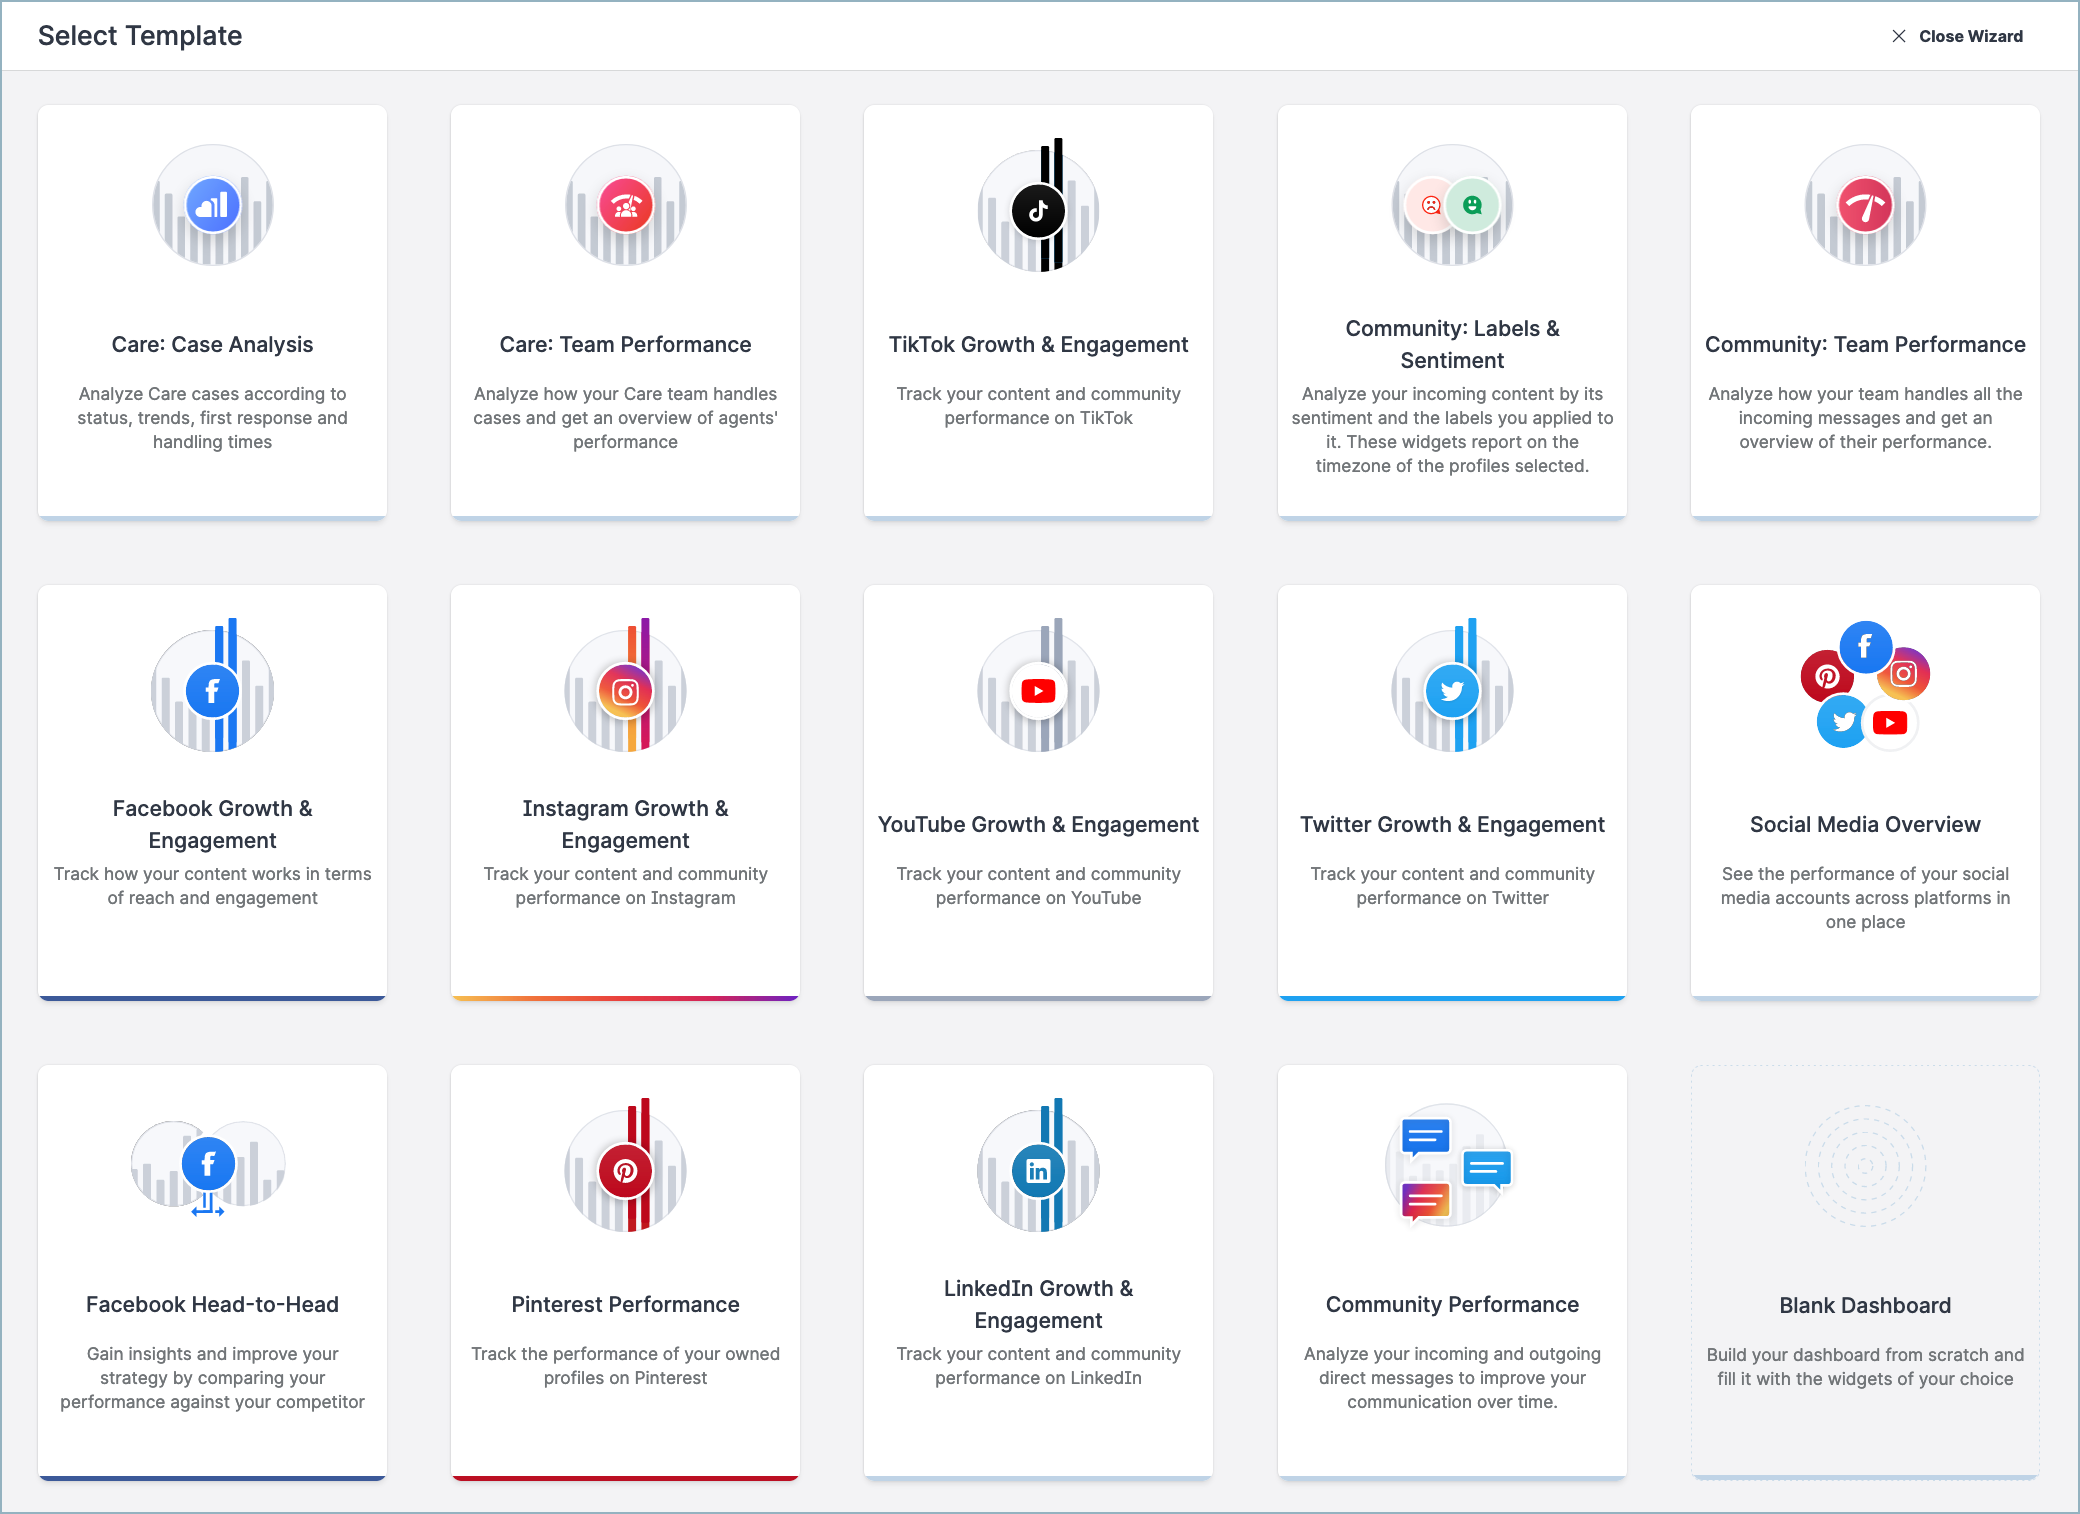
Generating clear and fully personalized reports within seconds is easy with the Dashboard module. To get started, you can select one of the following predefined templates:
-
Social Media Overview
Analyze your performance across social media platforms. -
Facebook Head-to-Head
Compare your Facebook performance against your competitors'. -
Facebook Growth & Engagement
Track your content and community performance on Facebook. -
Instagram Growth & Engagement
Track your content and community performance on Instagram. -
LinkedIn Growth & Engagement
Track your content and community performance on LinkedIn. -
Pinterest Performance
Track your content and community performance on Pinterest. -
TikTok Growth & Engagement
Track your content and community performance on TikTok. -
Twitter Growth & Engagement
Track your content and community performance on X (formerly Twitter). -
YouTube Growth & Engagement
Track your content and community performance on YouTube.
Dashboard also offers a few module-specific templates for Community (see Community) and Care (see Care).
Generate a dashboard from a template
Steps:
-
Go to Dashboard.
-
Click Add -> Dashboard.
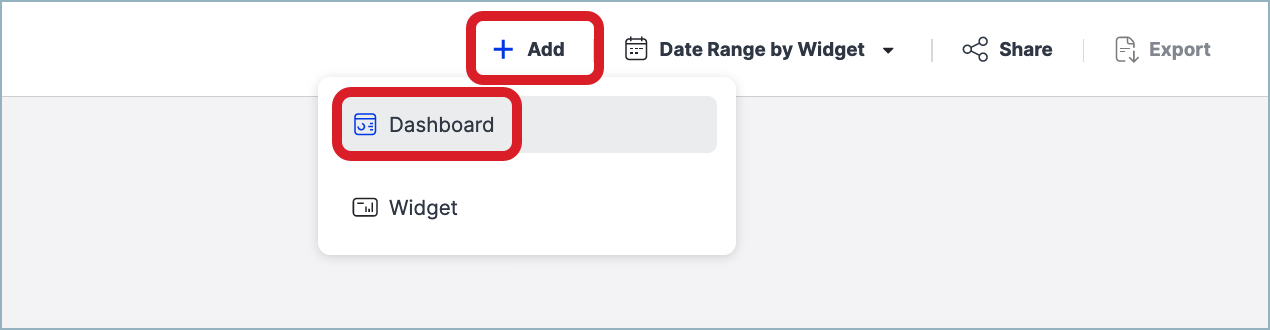
You are asked to choose a dashboard template or to start building a dashboard from scratch.
-
Choose one of the templates.
A new dashboard is generated from the template and populated with your data. -
(Optional) Rename the dashboard and/or set up the default date range for the dashboard widgets.
-
Click Create Dashboard.
The generated dashboard is saved and appears under My dashboards in the left panel.
By default, a newly created dashboard is available to you only. You can grant other team members access to the dashboard or export it to PDF and share the generated file (see Share and Export a Dashboard).
At any time later, you can update the dashboard by adding and deleting individual widgets (see Add and Remove a Widget from Dashboard).