Before connecting Facebook or Instagram Insights data - or managing publishing permissions for both - there are a few things to consider first. The most important one is the Facebook Page Role.
This guide will show you how to check a user's Page Role for any Facebook Page you own. It will also cover which roles a user needs in order to connect any of the Data Connections available with Emplifi.
How to check your Page Role on Facebook:
-
Log in to your Facebook Profile
-
Press the Pages button near the top left corner of your profile
-
From the list of managed pages, click the correct FB Page. You’ll be redirected to that Facebook Page
-
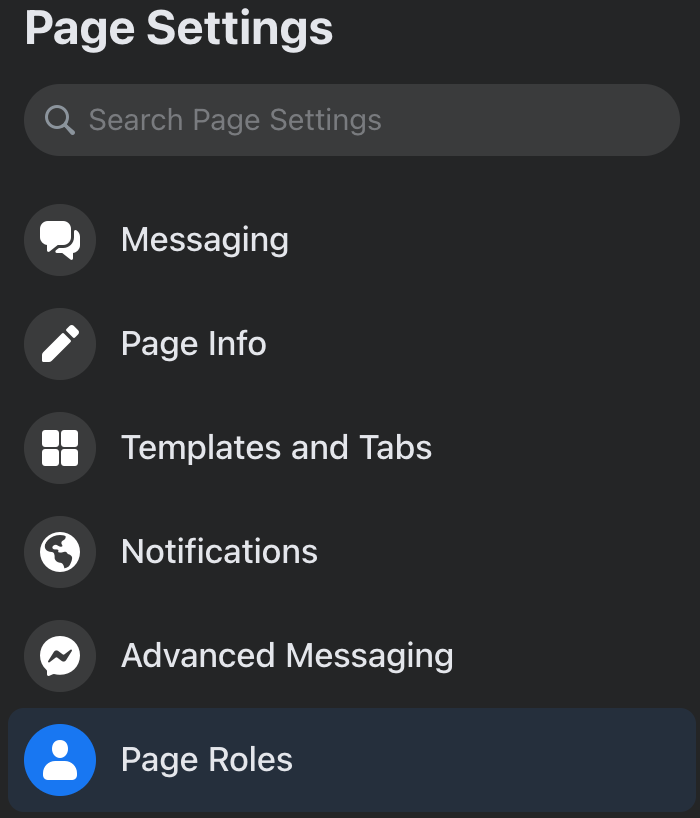
Press Settings under the Manage Page menu, you can find this menu at the left side of the page
-
Go to Page Roles.
-
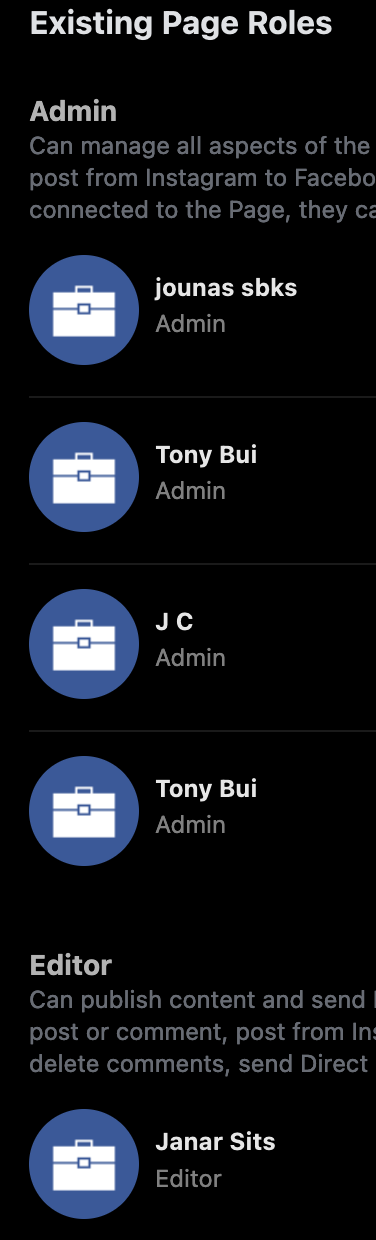
Depending on your page role, you will be able to see all the users and their assigned roles;
-
Check for your FB Profile name under the Users list. Your Page Role will be displayed under it.
Which Page Roles allow data connections with Emplifi?
For each Facebook or Instagram page, you want to connect to Emplifi Suite, you'll need to confirm whether the Page Role that is assigned will grant you the permissions to successfully connect with our platform.
The below will clarify which Page Roles allow the different data connections available:
-
Facebook & Instagram Insights
In order to connect Facebook Insights to Emplifi Suite, the Page Role of the user trying to grant us the token should include the 'view Insights' permission, which is accessible for Admin, Editor, Moderator, Advertiser, Analyst, Jobs Manager and Custom (addressed at the end of this list).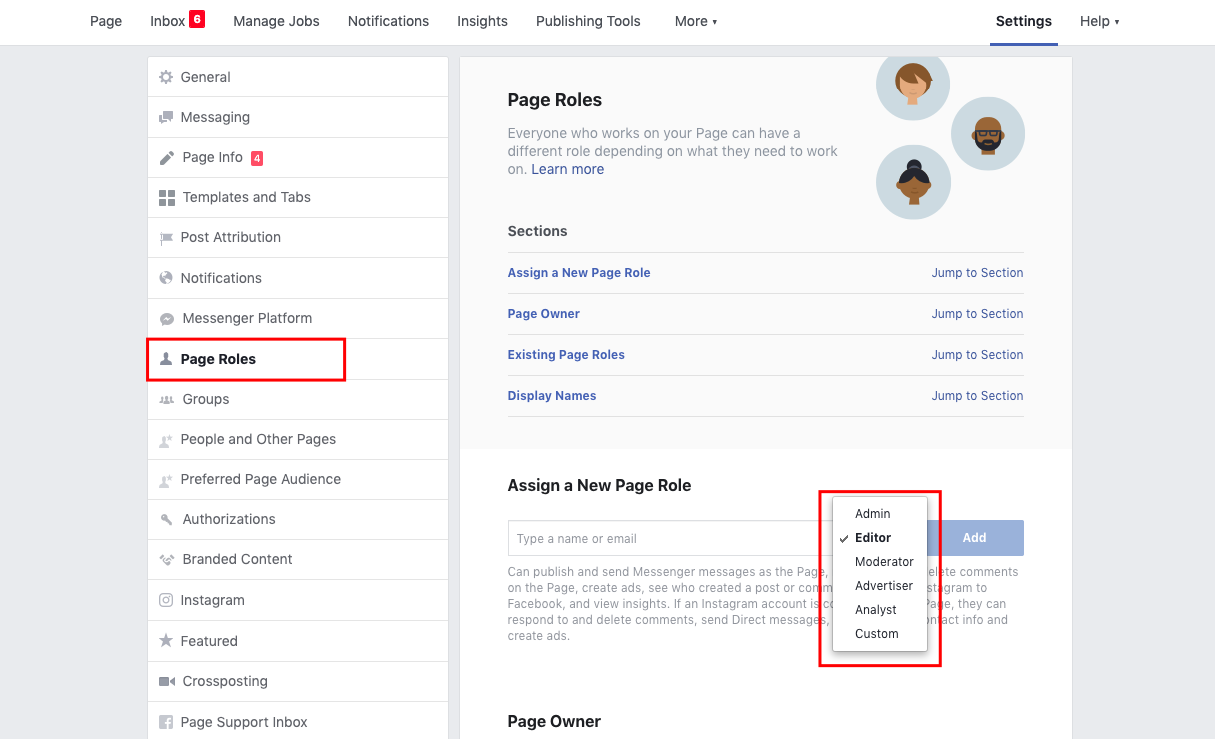
-
Facebook & Instagram Publishing
For connecting your Publishing Permissions for Facebook pages in the platform the role of the user on Facebook should be either Admin or Editor. -
Custom Roles
Custom Roles are granted from the Facebook Business Settings (different from the Facebook Settings shown in this guide so far!).
When trying to assign a Custom Page Role to a user, you will be advised to go to the Business Manager, as you can read in the text under the user name. Check the image below for reference: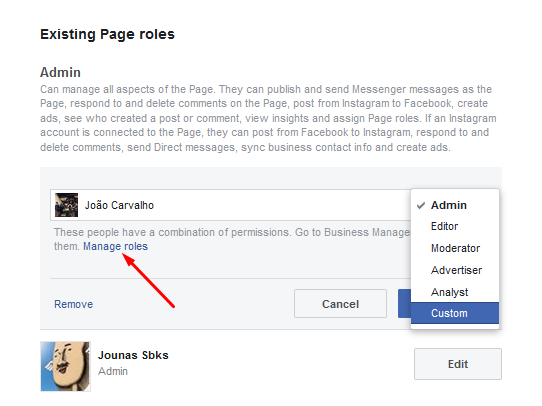
After pressing the ‘Manage Roles’ link, you will be redirected to the Facebook Business Manager Platform.
You can find the Official Facebook Business Manager help page here.When granting a new page role from the Facebook Business Settings, and specifically for the “View Earnings Insights” + “View Page performance Permissions” (this one will activate automatically after the first is toggled on):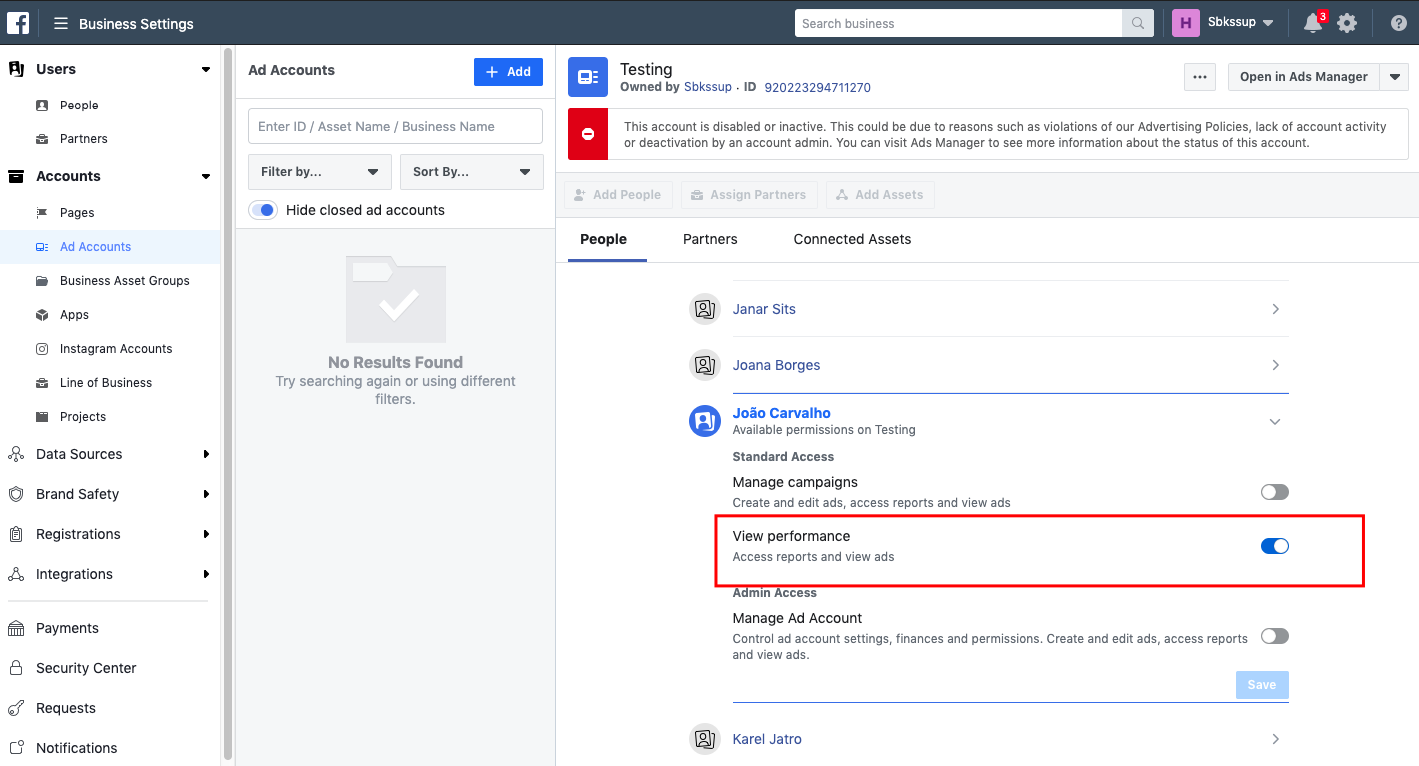
A new Custom Page Role will be created/assigned on the Facebook Page - Page Roles for the user: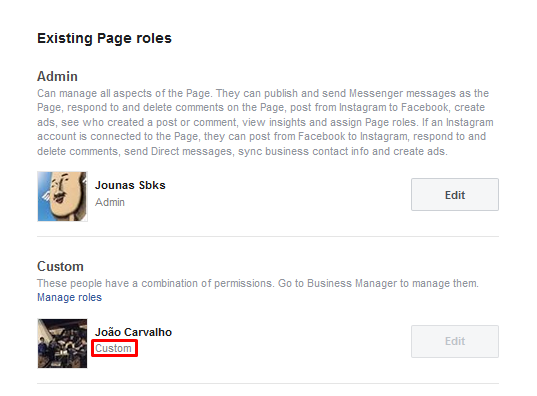
In our example, we consider the Custom role as described above.
The table below will simplify which page roles a user needs to successfully connect the Insights or Publishing Permissions with Emplifi:
-
Facebook & Instagram Ads
Ads Accounts have a completely different set of Profile Roles, granted through the Facebook Business Manager, under Accounts --> Ad Accounts → Testing (Ad Account Name from this example).In order to successfully connect Facebook Ad Accounts with Emplifi, the user needs to make sure he/she, at least, has the ‘View performance’ Permission:Check how to add people and the corresponding Roles to your Ad Account here.
If you’re ready to start adding your pages and respective data connections, feel free to check our other guides! Access below: