When you create a dashboard, it is visible only to you by default. When your dashboard is ready, you can share it with selected or all members of your account.
To share the dashboard with an external audience, you can simply export it multiple formats.
When you share a dashboard, the viewers will see exactly what you, the original user, see with your level of profile and account role permissions.
In other words, when viewing a shared dashboard, viewers will see visualizations of data from profiles they might not have access to.
Share a dashboard
To share a private dashboard:
-
Open a private dashboard that you want to share.
-
In the top-right corner, click Share. An option panel appears.
-
Continue with one of the following options:
-
Switch the slider next to the Anyone at <your account> can view this dashboard to ON (blue).
-
Select user groups and/or individual users that you want to share the dashboard with. For more information about user groups, refer to: Organize Users into User Groups.
-
-
Depending on your selection in step 3, click Save or Share with __ Users.
The dashboard is shared.
Email and schedule when you share a dashboard
To share a dashboard outside your account (company):
-
Open a private dashboard you want to share.
-
In the top-right corner, click Export. An option panel appears.
-
Continue with one of the following options:
-
Click PPTX, XLSX, or PDF to download a file in the given format to your computer.
-
Click Email the Report to send a copy of the dashboard in one of the above-mentioned formats to an email address.
-
Click Schedule the Report to schedule the time and the frequency when you email the dashboard.
-
When scheduling a report, you can configure the following:
-
The format of the file to email
-
The recipient addresses
-
Frequency
-
Daily
-
Weekly (select the day of the week)
-
Monthly (select the day of the month - first, last, or anything in between)
-
Quarterly (the first day of a calendar quarter at 7 am; for example, Jan 01, 2023, at 07:00)
-
-
Time (defaults to 8 am)
-
Time zone
-
The name of the report
-
A personal note
Modify or delete a scheduled report
To modify or delete a scheduled report:
-
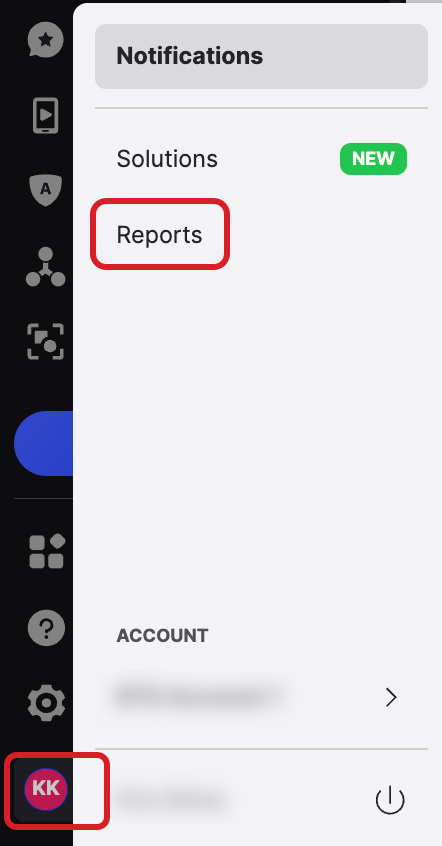
Click your initials in the bottom left corner of the Emplifi platform.
-
Click Reports.
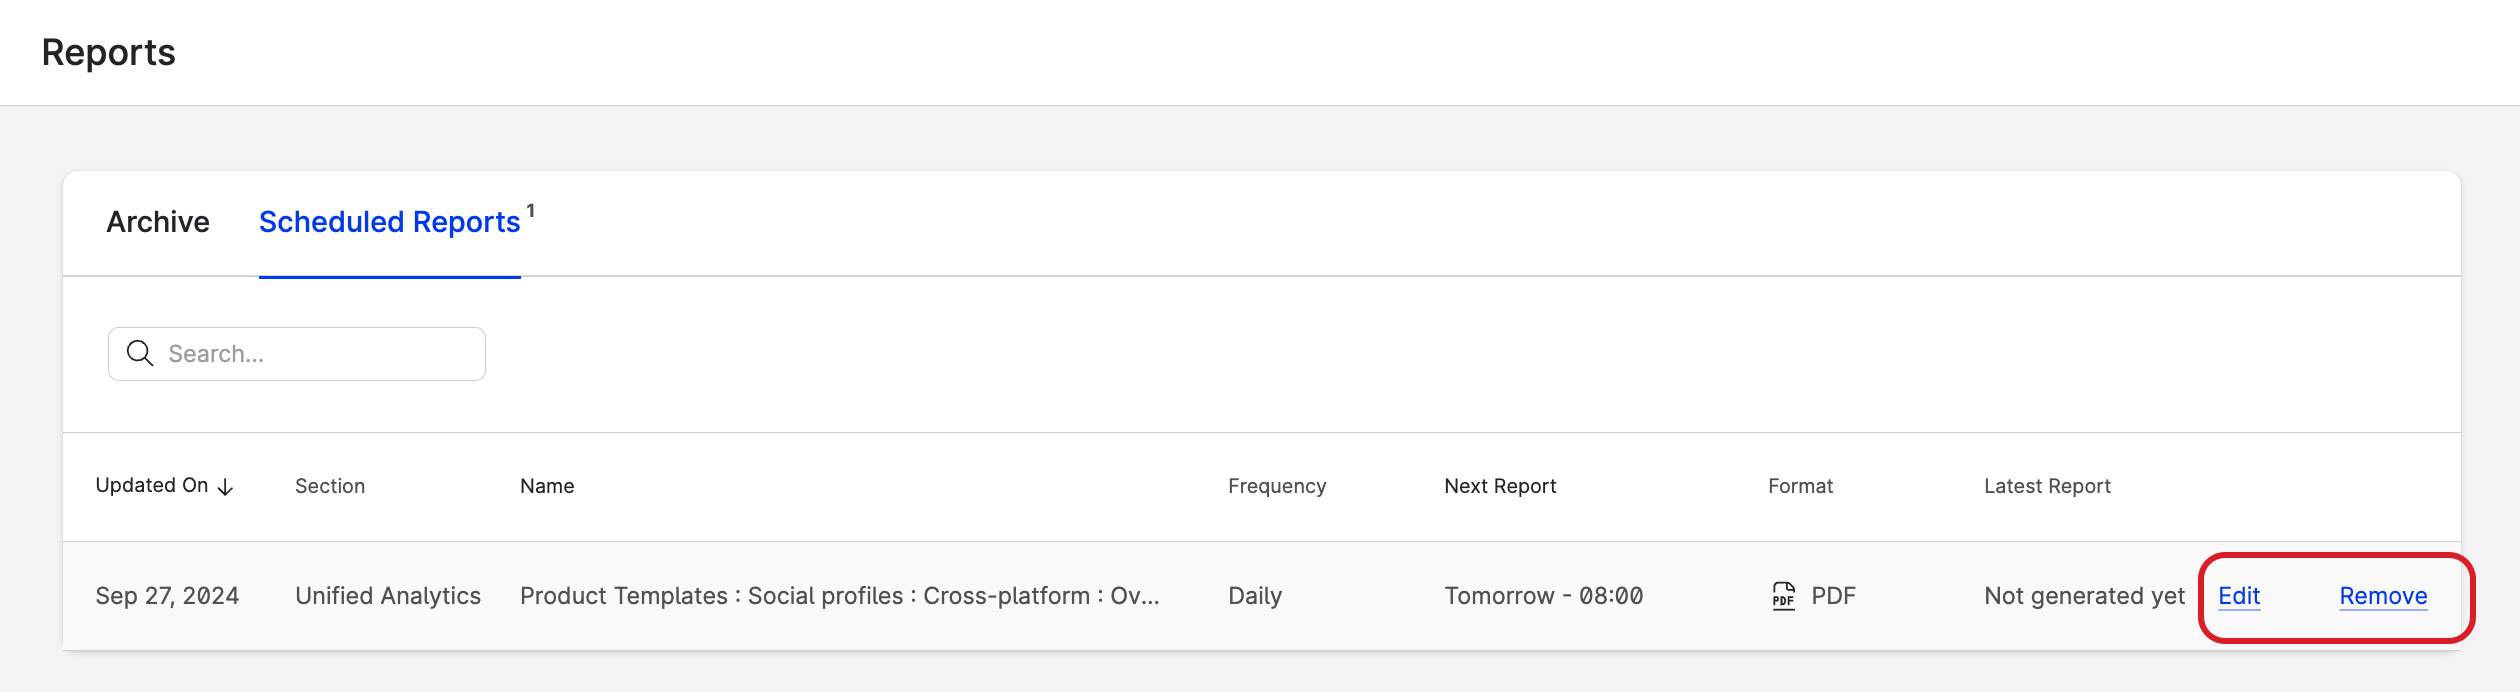
-
Find the report that you want to modify or delete and click Edit or Remove.
-
On the screen that opens, you can modify the following parameters:
-
format
-
addressee
-
personal note
-
frequency
-
name
-
-
Click Save.
You cannot change the scope (boards) of the scheduled report. If you want to modify the board that you scheduled, delete the scheduled report, modify the board and create a new schedule.
Timezone of a shared dashboard
When you share your dashboard, it inherits the timezone settings from your profile. This has three implications.
In the following scenarios, we assume that your timezone is GMT.
-
If you share your dashboard with a user in New York, they will see data processed as per your timezone.
-
If someone in Japan shares their dashboard with you, you will look at the data as they’d be viewed and processed in Tokyo.
-
If you share a dashboard created by a user in San Francisco, whoever looks at the dashboard will see data as if they were in San Francisco.