On the Bot Authoring page, you can create data types to configure how data from user messages in bot conversations is detected and stored in the Bot system. A data type consists of a reference value, which is a definable category into which elements of a user message may fall.
Data types can also include synonyms, which are the terms associated with a specific reference value whose occurrence in a user message is treated as an occurrence of the reference value. Data types function in the context of an intent. When a user message matches an intent, data types can be used to extract specific data points from their message. Once a data type has been created, it must be linked to an intent in order for it become fully functional. For more information, see Intents.
Example
Suppose you've created an intent that recognizes when a user wants to buy a pair of shoes, and you've built out this intent with statements like "I want to buy some shoes" or "I'm looking for boots." However, the user might also specify certain attributes of the shoes, like "I want a pair of high-top sneakers in red." By creating data types for the color and type of shoe and assigning them to phrases within an intent, Bot can extract these specific values so that they user doesn't have to be asked for them later in the process.
Note: Data types are unavailable on the Social Chatbot interface.
Authoring data types
Accessing the Bot authoring page
-
On the Bots page, find the card with the name of the bot that you want to author content for.
-
On the bot card, click the Authoring button.
Adding a new data type
-
From the Library section of the Bot Authoring page, click the Add button either in the upper right corner of the Library or next to the folder that you would like to add the data type to.
If there is a folder titled "Data Types" in your library, using the upper Add button will automatically store the new data type in that folder (if no such folder exists, the new data type will be stored in the general Library). Alternatively, using the Add button next to a specific folder's name will store the data type in that folder.
-
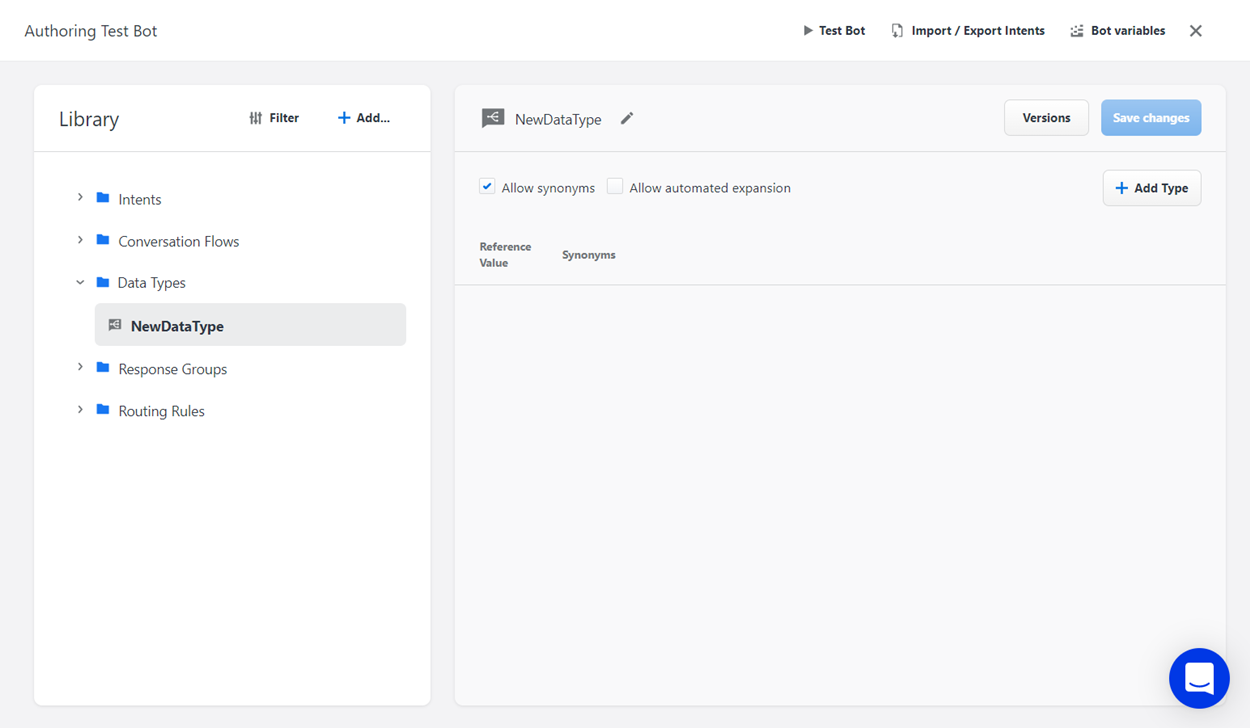
From the drop-down menu, select Data Type. The settings for the new data type display in the Authoring Area.
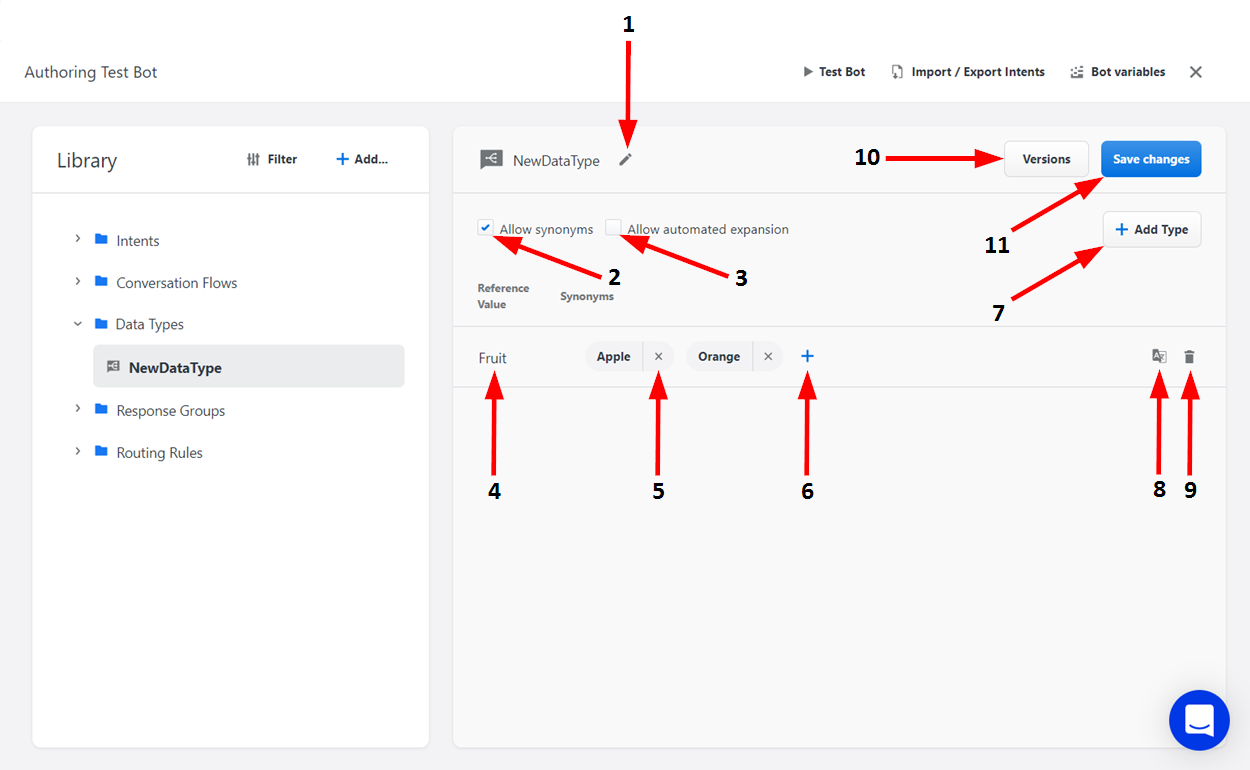
Configuring data types
|
Number |
Name |
Description |
|---|---|---|
|
1 |
Rename |
Click here to enter a new name for the data type. When you are finished typing, click Enter to save the name. |
|
2 |
Allow Synonyms |
Select this checkbox to enable the addition of synonyms to the data type's reference values. When the terms that you define as synonyms occur in a bot conversation, they are treated as occurrences of their corresponding reference value. |
|
3 |
Allow Automated Expansion |
Select this checkbox to have the Bot system automatically add new values from the user's messages that it has determined are similar to the data type's existing values. |
|
4 |
Add Value |
Click here to define the type of data that is pulled from user messages in a bot conversation. When you are finished typing, click Enter to save the value. |
|
5 |
Delete Synonym |
Click here to delete an existing synonym from the reference value. |
|
6 |
Add Synonym |
Click here to add a synonym to the reference value. When a synonym occurs in a bot conversation, it is treated as an occurrence of the corresponding reference value. When you are finished typing, click Enter to save the synonym. |
|
7 |
Add New Reference Value |
Click here to create a new reference value entry. |
|
8 |
Language |
Here, you can configure the language in which the data type operates. Click the Globe button to select the data type's language from a drop-down list. |
|
9 |
Delete Reference Value |
Click here to delete the selected reference value. |
|
10 |
Versions |
Click here to view a history of previous versions of the data type. |
|
11 |
Save |
Click here to save the changes you have made to the data type. |