After you mapped Care and Salesforce fields (see Map Your Care and Salesforce Fields), you can create a Salesforce case or lead directly from the Care module.
When you create a case or lead from Care, it uses the mapping to create its copy in Salesforce.
Create a Salesforce case from a Care case
To be able to escalate a Care case to Salesforce, ensure that the Care customer’s identity has its counterpart in Salesforce (see Link Care and Salesforce Contacts). You cannot escalate a Care case to Salesforce if the Care customer is not linked to a Salesforce contact.
You can create only one Salesforce case from the same Care case.
You cannot create a Salesforce case from a Care case if the last message that the customer posted in the Care case was added 90 or more days ago.
Steps:
-
Click the Care case that you want to escalate to Salesforce.
-
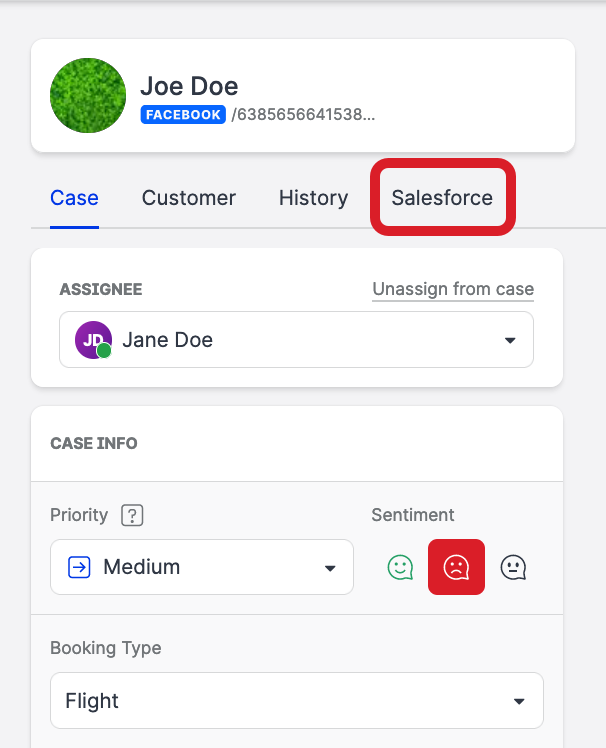
On the case property panel, click the Salesforce tab.
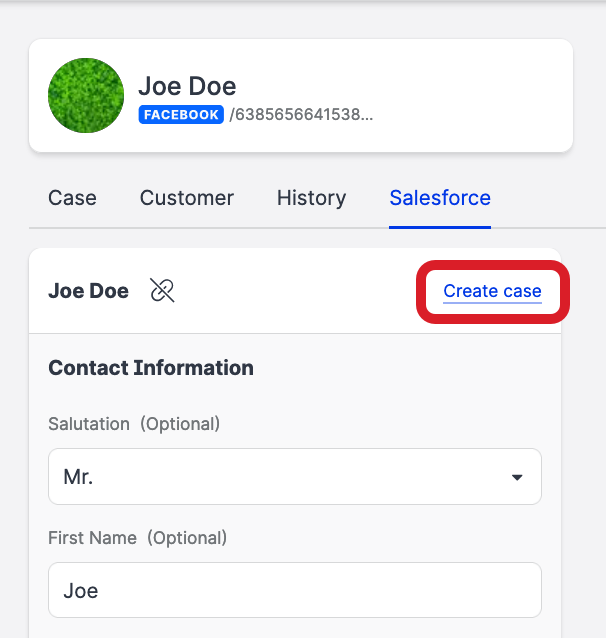
-
Click Create case.
The panel for escalating from Care to Salesforce opens.
The customer of the Care case must have a linked Salesforce contact. If it does not, you cannot create a Salesforce case, and you must first link a Salesforce contact to the Care customer (see Link Care and Salesforce Contacts).
-
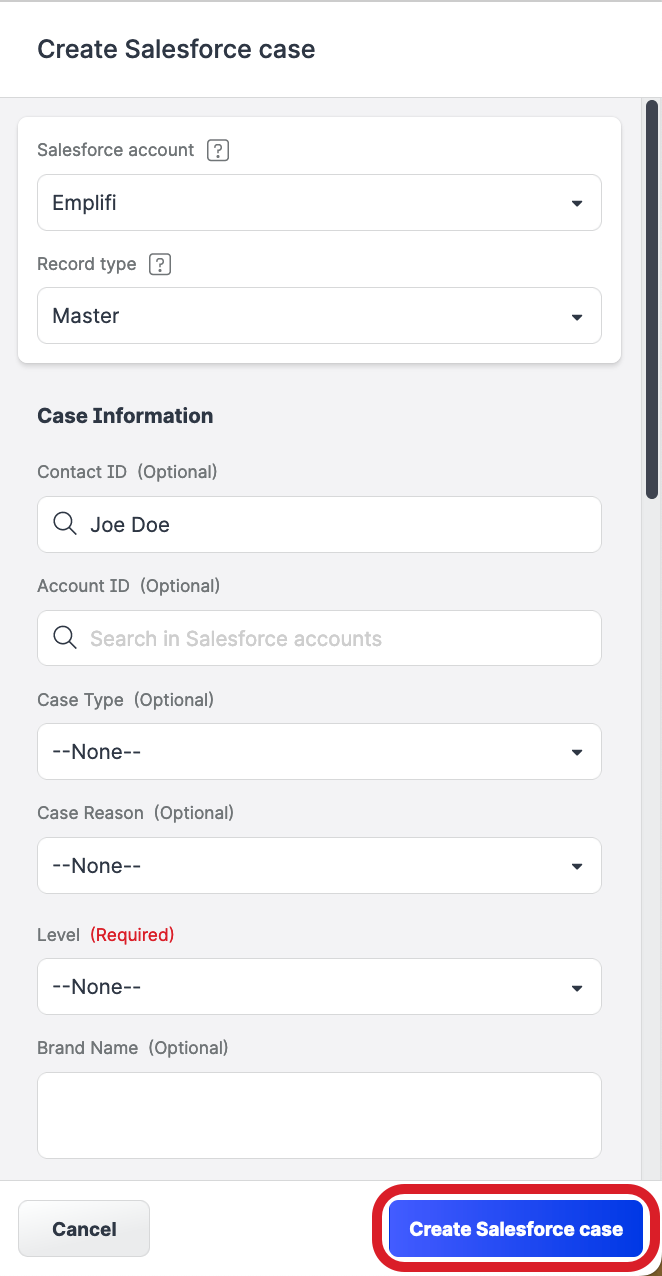
Select the Salesforce account to create a case in, and select the record type.
The fields to fill in are displayed. -
Fill in the case details.
The fields to fill in are determined by your Salesforce permissions to see individual fields. Some fields may be pre-filled depending on how the Salesforce fields are mapped (see Map Your Care and Salesforce Fields).
-
Click Create Salesforce case.
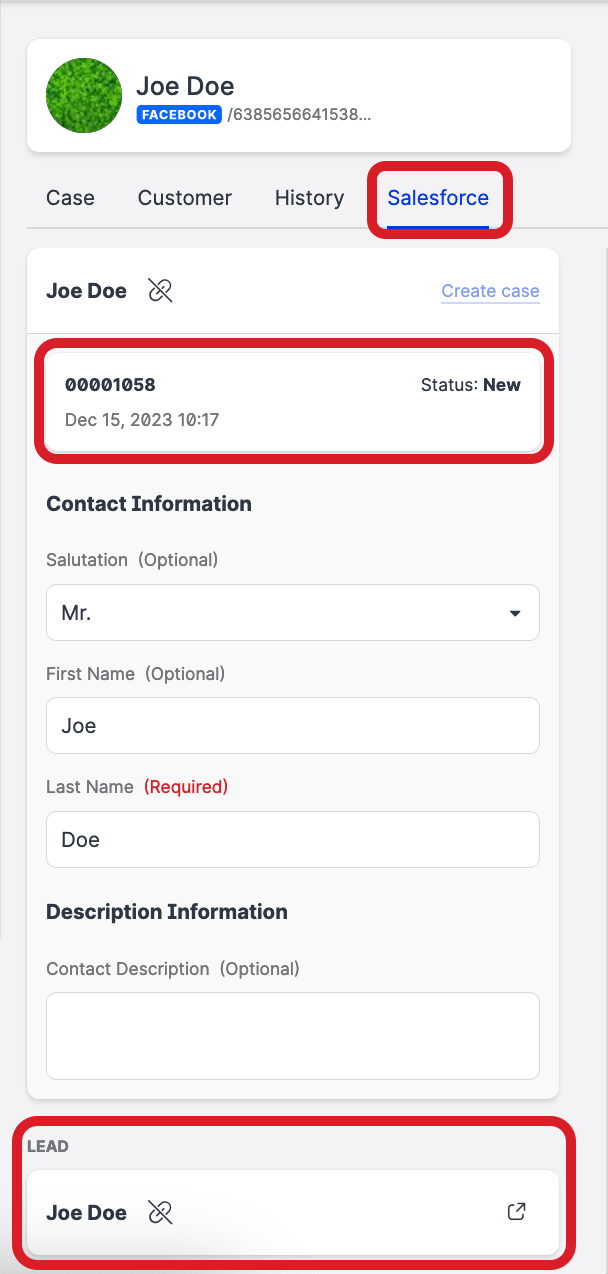
A case in Salesforce is created.
The confirmation dialog pops up providing the Salesforce case number.
Create a Salesforce lead from a Care case
You can create only one Salesforce lead from the same Care case. However, if a Care case already has a connected lead, you can unlink it from the case (see further in this article) and create a new lead.
Steps:
-
Click the Care case that you want to create a Salesforce lead from.
-
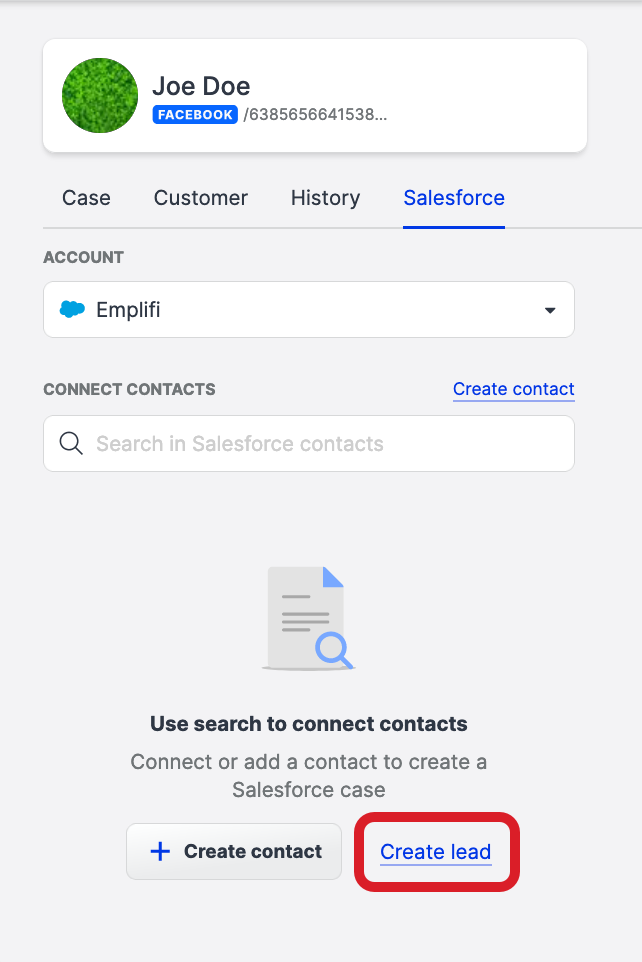
On the case property panel, click the Salesforce tab.

-
Click Create lead.
The panel for creating a Salesforce lead opens.
-
Select the Salesforce account to create a lead in, and select the record type.
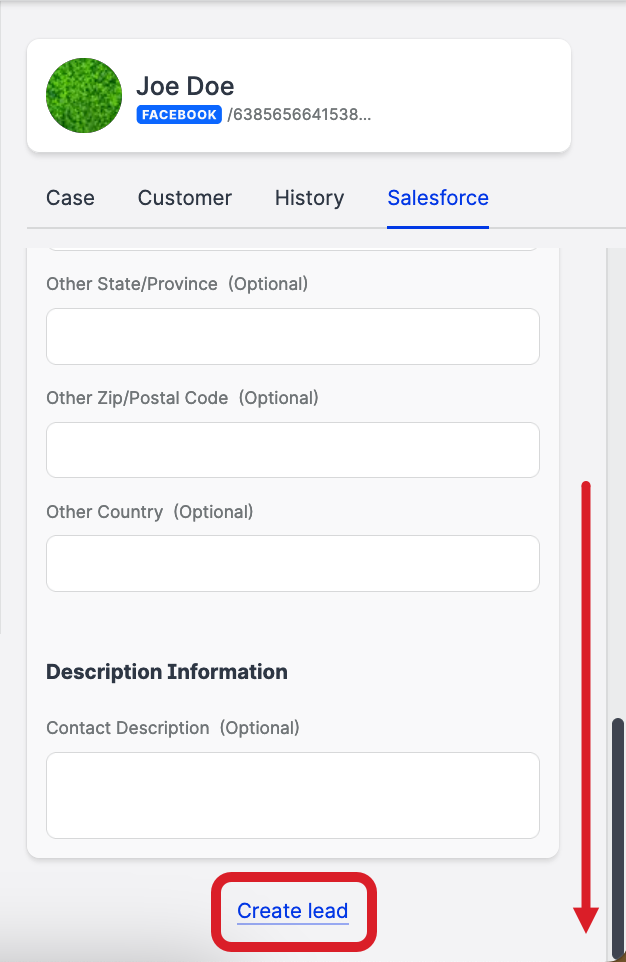
The fields to fill in are displayed. -
Fill in the lead details.
-
Click Create Salesforce lead.
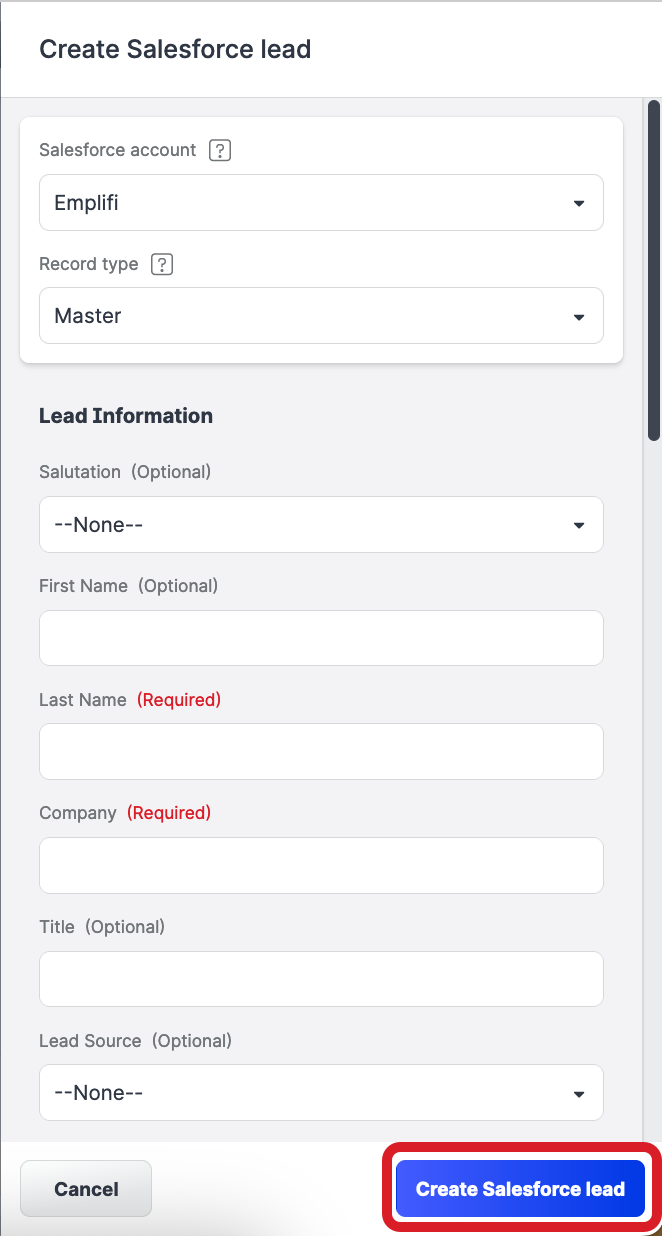
A lead in Salesforce is created.
The dialog pops up confirming a lead in Salesforce has been created.
Unlink a Salesforce lead from a Care case
You can create only one Salesforce lead from the same Care case. However, if a Care case already has a connected lead, you can unlink it from the case and create a new lead for this case.
Steps:
-
Click the Care case that you want to unlink a Salesforce lead from.
-
On the case property panel, click the Salesforce tab.
-
Under the Lead section, click the unlink icon next to the lead name.
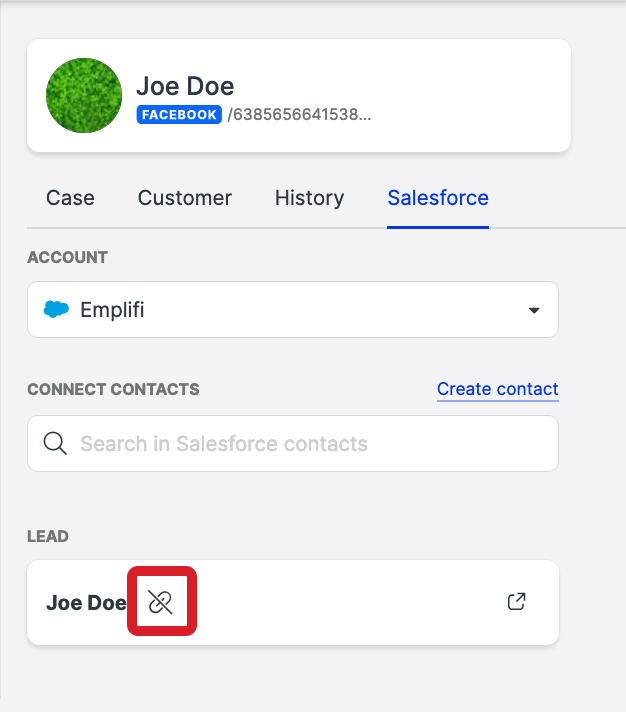
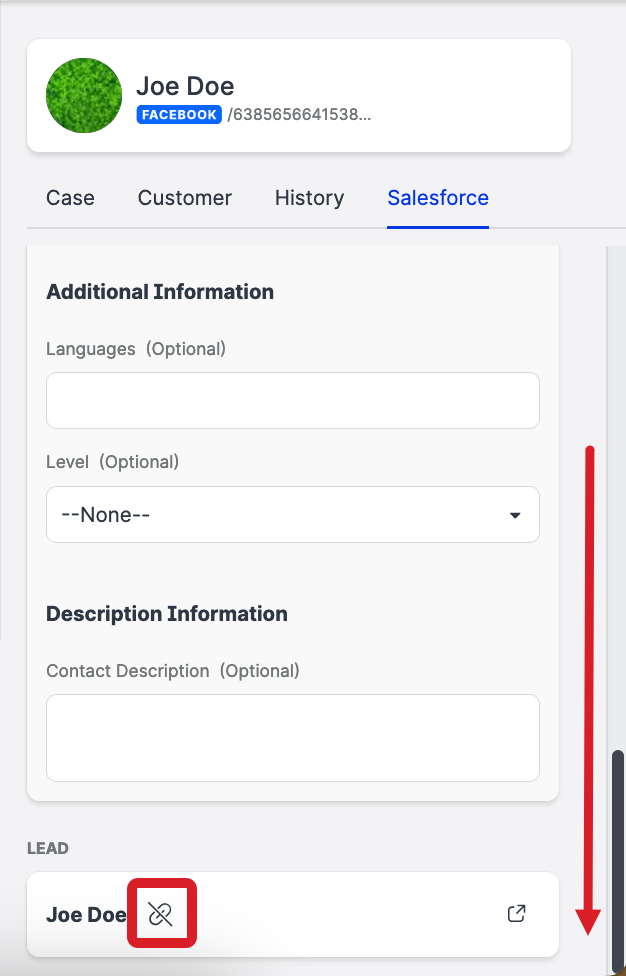
The Salesforce contact is unlinked from the Care customer in the case.
View the ID of a Salesforce case or lead
To view the ID of the Salesforce case and/or the lead created from a Care case, click the Care case, and then click the Salesforce tab on the case property panel.