The Agents page is where you can add and configure agent groups, which allow you to organize, direct, and oversee the agents who respond to bot conversations that have been escalated to a live person. For more information on adding and configuring Agent Groups, see Setting Up Agents.
This page is unavailable on the Social Chatbot interface.
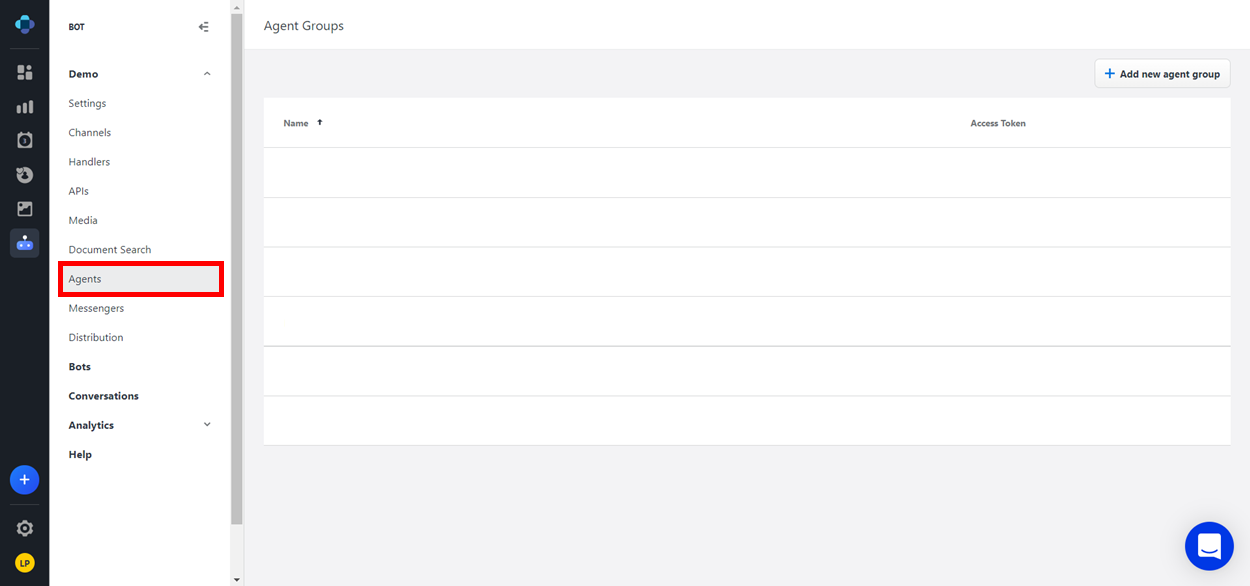
Accessing the Agents page
-
From the Application Bar, click Your Company Name.
-
Click Agents.
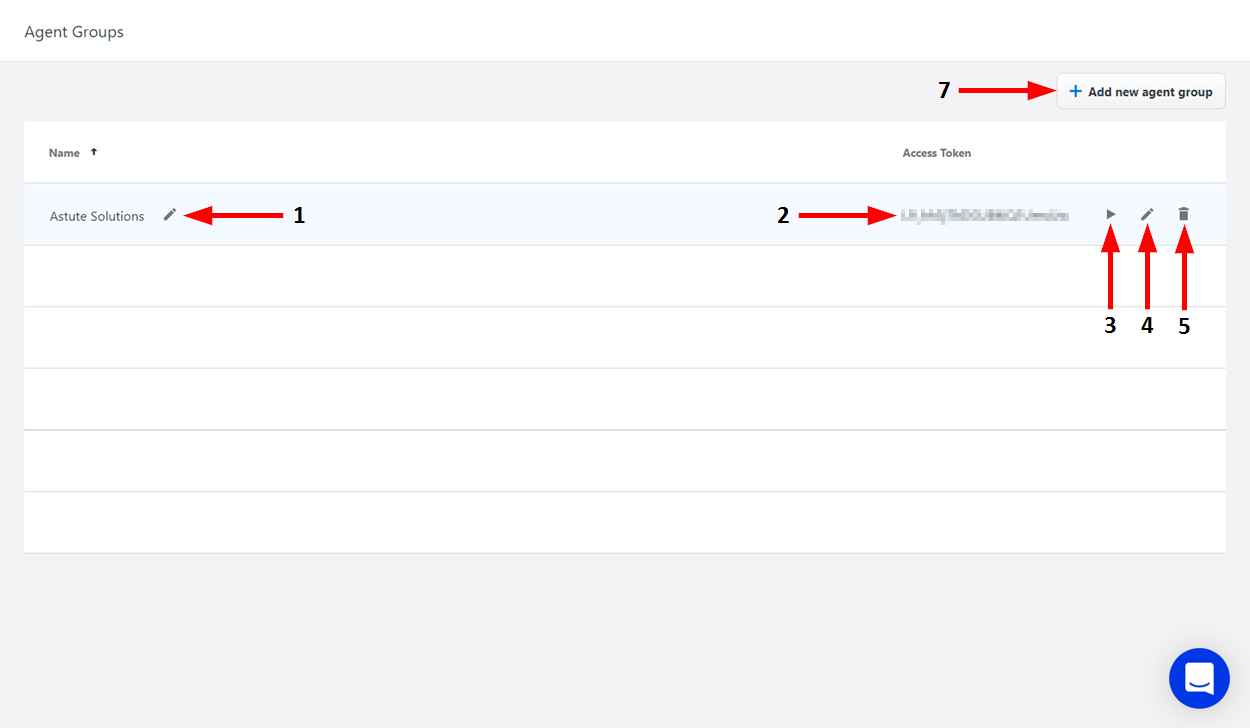
Agents Page layout
|
Number |
Name |
Description |
|---|---|---|
|
1 |
Rename |
Click here to enter a new name for the agent group. When you are finished typing, click Enter to save the name. |
|
2 |
Access Token |
This displays the unique access token used to link an Agent Set with an Emplifi Agent environment, so that Emplifi Bot knows which Emplifi Agent environment to send escalations to. |
|
3 |
Launch Agent Workspace |
Click here to open the Agent Workspace page, where you can view and partake in conversations with users. For more information, see Bot-Agent Integration. |
|
4 |
Edit Agent Group |
Click here to edit the settings for the agent group. For more information, see Setting Up Agents. |
|
5 |
Delete Agent Group |
Click here to delete the agent group. A dialog window will display to verify that you want to delete the agent group. |
|
6 |
Add Agent Group |
Click here to add a new agent group. |