Emplifi UGC Galleries (sometimes known as widgets/displays) are JavaScript components that you can embed into your web page to display user-generated content (UGC) in an iFrame. Embedding Emplifi UGC Galleries into your UGC channels gives a dynamic UGC experience to your site visitors.
How Do Emplifi UGC Galleries Work?
Emplifi UGC Galleries are hosted by Emplifi. They are a hybrid mix of first and third party clients that communicate with each other to integrate seamlessly with your site's design and functionality.
All Emplifi UGC Galleries come with a lightbox and uploader experience out of the box. The lightbox is a modal ‘window’ that acts as a detail view for a photo or video. When a photo or video is clicked on, the lightbox is activated and appears on-screen, presenting a larger version of the photo or video to the user, along with secondary information such as the submitter, the caption, and associated photos/links. The uploader is a modal ‘window’ that allows users to submit photos, either by logging in and choosing from their pre-existing content from social, or by adding a photo directly.
You can have multiple Emplifi UGC Galleries on a page; they are intelligent and share the same lightbox and uploader (if enabled) automatically. For more information, see the in depth implementation section of this article.
Emplifi UGC Galleries can be loaded by an addition of a script tag generated via the Emplifi UGC Publishing Center (most common use-case), using a module loader (e.g. requireJS) or through use of third party tag managers (e.g. Google Tag Manager or Tealium).
We highly recommend using our Publish Center, which lets you do full style customization of your gallery with a very powerful WYSIWYG editor that has an expert CSS mode as well.
If you are using the Publish Center to generate code snippets for publishing, you can stop here.
Gallery Performance Guide
The Emplifi UGC Gallery architecture has been optimized for two principal tenets:
-
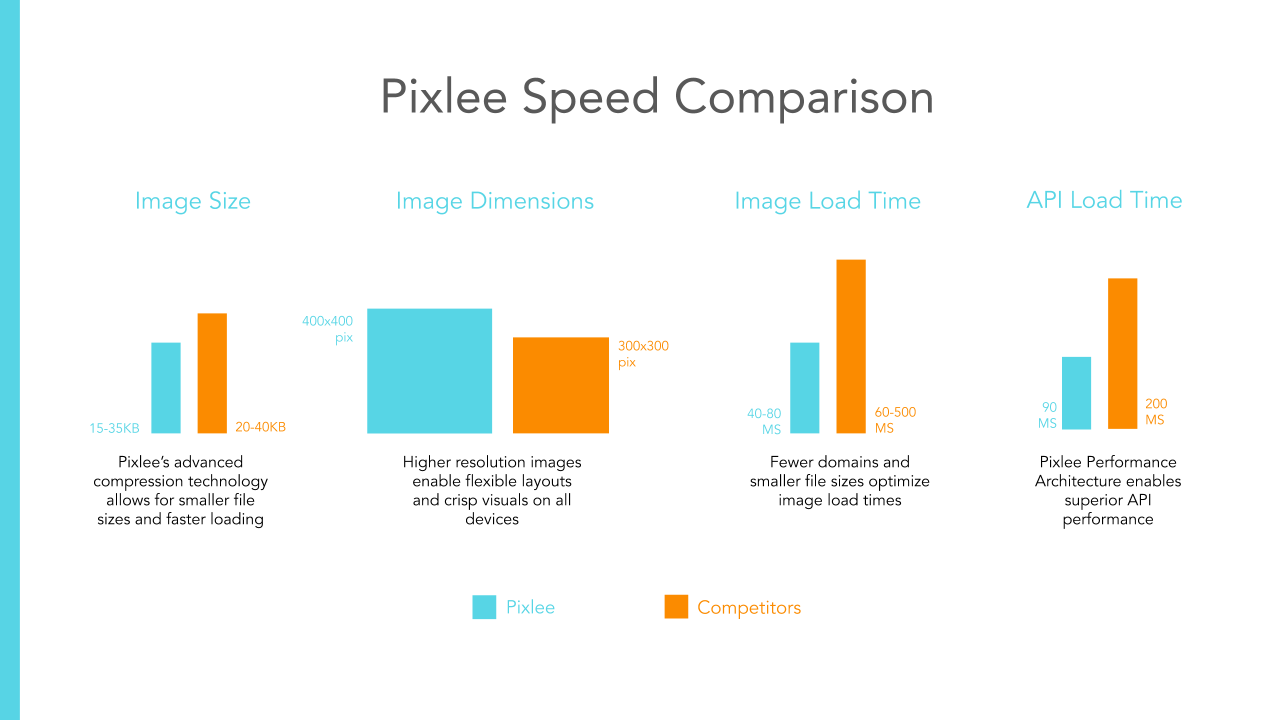
Being performant, especially in the cached state (when it is live and people are constantly visiting the page). We use aggressive CDN caching and image compression/optimization (https://www.fastly.com/products/web-and-mobile-performance/image-optimization) and also cache heavily on the API level.
-
Having no impact on the load of the rest of the page.
We minimize impact on page load (tenet 2) by deliberately having our javascript run as late as possible; that is, when the rest of your site code, HTML/JS/CSS has already loaded. This ensures that the rest of your page loads visually at the same time, at the cost of your gallery loading possibly slightly later.
Generally the tests that test page speed will penalize this, but visually speaking it has little effect. As such, our optimization decisions are based on real customer experience as opposed to a browser test.
Priority loading galleries is an option that is available, in which we load our galleries in sync with the rest of the page. This should be chosen if the widget load order is an important optimization.
Additional optimizations of interest:
-
Content is cached at different image sizes, such that the smallest appropriate file size for each device/browser is loaded.
Limitations
This article is intended to provide an in-depth explanation of how our hosted galleries work and how to implement them. It does not cover our REST APIs. Please note our APIs and documentation available at:
In Depth Implementation
Galleries act as a "window" on your page whose content and form can be dynamically edited in the Publish Center in Emplifi UGC.
Any changes made within the Publish Center will be reflected on the page where the gallery with the corresponding widgetId resides.
All galleries require a public API key and widgetId. Additionally, product galleries require a SKU parameter which may either be hard-coded into the script tag or dynamically assigned if on a product or category page. Additional optional parameters include:
-
lightbox:
booleanto determine whether clicking on photos should open the lightbox.trueby default -
containerId:
stringto determine the id of the target container in the DOM where the gallery will reside.pixlee_containerby default -
subscribedEvents:
array of stringsto determine which events you want the gallery to emit. To learn more, see https://developers.pixlee.com/docs/pixlee-widget-events. -
fixedWidth:
booleanto determine whether the gallery should maintain a fixed width or resize to fit its parent.trueby default -
ecomm_platform:
stringused for automatic product sku detection. currently supportsshopifyandbigcommerce -
denyCookies:
booleanIf set totrue, this will prevent tracking cookies from being stored. Essential, non-tracking cookies used for website functionality will still be used.
Script Tag
The most common implementation of our galleries involves placing a small snippet of embed code on your website. The initialization snippet consists of 3 parts:
-
A target container for the gallery to reside in (we provide a div with the id
pixlee_containerby default -
An initialization function called
PixleeAsyncInitwhich will run once our library has loaded. This snippet will run once the Emplifi UGC object exists on thewindow, and will authenticate using the API key as well as add the gallery to the target container using the correspondingaddfunction -
A reference to our library's code. This is only to be called once, after the rest of your initialization code.
In all the following examples we use addSimpleWidget to create a regular image gallery. This is the most common use case, though the following are also available:
-
addProductWidget- for use on product pages, takes an additionalskuIdparameter. -
addCategoryWidget- for use on category pages, takes an additionalcategoryName(most common) orcategoryIdparameter -
addSingleWidget- for publishing single photo galleries
Additionally, there are several options that can be included.
For addProductWidget, you can add the key parent_category (applying the same skuId as the value) as an extra parameter. In this situation, if there are no available media for that product sku, it will fall back to bringing up an album consisting of media from a category belonging to the product.
For all gallery types, the fallbackAlbumId parameter may be included. If it is included, if there is no content available in the requested album, the fallback album will be used. An additional parameter, fallbackThreshold (default: 0) can be optionally added, to fall back to the album if there are less than or equal to fallbackThreshold media items in the requested album.
Example Gallery Code Snippet:
<div id="pixlee_container"></div>
<script type="text/javascript">
     window.PixleeAsyncInit = function() {
         Pixlee.init({
             apiKey: '<redacted>'
         });
         Pixlee.addSimpleWidget({
             widgetId: 2652,
             fallbackAlbumId: 1234,
         });
     };
</script>
<script src="https://assets.pxlecdn.com/assets/pixlee_widget_1_0_0.js"></script>
Example Multiple Gallery Snippet:
<div id="pix1"></div>
<div id="pix2"></div>
<script type="text/javascript">
    window.PixleeAsyncInit = function() {
        Pixlee.init({ apiKey: '<redacted>' });

        Pixlee.addSimpleWidget({
             widgetId: 203678,
             containerId: "pix1"
        });

        Pixlee.addSimpleWidget({
            widgetId: 203679,
            containerId: "pix2"
        });
    };
</script>
<script src="https://assets.pxlecdn.com/assets/pixlee_widget_1_0_0.js"></script>
Example Category Gallery Code Snippet:
<div id="pixlee_container"></div>
<script type="text/javascript">
    window.PixleeAsyncInit = function() {
        Pixlee.init({
            apiKey: '<redacted>'
        });
        Pixlee.addCategoryWidget({
            accountId: 1234
            widgetId: 5678,
            categoryName: "<= ENTER YOUR CATEGORY NAME >"
        });
    };
</script>
<script src="https://assets.pxlecdn.com/assets/pixlee_widget_1_0_0.js"></script>
The important things to note here are:
-
Pixlee.init is called once
-
All gallery declarations are contained within the window.PixleeAsyncInit function declaration
-
pixlee_widget.js script is added last
This order is important.
Example Uploader Only Snippet:
<button id="pixlee_uploader_button">
  upload now
</button>

<script type="text/javascript">
    document.getElementById("pixlee_uploader_button").addEventListener("click", function() {
        Pixlee.openUploader({
            widgetId:203578,
            // Optionally, include a profile to prepopulate email and username
            profile {
                email: "name@email.com",
                name: "Named Person",
                isImmutable: true // Setting to true makes the email and name fields un-editable
            }
        })
    }, false);
</script>
<script src="//assets.pxlecdn.com/assets/pixlee_widget_1_0_0.js"></script>
Single Page Applications
Our embed code is meant for a simple copy and paste into basic sites with minimal dev resources, but we have many resources for more complex single page sites. Below is a breakdown of what each piece of the embed code does, to better equip developers with useful Emplifi UGC functions:
<div id="pixlee_container"></div> //1

<script type="text/javascript">
     window.PixleeAsyncInit = function() { //2
       Pixlee.init({apiKey:'SnOYjJTeEFnQtLvpn9bI'}); //3
       Pixlee.addSimpleWidget({widgetId:893283}); //4
     };
</script>
<script src="//assets.pxlecdn.com/assets/pixlee_widget_1_0_0.js"></script> //5
(1) This is the target container which the gallery will render into. You can put this anywhere on your page and the only requirement is that it exists before you call Pixlee.addSimpleWidget(...); You may optionally use a different id, just pass the option containerId: into the addSimpleWidget call with the id so the gallery knows where to render. This is useful for rendering multiple galleries on the same page
(2) This stores our initialization code in a function called PixleeAsyncInit, which our library will delay until all of your assets have loaded to allow for asynchronous loading. When splitting up our embed code for single page apps this can generally be skipped
(3) This initializes our front end library and its functions with your unique apiKey. This should only be run once per load so for a single page app like yours, run this when your page first renders and never call it again to expose all of our other functions
(4) This renders a gallery with the id widgetId into containerId (which by default is pixlee_container). Treat this as a "show" function for single page apps
(5) This is our library, and should only be included once and ideally at the bottom of the page (though we have internal code in place to make sure multiple instances won't cause errors)
With the above in mind, the easiest way to alter our embed code for a single page app is to:
-
Load our library and run the initialization function once when you first load the page
-
Run Pixlee.addSimpleWidget(...) when you want to show the gallery (for example, when you hit a page where the gallery exists)
- Run Pixlee.resizeWidget() immediately after any addSimpleWidget call to ensure the iframe resizes properly with respect to the content around it -
Run Pixlee.close(true) when you want to hide the gallery (for example when you leave a page where the gallery exists). This will clean up the instance, and the optional true parameter indicates that this is a single page app so that our event binding reacts accordingly. Note this will close all currently displayed galleries.
A typical implementation might look something like this:
https://codepen.io/pabs123/pen/YYmjgR
Notice how we initialize everything at start, and then simply use the add and close calls to work with the rendering.
One final helpful tool is the Pixlee.resizeWidget() function which forces our smart iframe resizing function to run. This can be useful with dynamically created html which may cause your gallery to become cut off or have a double scrollbar, simply run the above once the page is loaded.
Module Loaders
Emplifi UGC Galleries fully support the Asynchronous Module Definition (AMD) pattern. Using a module loader like requireJS, you can import our library into your webpage along with any other dependencies you may have. This is a simple three step process:
(1) Add path to config
First define a path to our script in the module loader's config as follows:
require.config({
    paths: {
        "pixlee":"https://assets.pxlecdn.com/assets/pixlee_widget_1_0_0"
    }
});
(2) Set an HTML target
Add the following div tag in your HTML where you would like the gallery to appear:
<div id="pixlee_container"></div>
(3) Load module
Load the module into your file after any other dependencies you may have, inserting the appropriate
apiKey and widgetId. Both the public apiKey and widgetId can be found when publishing embed code for the corresponding gallery from the Publish Center in Emplifi UGC:
require(["pixlee"], function() {
    Pixlee.init({ apiKey: "<apiKey>" });
    Pixlee.addSimpleWidget({ widgetId: "<widgetId>" });
    Pixlee.resizeWidget();
});
Note: you may insert any additional "addSimpleWidget" calls within the callback function
to display multiple galleries on the same page.
Tag Managers
Emplifi UGC Galleries can be implemented through the use of many popular tag managers. You may either create a custom container/tag which holds our embed code, or use our
official vendor tag. For specific tag manager instructions, check the links below:
Domains for Content-Security Policy (CSP)
Emplifi UGC uses several domains within its gallery and analytics configuration. Please ensure that the following domains are allowed on your site:
http://pixlee.co
*.pixlee.co
http://pixlee.com
*.pixlee.com
pixleeteam.com
*.pixleeteam.com
*.pxlecdn.com
*.feedshop.net
Lazy Loading
To lazy load Emplifi UGC Galleries, you will want to run the code to create you galleries only when the user scrolls down to where the gallery is located. One way we do this is to create a function which will show the gallery only when it should be visible on the page. Then attached this function to an event listener which will trigger the function every time a scroll event happens.
Here is an example: https://codepen.io/jchen123/pen/dypbrEo.
You will need to modify the existing gallery code to make sure it only runs when scrolled to as demonstrated in the example above.
This strategy still requires the same amount of time to load the gallery but does so only when users scroll to it, and can have an advantage against online speed tests.