Campaign Management
Review Incentives campaigns can help you collect more reviews for your products. You can use campaigns to offer coupons or discount codes on specific SKUs or a set of filter rules to reward shoppers when they provide reviews or photos.
Set up a Review Incentive campaign
Review Incentives must be enabled on your account to set up a campaign. If you don't have Review Incentives, please reach out to your Account Executive or Customer Success Manager.
In the Emplifi Portal, Review Incentives is located on the left sidebar menu of your site instance.
On the Review Incentives page hit the “Create New Campaign” button in the top right corner.
Basic info
Once you create a campaign, you can add your rewards incentives. Rewards incentives are coupon codes that will be sent to reviewers who provide reviews that meet ERI (early review incentive) requirements.

Campaign Name: Add a name to identify the campaign; this will appear in the campaigns list.
Start Date: Add the date when Emplifi will start sending incentivized emails for this campaign.
End Date: Add the date when Emplifi will stop sending incentivized emails for this campaign. This field is optional if Till stopped* is selected
Campaign Goal: This number represents the number of incentivized reviews you’ll want to collect for each product in the campaign. For example: If you set this value to 10, Emplifi provides codes to the first ten shoppers that leave a review.
Till stopped: When “Till stopped” is selected, your campaign will run until one of the following things happens:
The campaign is running low on promo codes.
You manually pause the campaign.
Add products
In the below image, you’ll find the "Add Products" button. Here you’ll be able to add the SKUs you want to incentivize for your campaign. Please note, we send emails based on orders so it’s important to choose skus where transactions exist. To start adding products, please click Add Products.

Now you can start selecting products.
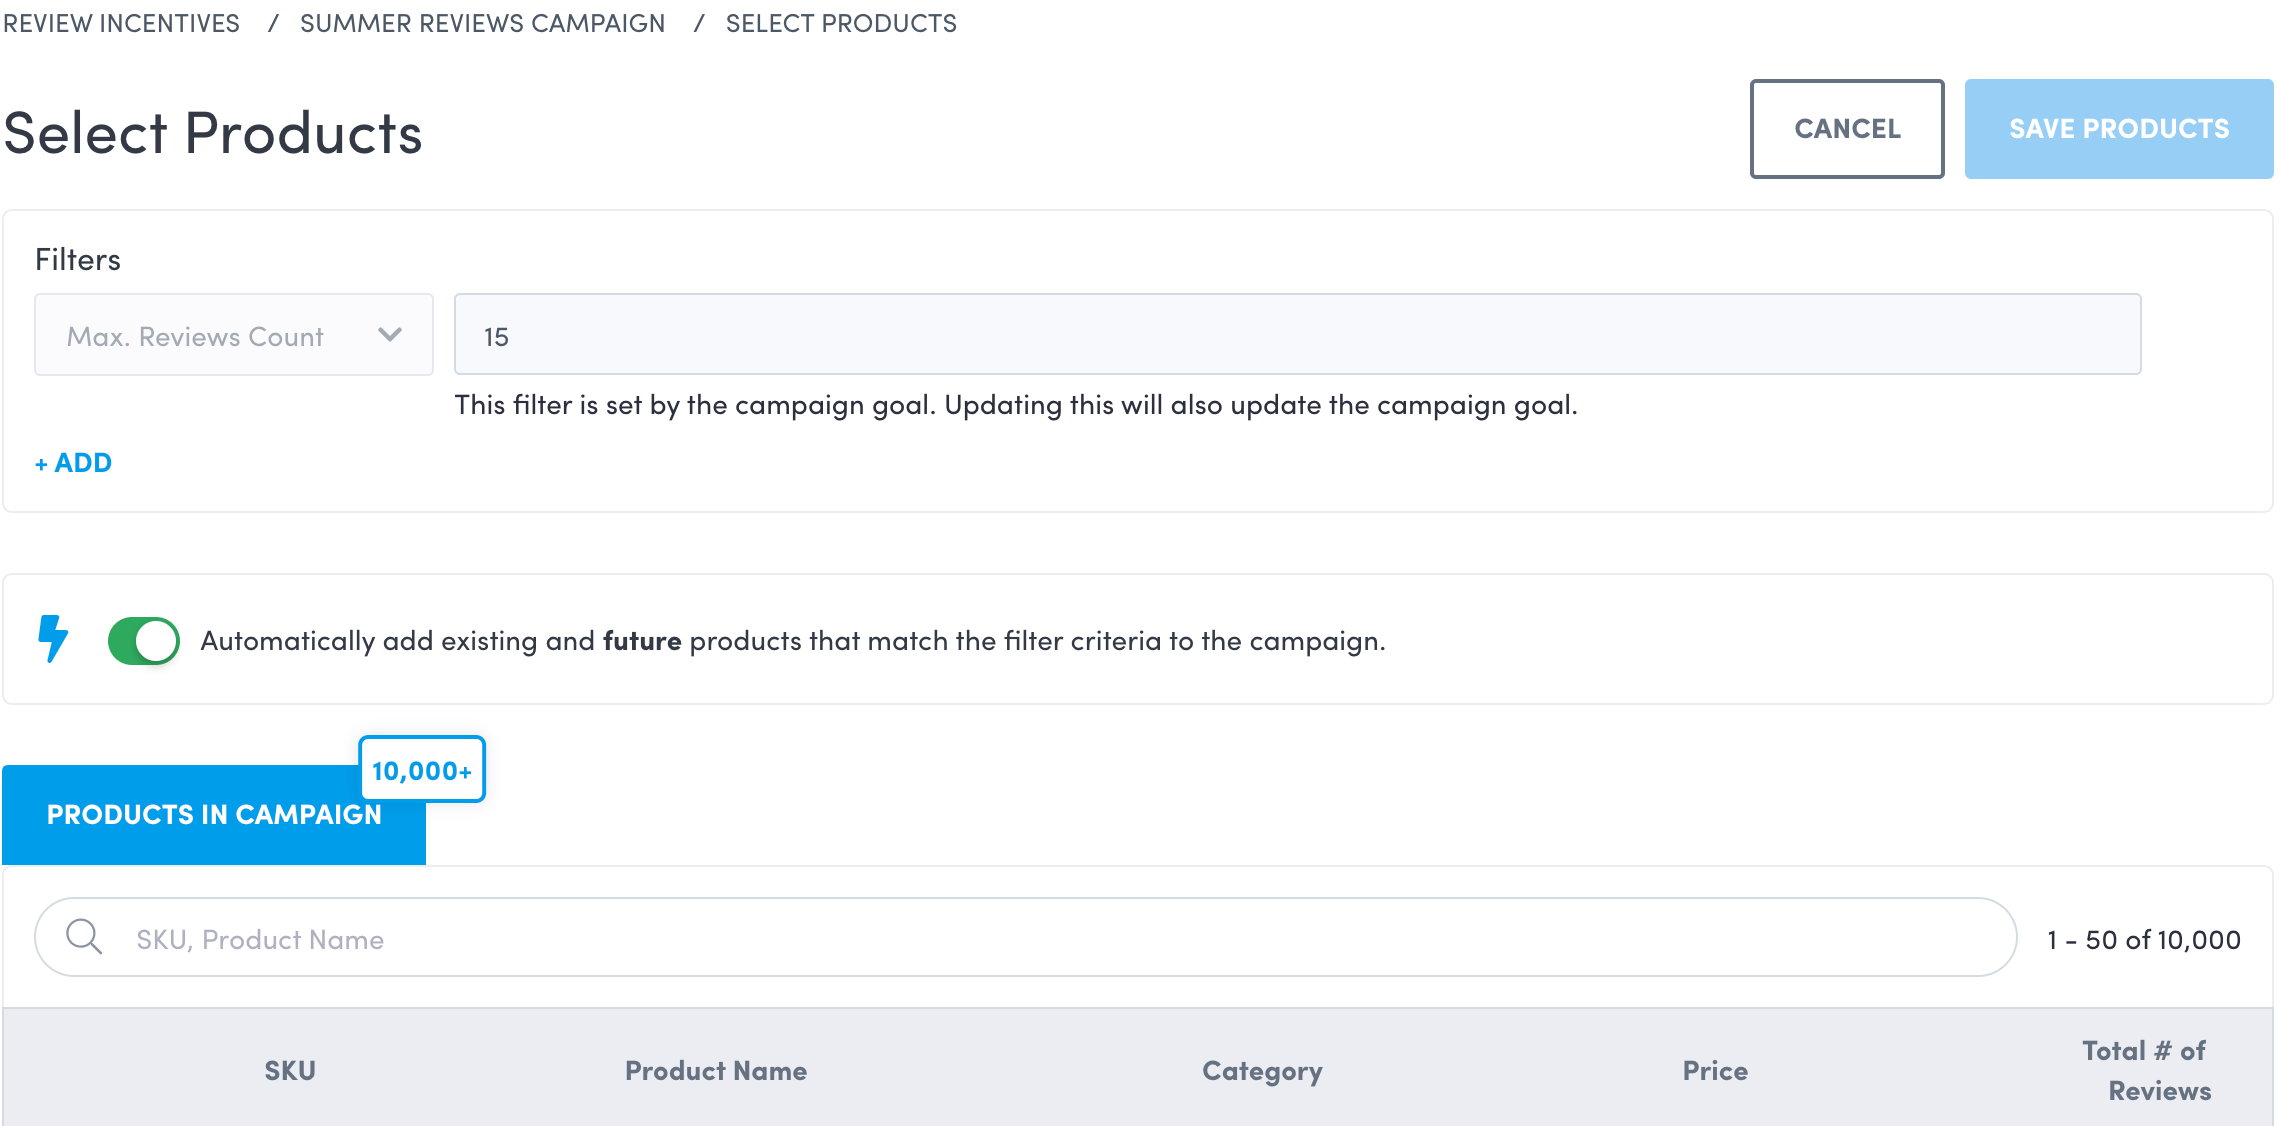
Add product filters
You can filter your product catalog in by Price, Brands or Categories to narrow down the list of SKUs you want to include in your campaign.
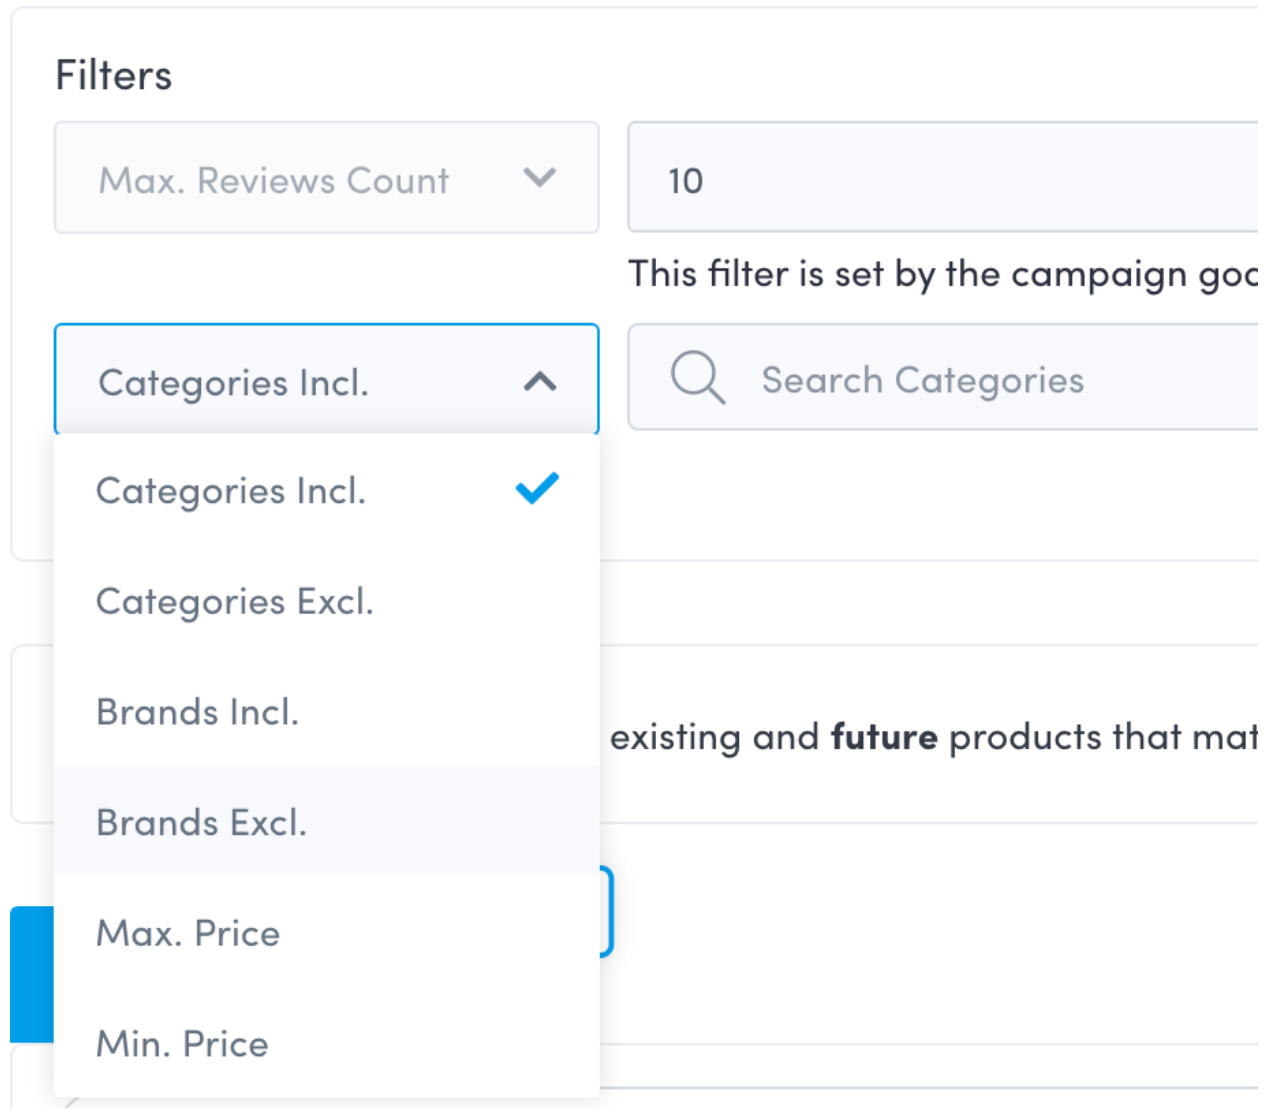
Categories Incl: Select the categories you want to include in this campaign
Categories Excl: Select the categories you want to exclude from this campaign
Brands Incl: Select the brands you want to include in this campaign
Brands Excl: Select the brands you want to exclude from this campaign
Max Price: Set the max price for the products to appear in this campaign
Min Price: Set the min price for the products to appear in this campaign
Adding Products: Dynamic and Static Campaigns

By default, Review Incentives Campaigns are dynamic. With dynamic campaigns, you only have to set your filter criteria and Emplifi will match all new products that match the criteria set for your incentivized campaign. The blue lighting bolt icon will be displayed if a campaign is dynamic.
Static campaigns will only allow for a set list of SKUs to be incentivized. We cap the limit at 500 SKUs per campaign. You can set your product filter criteria and manually select SKUs to be in the campaign or you can upload a list of SKUs you want to incentivize collection on.
Emplifi recommends Dynamic campaigns for easier maintenance and for getting reviews quicker on new products.
Adding Products: Dynamic Campaigns
Once you have your filters set you’ll be able to search through the list of products in the table below:
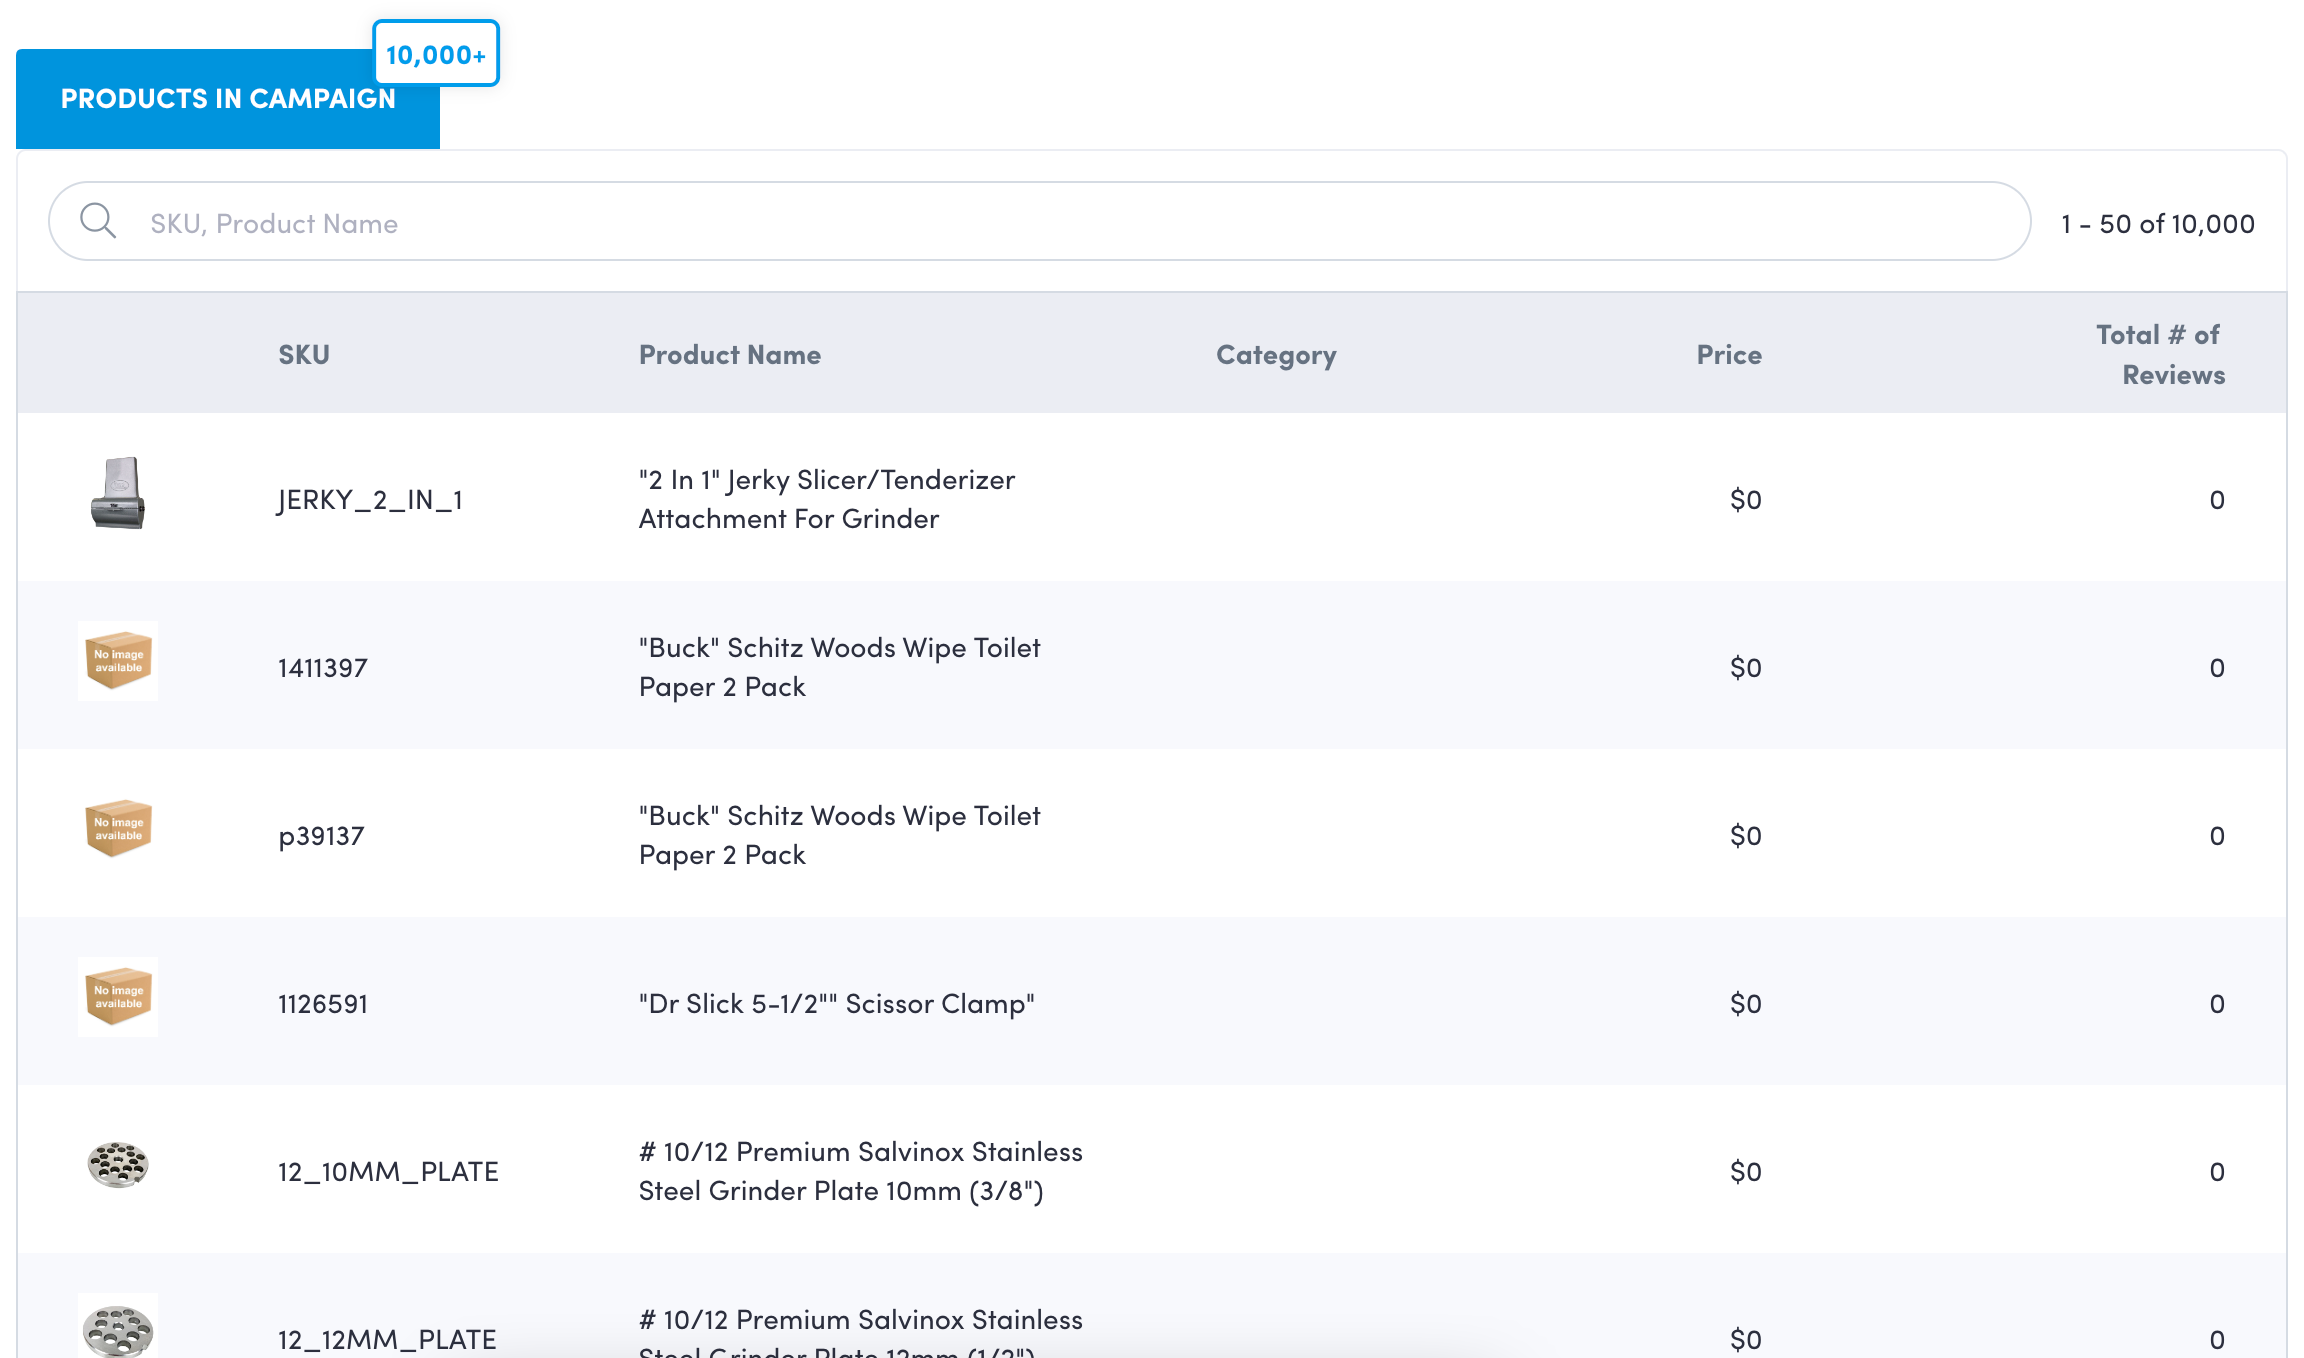
Once you’re satisfied with your filters, hit the Save button at the top right corner of the page.
Adding Products: Static Campaigns
With static campaigns, you can use the filters to find SKUs in your catalog that you want to add to your campaign. You can also choose to upload a set of SKUs.
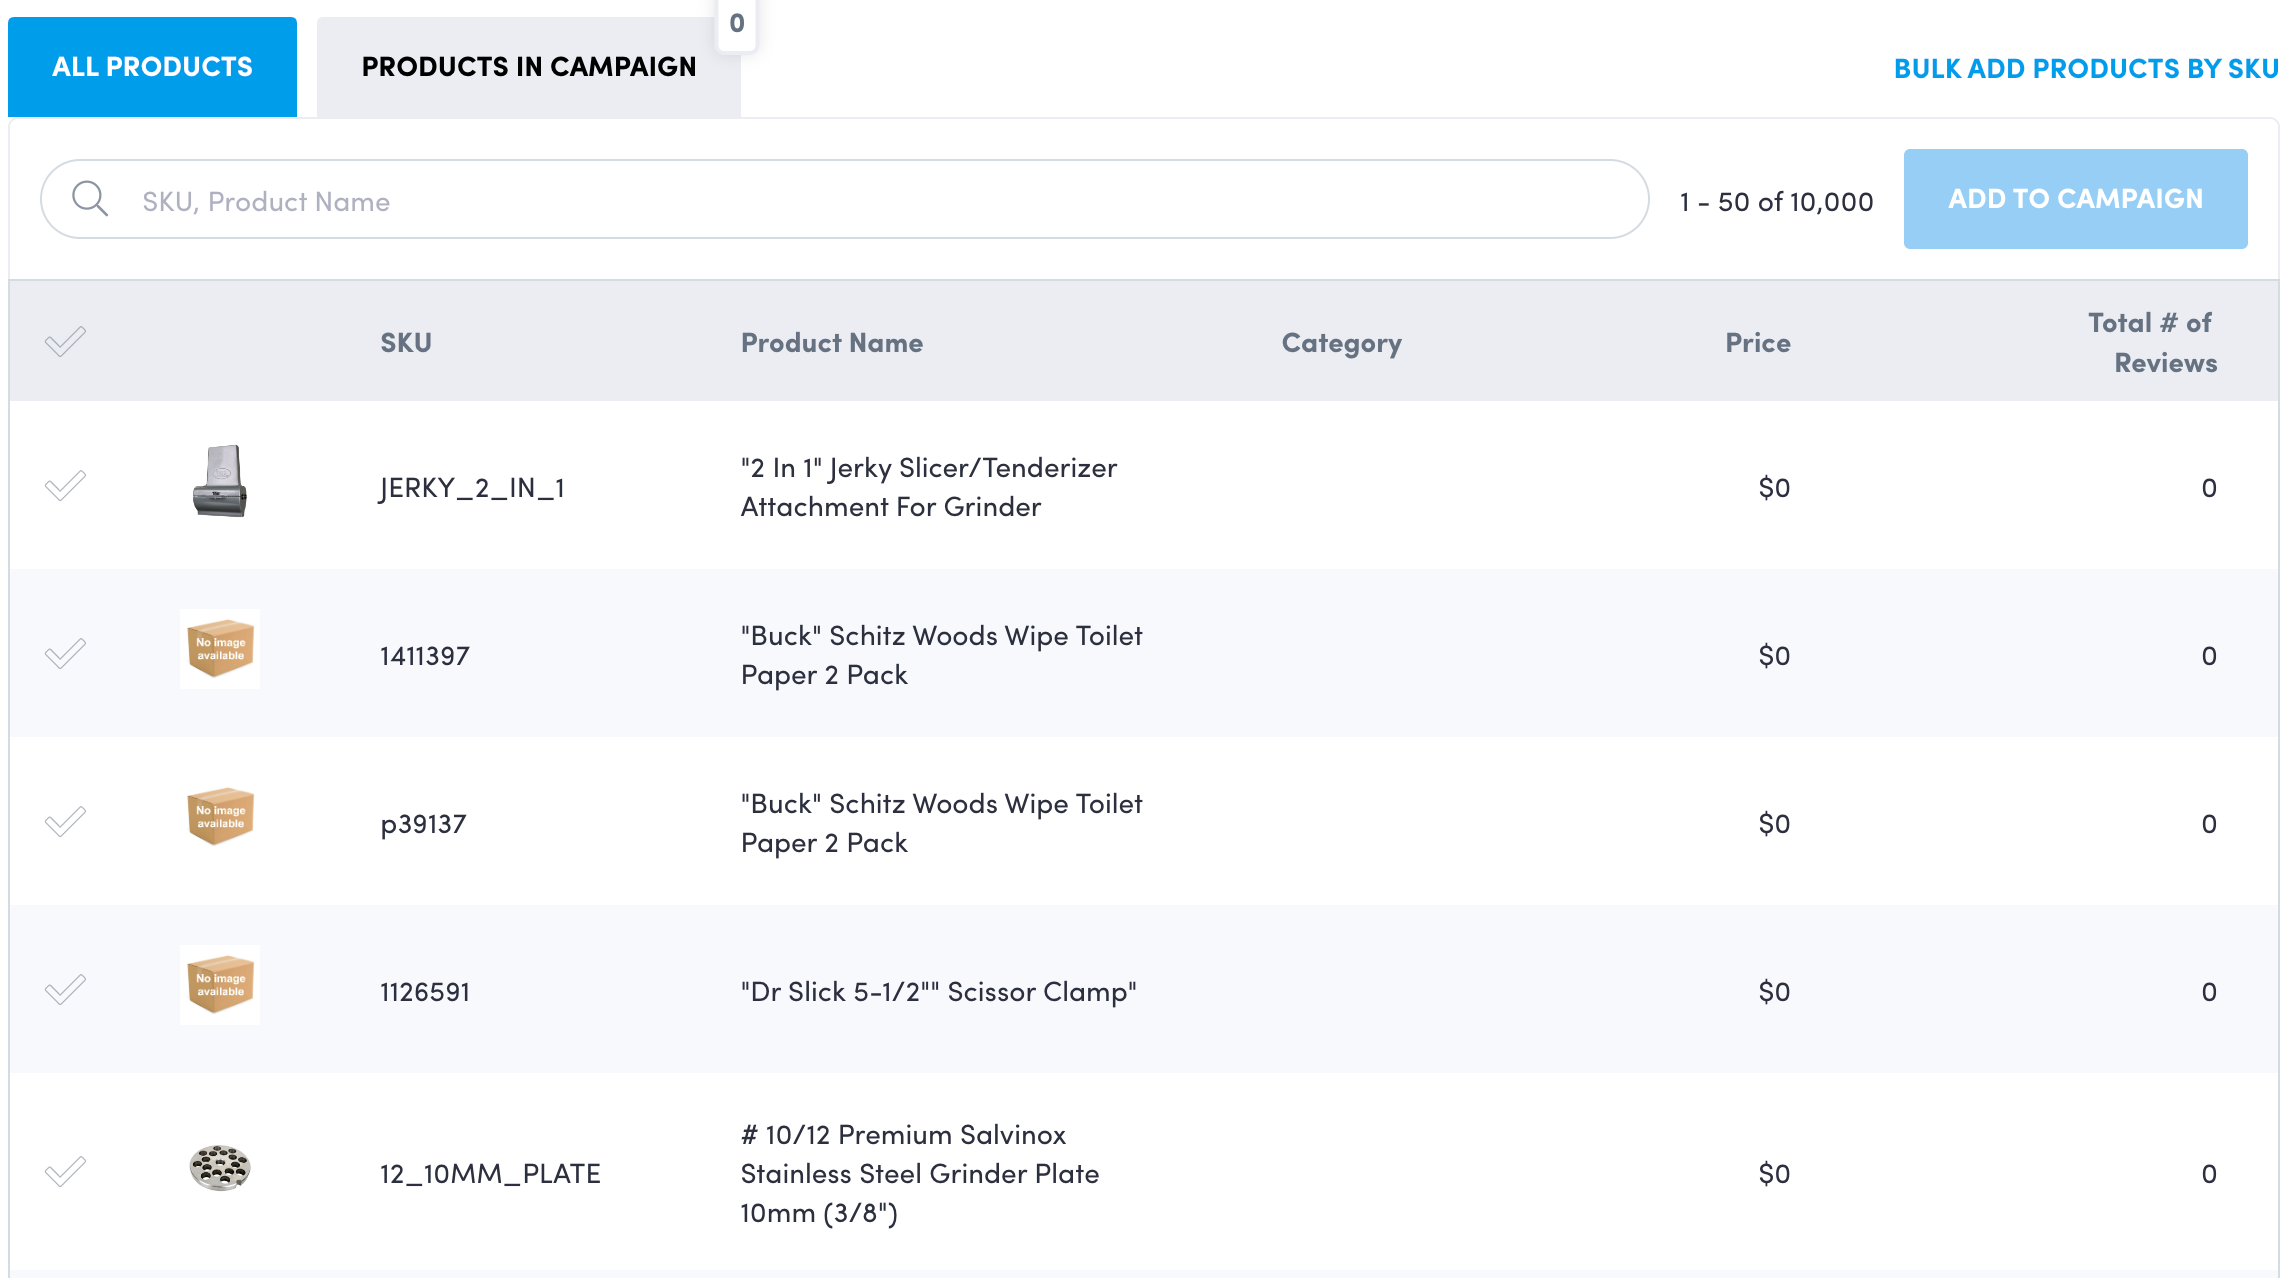
To add a SKU, click on the checkmark icon then click on the Add to Campaign button.
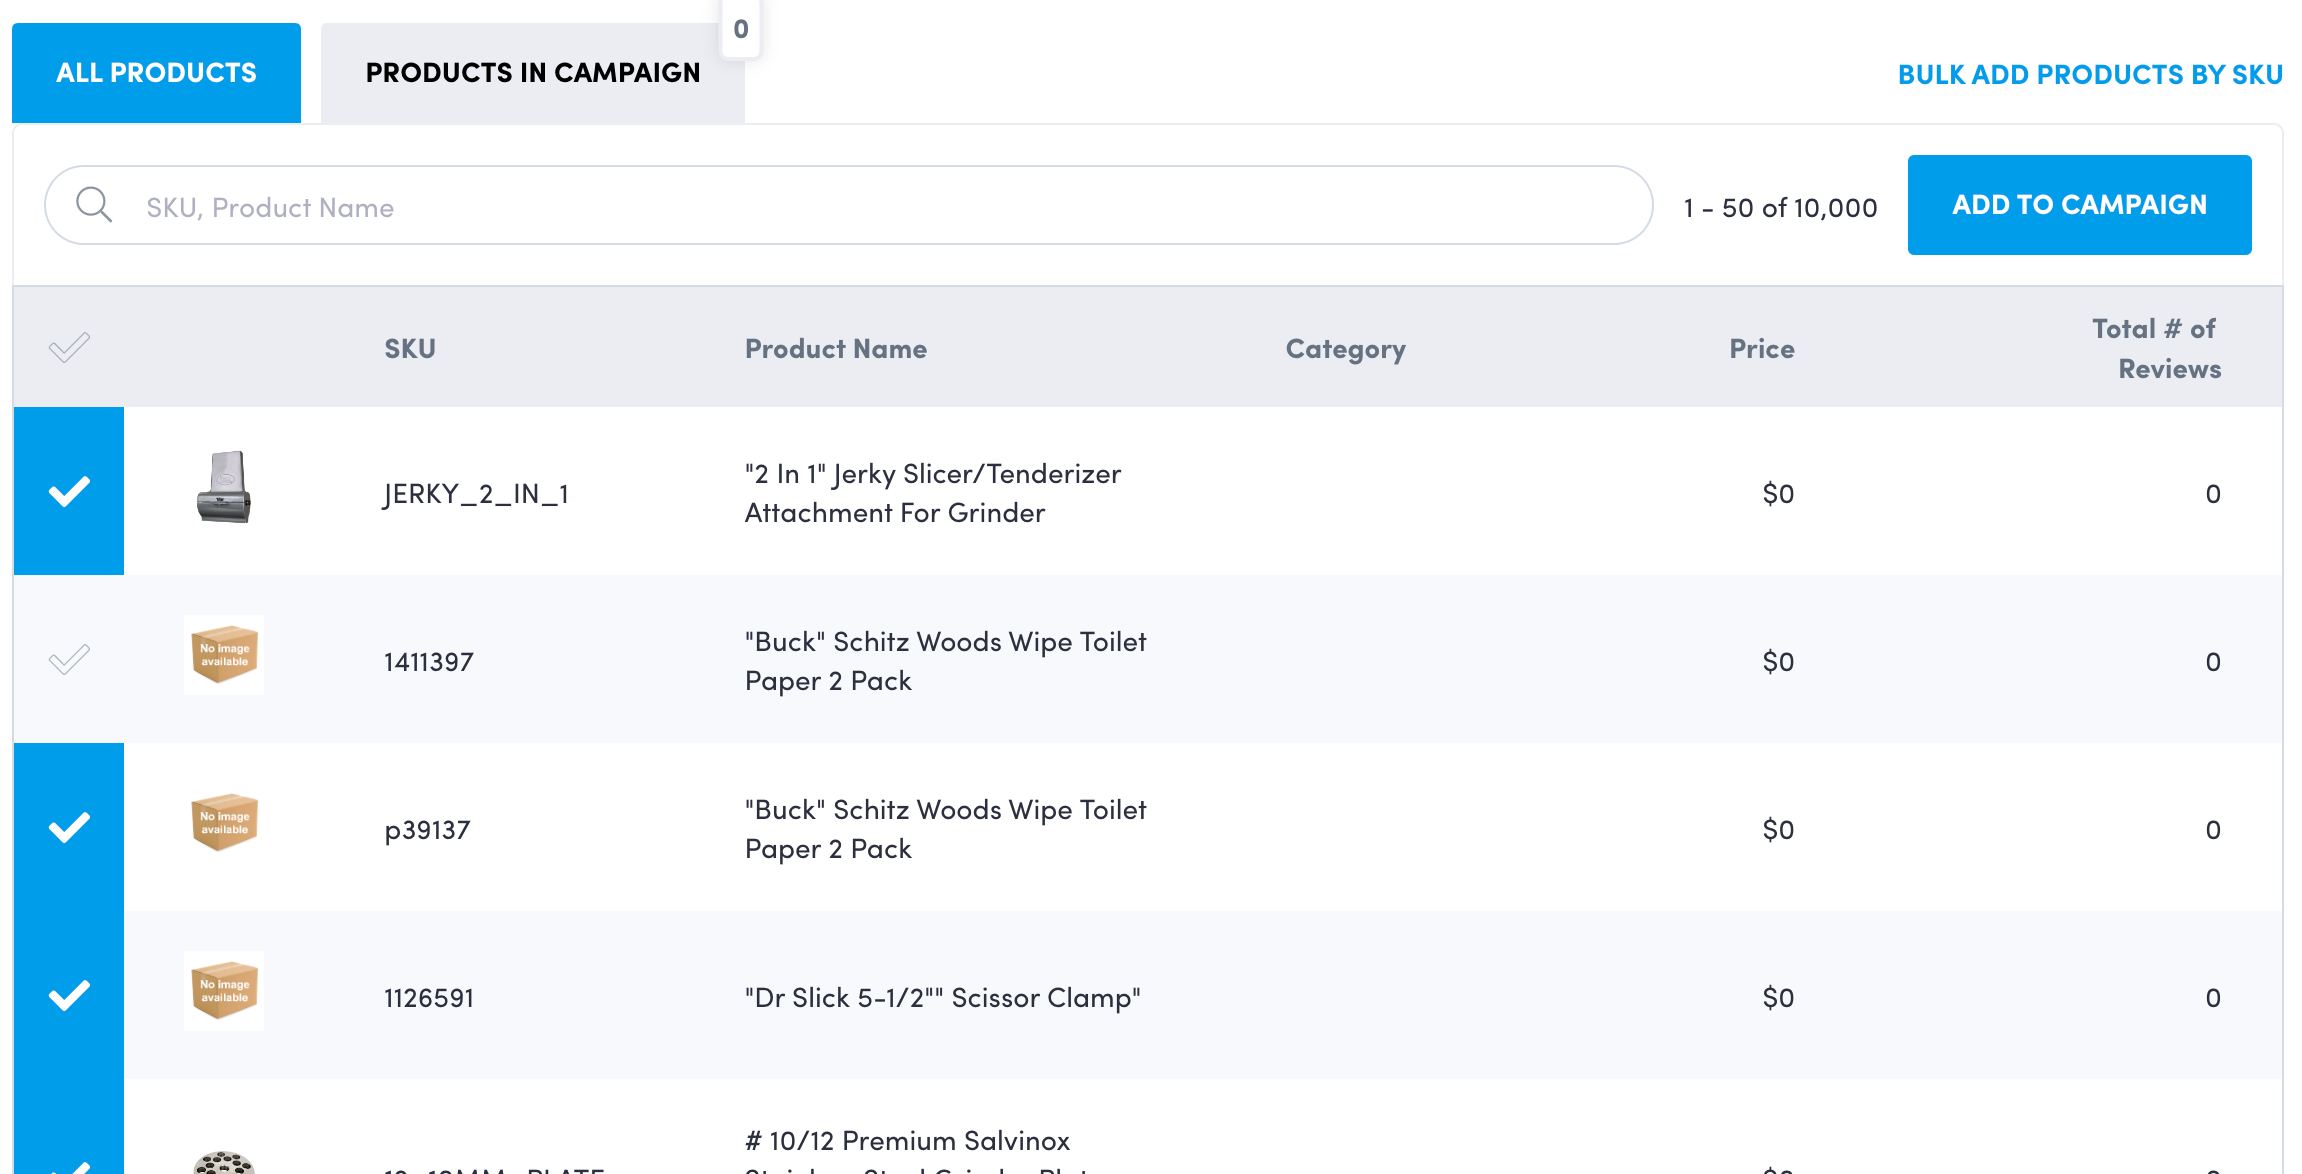
If you have a list of SKUs to add, click on the Bulk Add Products By SKU link. A modal will appear and you can paste your list of SKUs.
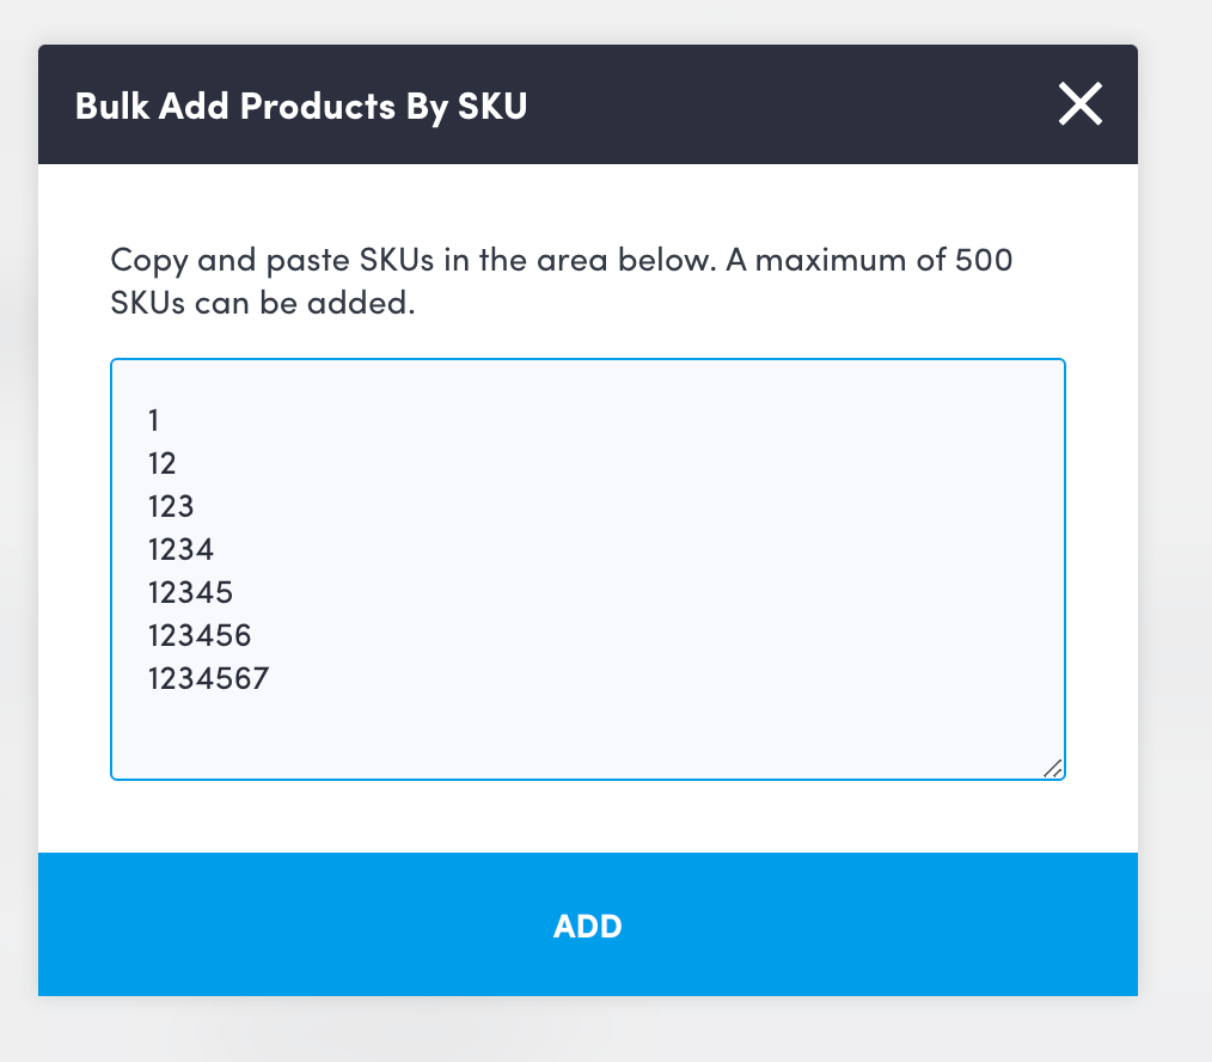
Each SKU must be on a separate line.
Once you’ve added your SKUs to your campaign, you can click Products in Campaign to see the full list of SKUs we’ll incentivize collection on:
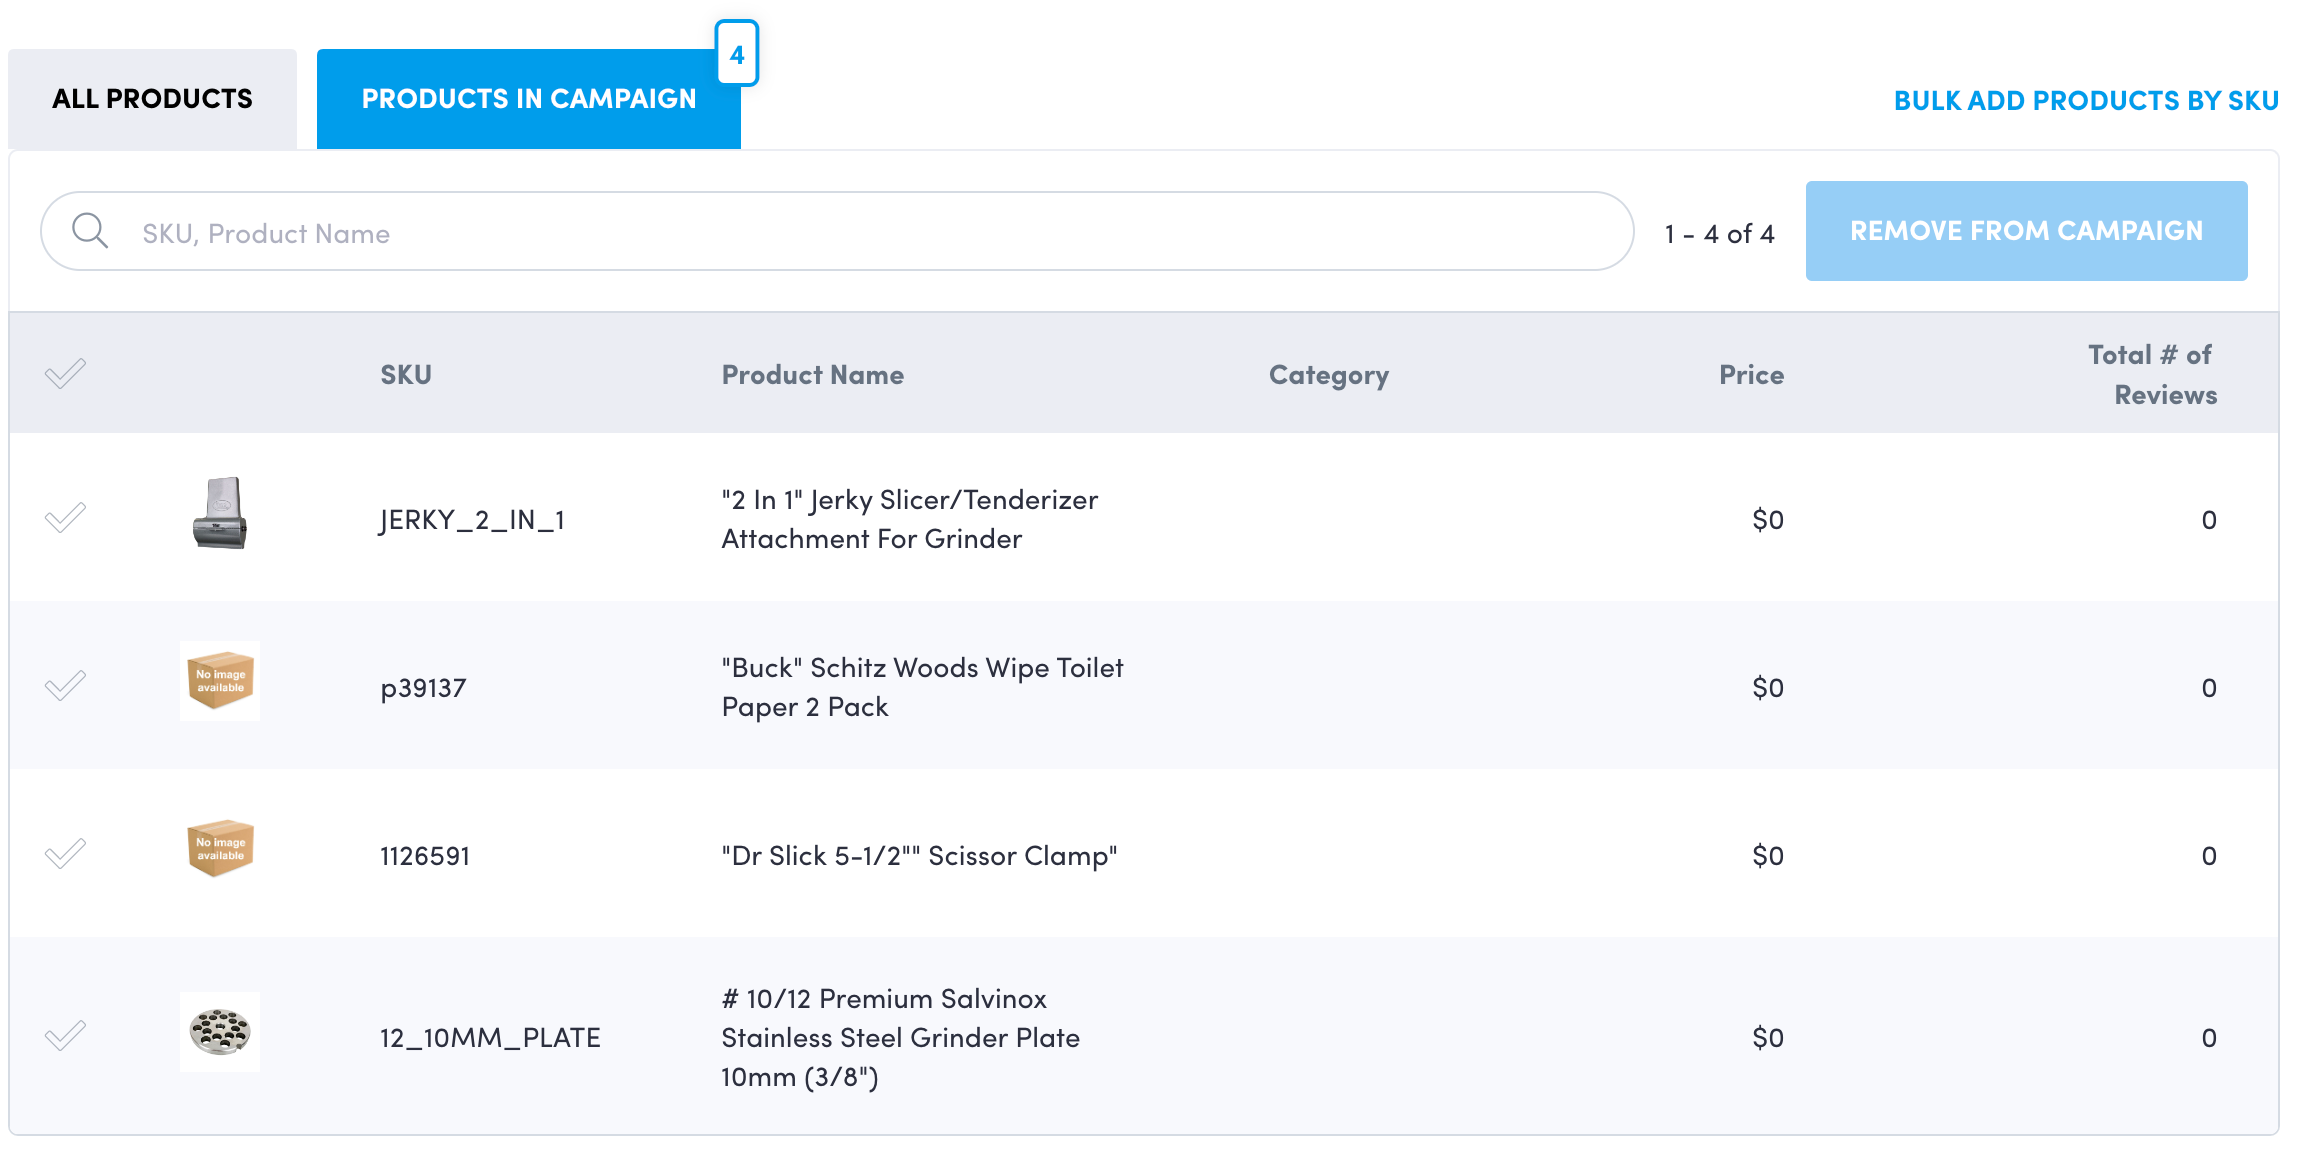
If you want to remove a SKU, click on the checkmark icon and then the Remove From Campaign button. You’re able to remove SKUs from static campaigns until the campaign starts.
Once you've added your SKUs to your static campaign, hit the Save button at the top right of the page.
Adding Incentives
Rewards incentives are coupon codes that will be sent to reviewers who provide reviews that meet Campaign requirements.
Review Incentives require unique promo codes

Review Incentives supports three type of incentives:
Review: This incentive type allows you to provide incentives to shoppers who only write reviews
Review + Photo: This incentive type allows you to provide incentives to shoppers who write reviews and upload photos with their reviews
"Review" and "Review + Photo": This incentive type allows you to run both incentive types.
Each incentive type needs its own list of unique promo codes.
Incentive Details
Once you’ve selected your incentive type, you can provide the following details:
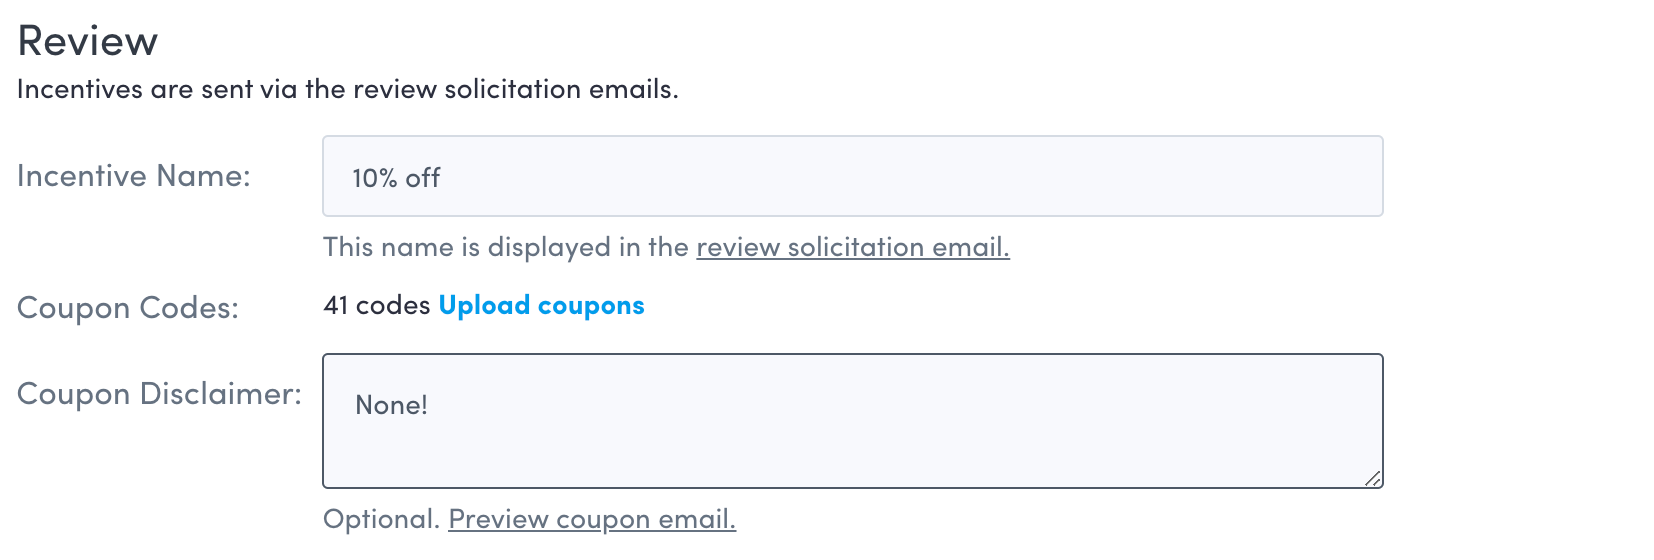
Incentive Name: The name of the promo code you are offering. For example, 20% off. Emplifi recommends keeping this simple.
Coupon Codes: The promo codes file should contain one coupon code per line. Blank lines are ignored. All promo codes should be unique.
Coupon Disclaimer: Legal disclaimer around the promo code you are offering. This text will appear in the promo code reward email.
Incentive Settings
Once you've set your incentive, you’ll be able to set optional incentive settings.

You can choose to keep rewarding promo codes a few days after a campaign ends. This option is for shoppers who received their incentivized email toward the end of the campaign and didn't have enough time to write a review.
You can choose to still reward shoppers that submit reviews even though the SKU is past the campaign review goal.
After you've set all the details of your campaign. Scroll back to the top and hit the Done button.

