Add a Meta Ad Account
Add a Meta ad account to your Emplifi account. Having a Meta ad account allows you to access a comprehensive view of your ad spend, costs, and engagement for your ad campaigns on:
Facebook
Instagram
Threads
WhatsApp
Messenger
Audience network
Using these ad insights, report on your performance, see what is resonating with your audience, and discover how you can spend smarter to maximize the value of your ad strategy, and ultimately, deliver on business objectives.
This article is for the users who have an account role with the “Add Pages & Profiles” permission (that is, for Account Admins and the users who have a custom account role with the “Add Pages & Profiles” permission under the Pages & Profiles section; see Account Roles).
Prerequisites
Before adding a Meta ad account, make sure that you are the owner of the Facebook account that holds the ad account or you are added to the ad account with at least the “Ad account analyst” role. For more information about adding a person to an ad account, see this Facebook help article.
Add a Meta ad account
Steps:
In a browser, log in to the Facebook account that holds the ad account.
In the same browser window, access Emplifi, and go to Settings -> Channels -> Ad accounts.
Click +Add account.
The dialog for adding a new ad account pops up. You are prompted to select a social media platform.Click Facebook & Instagram.
 If it is the first time you are attempting to add a Meta ad account to Emplifi, you are asked to choose the Facebook pages that Emplifi will be able to access after the Meta ad account is added (we recommend that you select all the pages) and review permissions that will be granted. Review the requested data permissions and allow Emplifi to access the data.
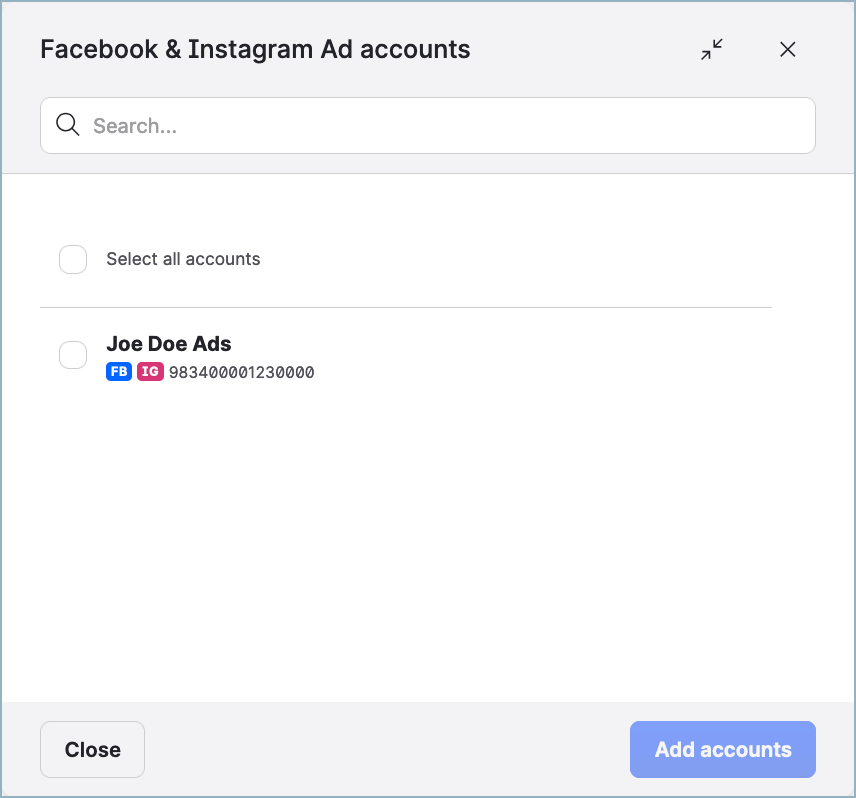
Emplifi accesses the data from Facebook, and the dialog shows the Meta ad account.
 If no ad account is shown, see “Troubleshooting” further in this article.
Select the ad account, and click Add accounts.
The Meta ad account is added and appears in the list of ad accounts.
The ad account data will start downloading automatically. Two years of historical data from the date when you connect the ad account will be downloaded.
How long it will take for the data to fully synchronize depends on the amount of data to be downloaded. In rare cases, it may take up to a few days.
Troubleshooting
If something is going wrong while you are adding a Meta ad account, take the following actions, and try adding the ad account again:
Check that all the prerequisites are met (see “Prerequisites” earlier in this article).
Check that you are logged in to the correct Facebook account.
If none of those actions helped, contact Emplifi Support at support@emplifi.io.
