Create a New Dashboard
While pre-defined dashboards are a convenient way to get a quick visualization of specific data, they barely tap into the full potential of the Emplifi platform analytics.
To build a dashboard, you use widgets. You can think of widgets as predefined metric containers that you can configure to visualize just the data that you are interested in. To learn more, see Working with Widgets and Metrics in Dashboard.
One dashboard can contain multiple widgets. You may create dashboard to get the overview of your performance on a single social network, profile, or to see how your videos are doing across multiple platforms.
Create a dashboard
To create a new dashboard from scratch, follow these steps:
Click Add dashboard.
Click the Blank dashboard tile.
Click Add widget.
The list of widgets displays. You can narrow down the list by clicking one of the icons in the filter bar or you can search for the widget directly.
Select the widget that you want to use.
The widget’s configuration page appears.Configure the widget.
Example: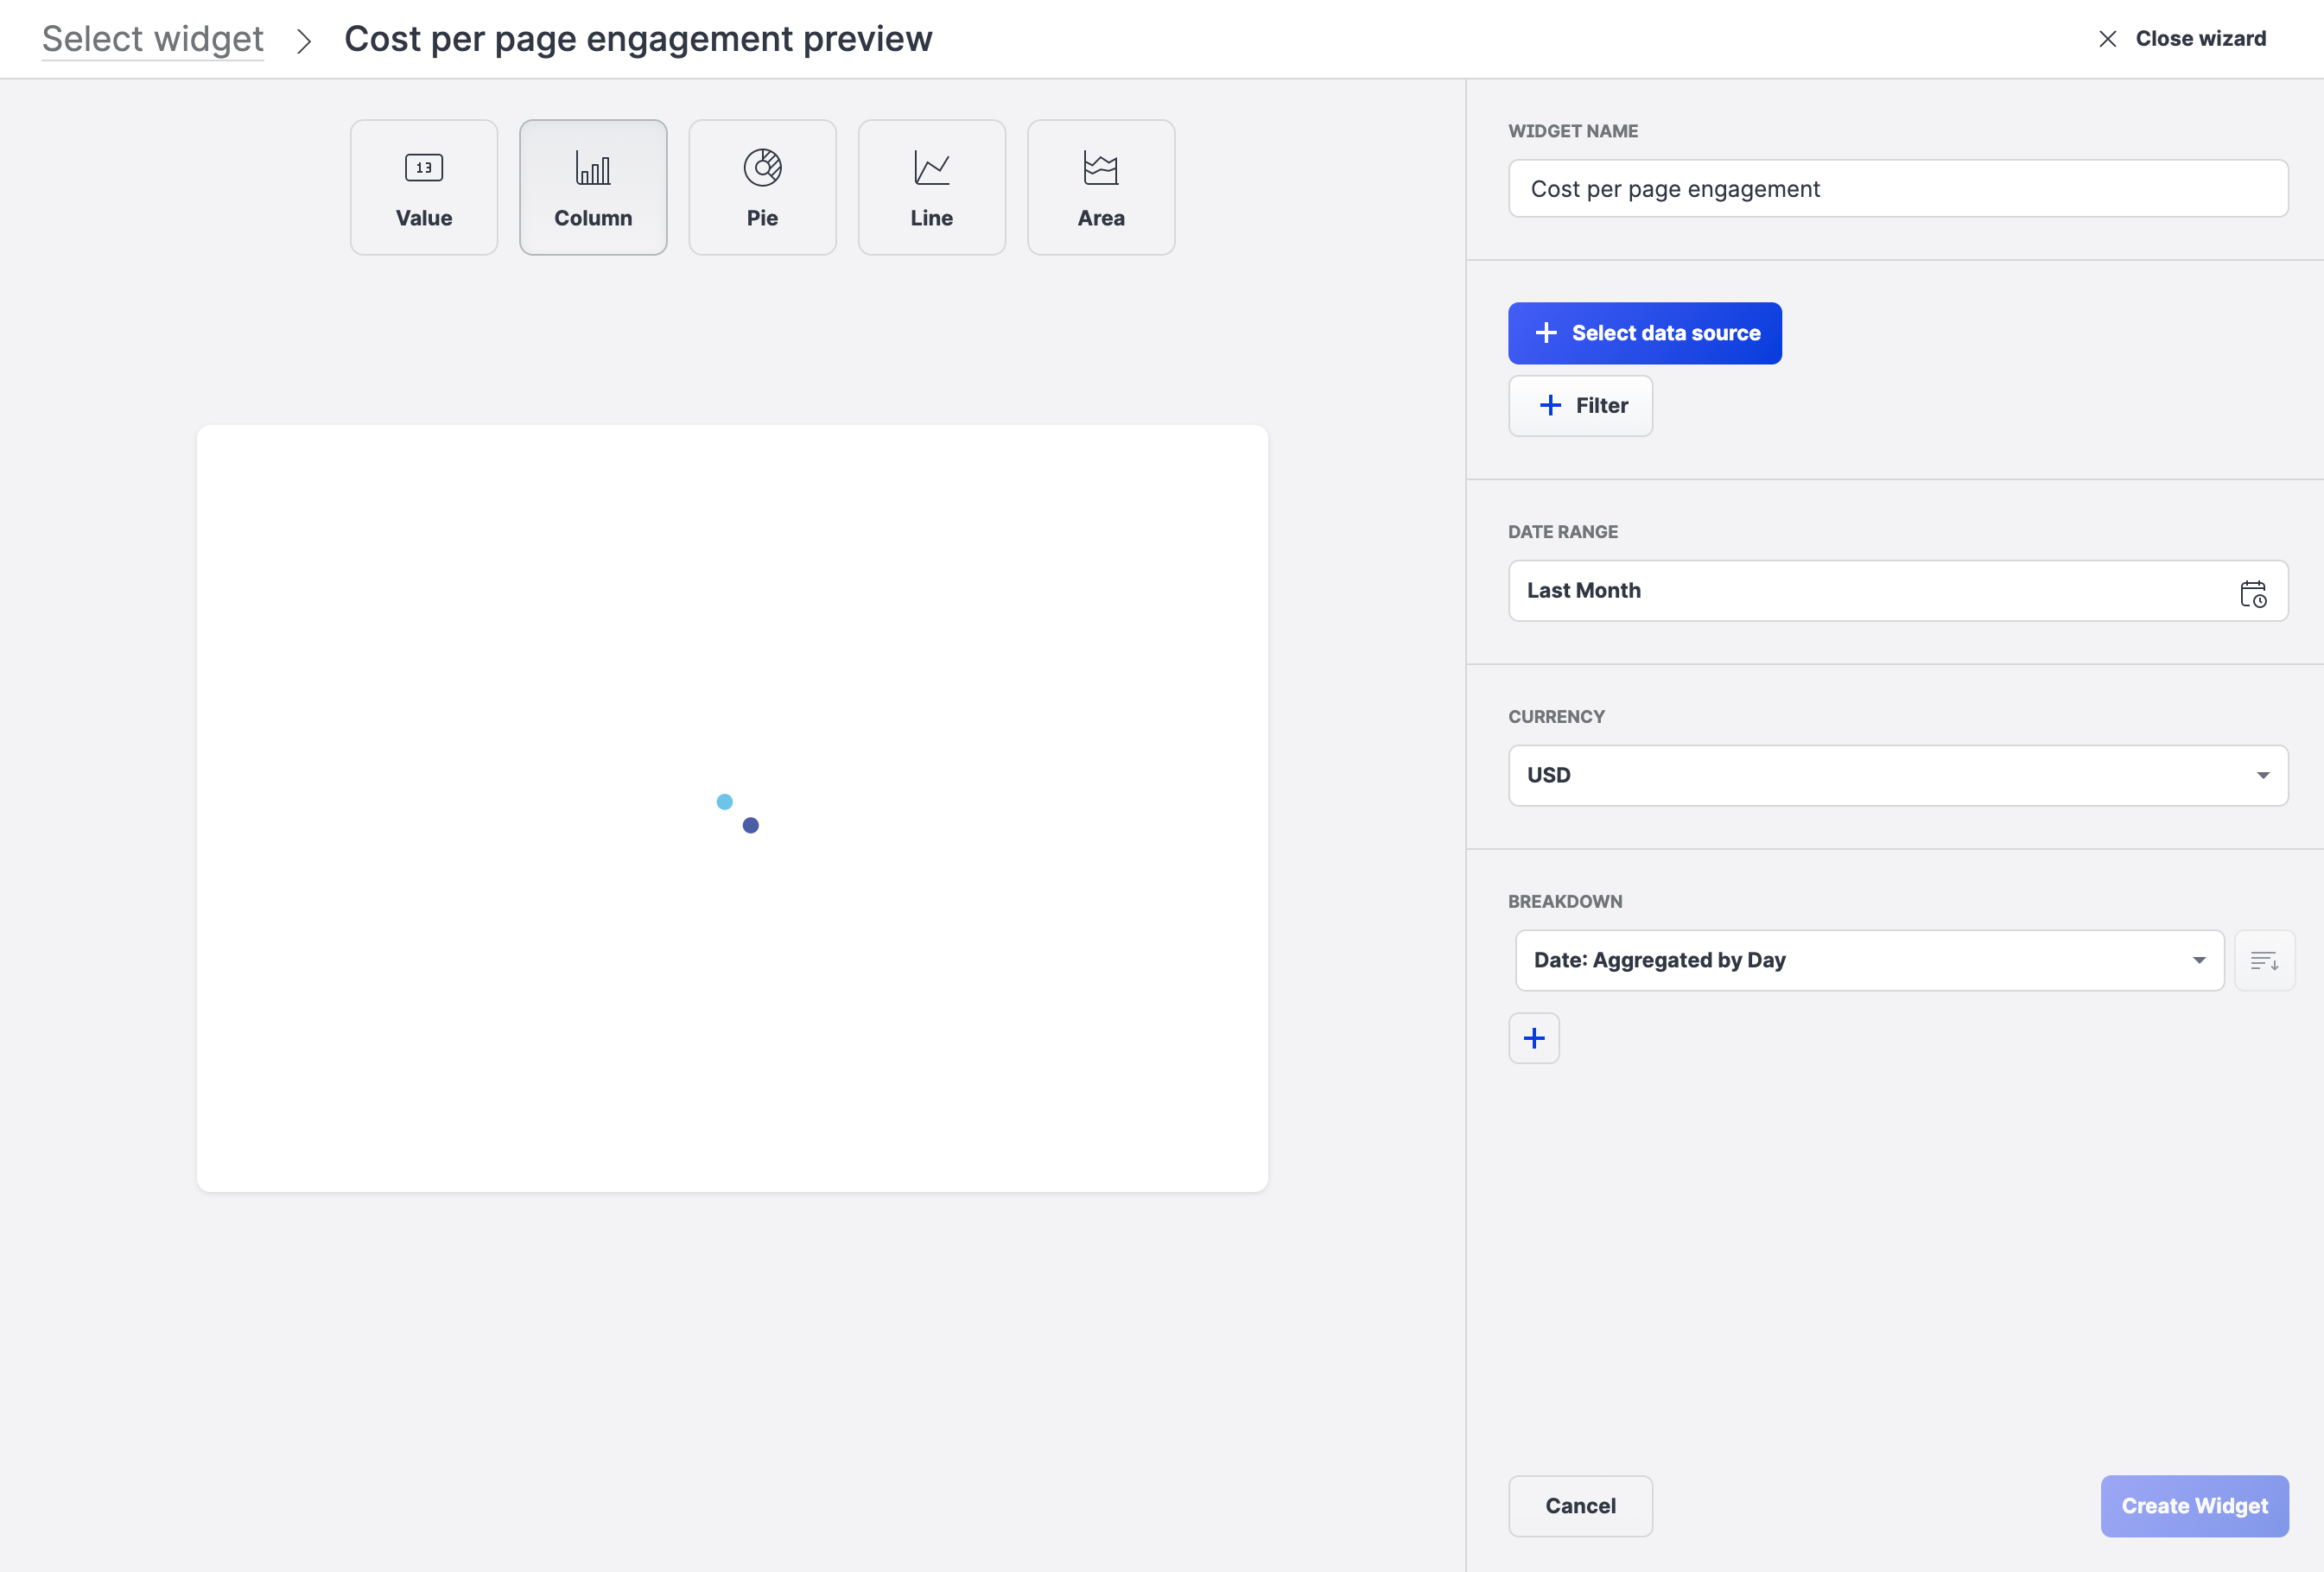
Configuration options for individual widgets differ. In general, you can define the following parameters:
chart type
widget name
data source
filters
breakdown options
widget specific options
Click Create widget.
The widget appears on your dashboard.
To learn how to modify a dashboard, see Add and Remove a Widget from Dashboard .
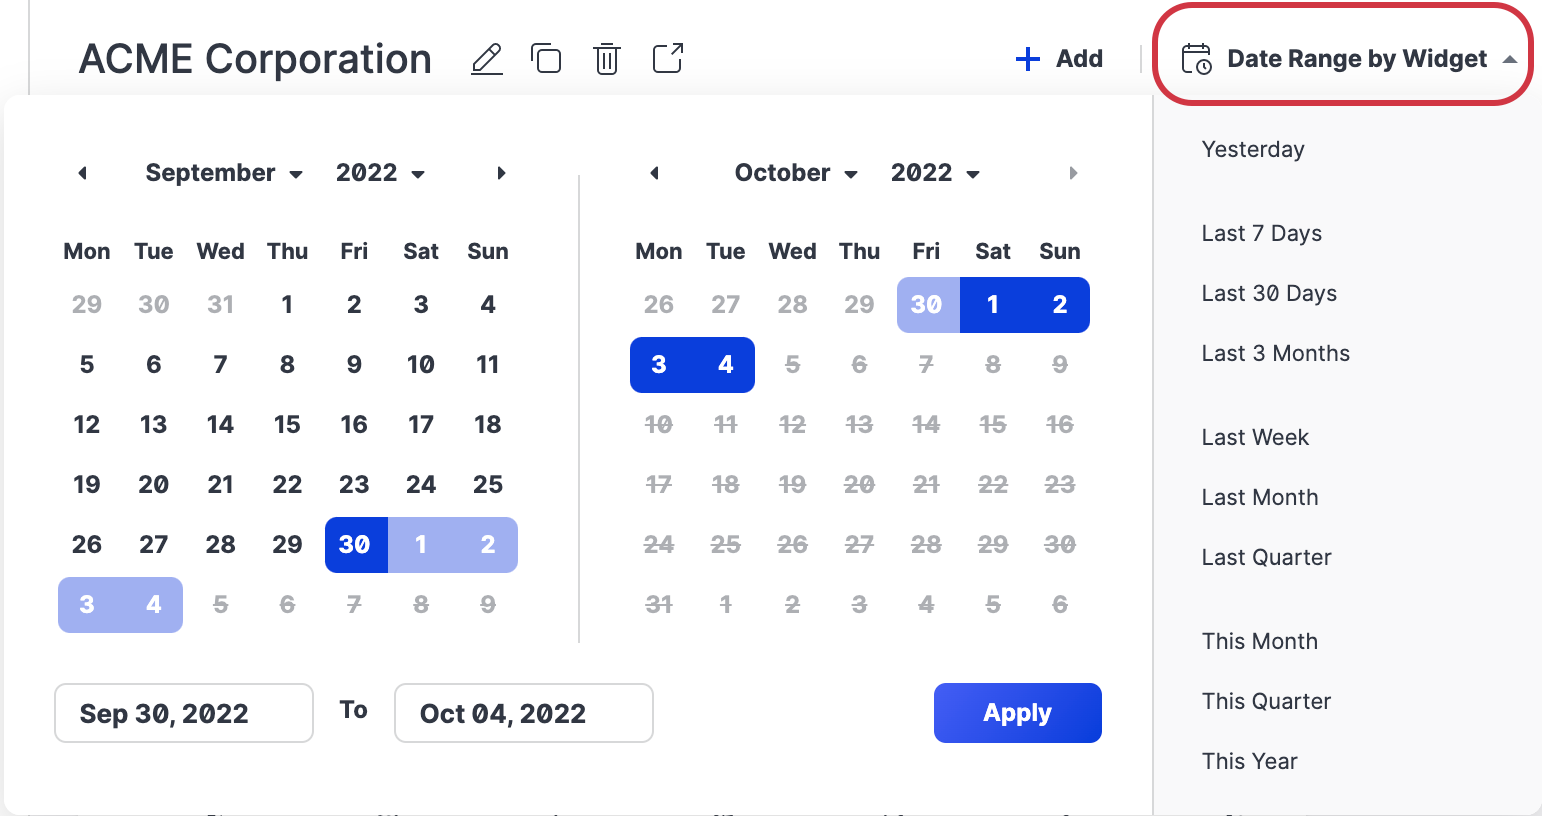
Set the date range
After you create a dashboard, you can define the default data range for all widgets in the dashboards.
Setting the global date range for the dashboard overwrites date range settings in individual widgets.
Duplicate a dashboard
Assume that you want to have identical dashboards displaying data for different date ranges, for example, this year and this month.
To achieve that, you can simply create a dashboard for this year data, then click the Duplicate icon to create a copy and adjust the date range setting to this month.

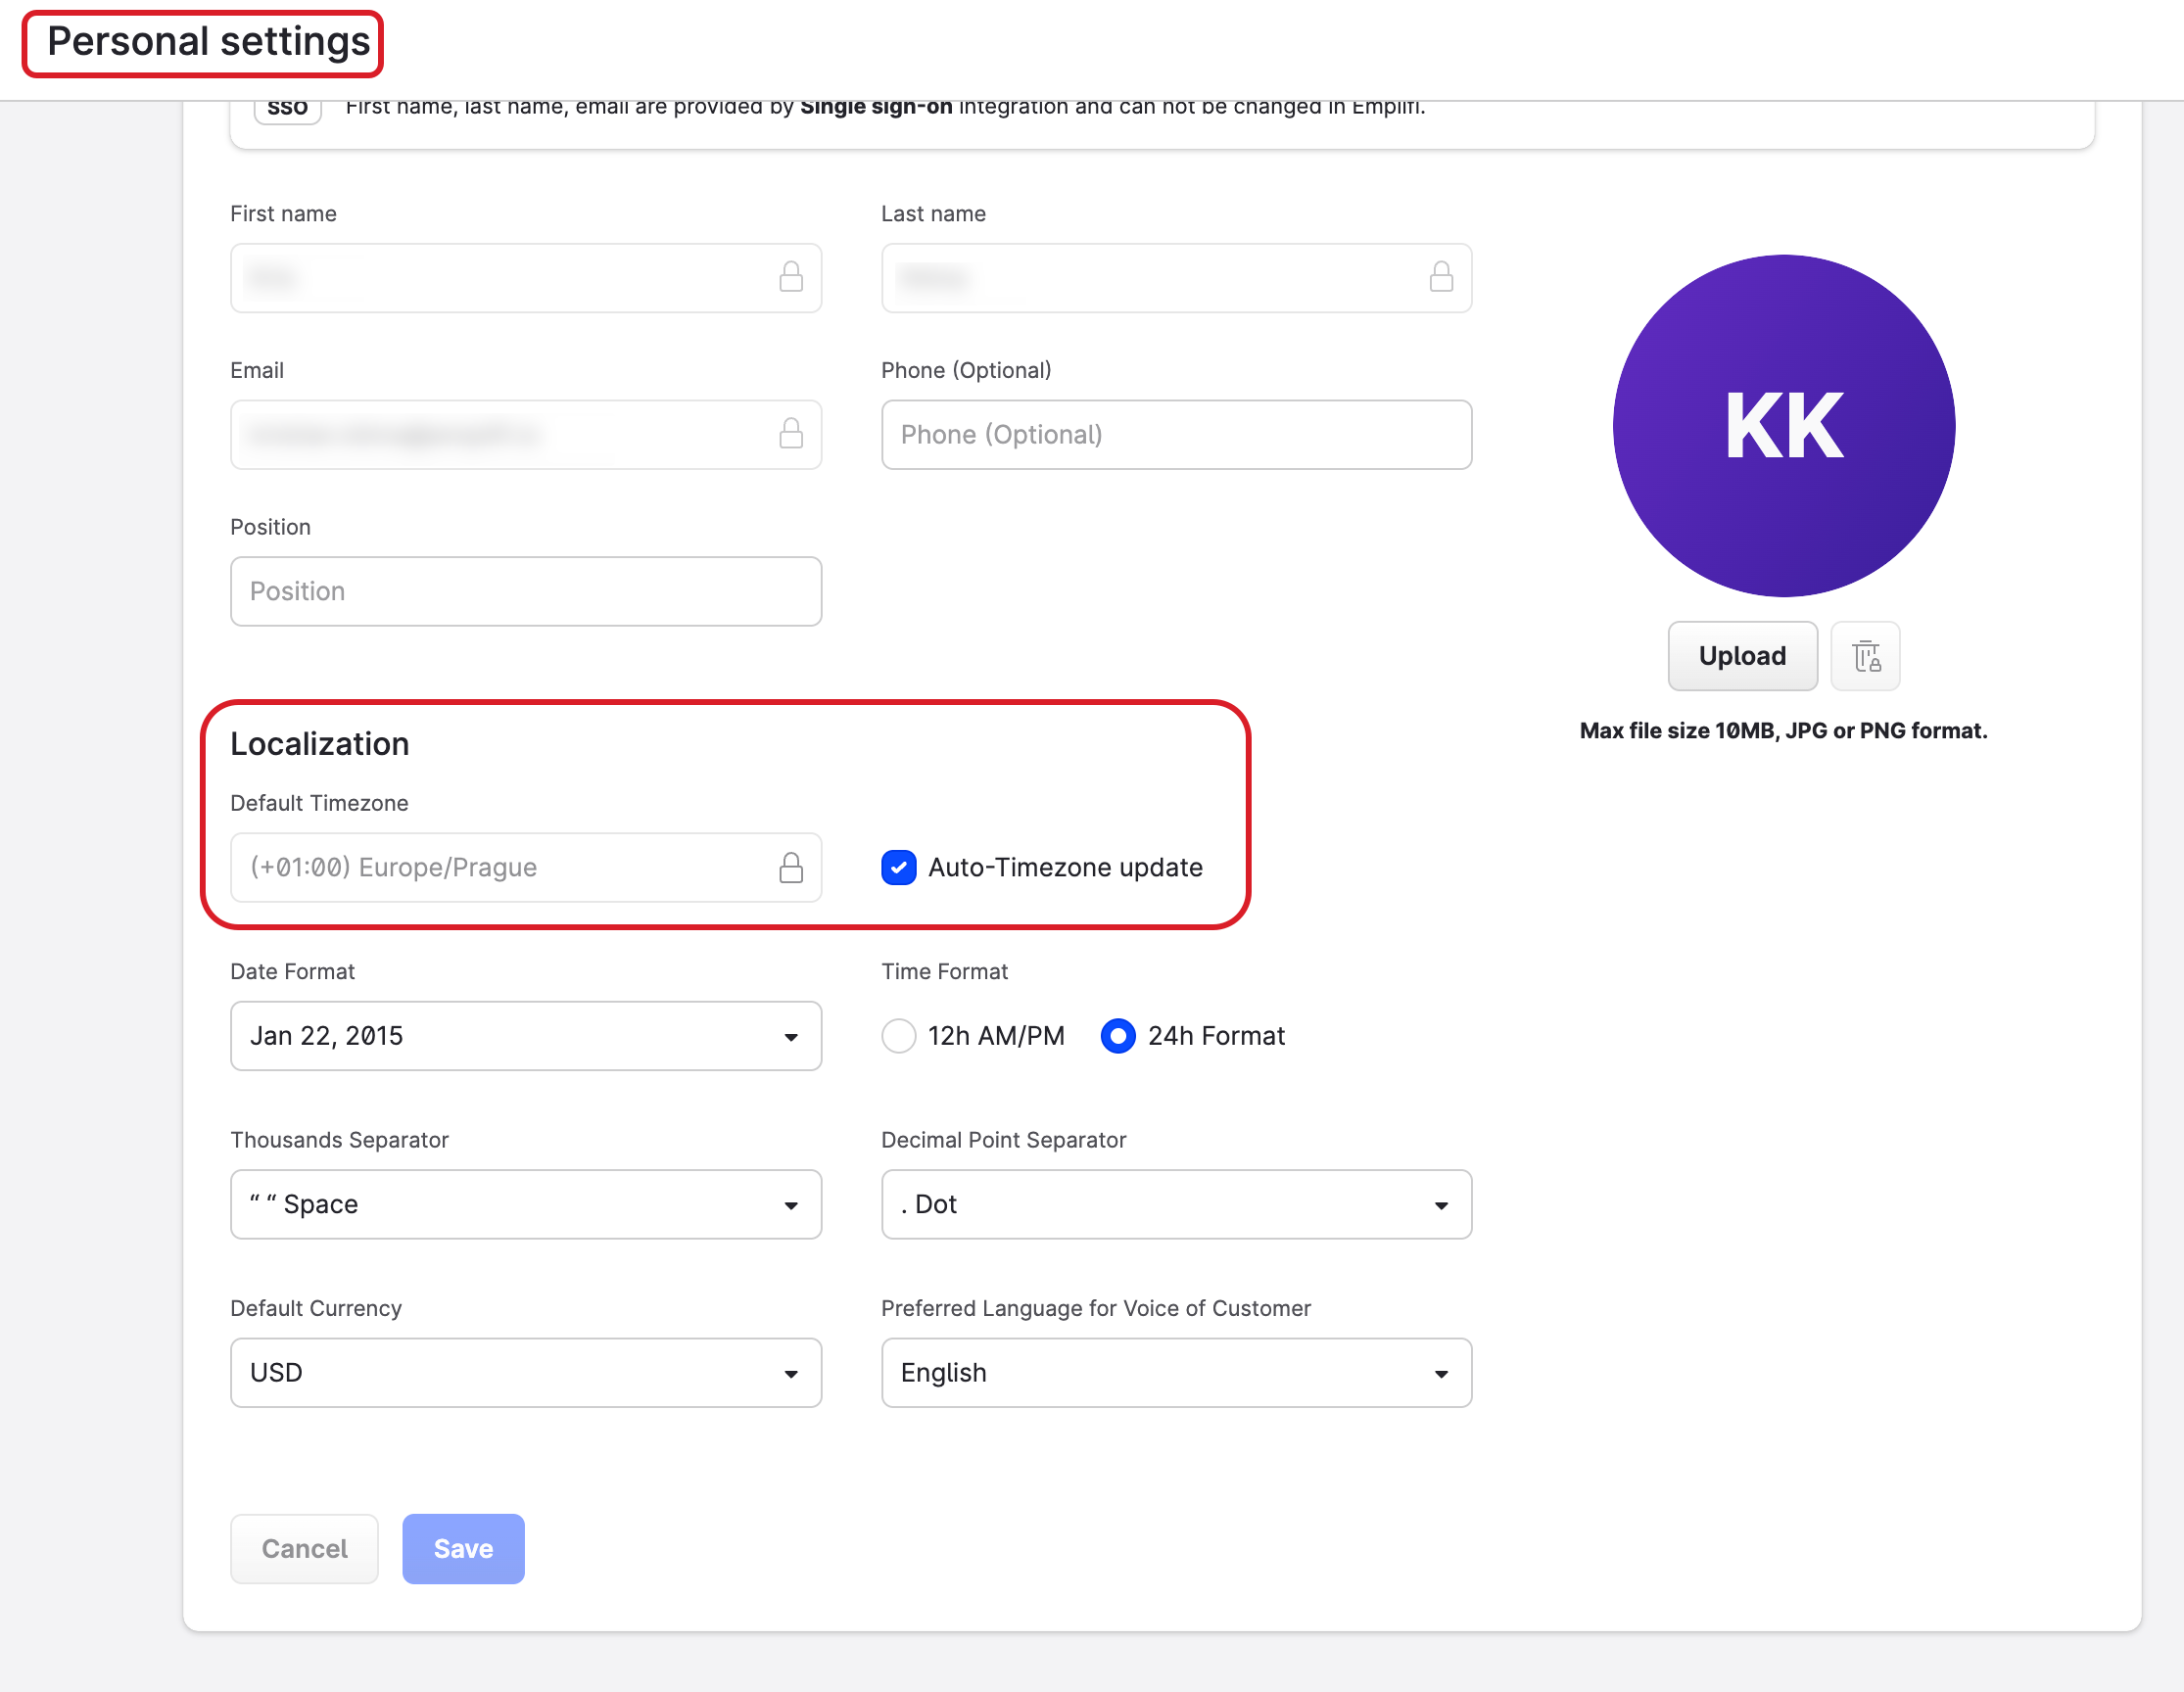
Timezone
When you create a dashboard and add a widget to it, the timezone is determined by the Localization preferences in your Emplifi account settings.