Tag albums are used to organize content in your account. Create tags to categorize things such as activities, locations, content categories, and campaigns.
If you're using one of our E-commerce integrations, we will automatically pull in all of your categories from your product feed.
You can use tag albums to publish tag specific galleries on your site or create Interactive Social Hubs.
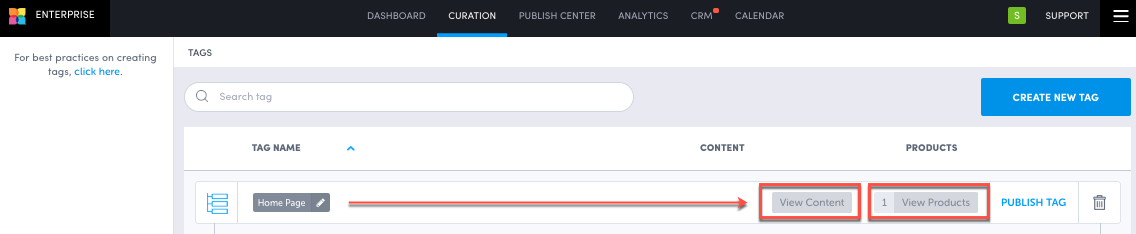
To access the tag album dashboard, under the Curation dropdown in the top navigation bar, select Tags. From here, you can see your a list of your tags, including how many products were tagged in each tag album. Click on View Content to open that tag's album.
How is Content Added to a Tag Album?
Content is added to the tag album when either of the following conditions are met:
-
When a content tag is manually assigned to a piece of UGC, or when our Image Recognition software assigns an AI Image Tag to a piece of photo content.
-
When a product that is assigned a tag is added to a piece of UGC.
If a piece of content has more than one tag, it will appear in multiple albums.
Create a New Tag
New tags can be added either through Curation → Tags or any field that says Assign a Tag or Add a Tag.
Create New Tag in Curation
Steps:
-
Click on Curation in the top navigation bar and select Tags.
-
Within your tag album dashboard, click Create New Tag.
The Add a Tag panel opens.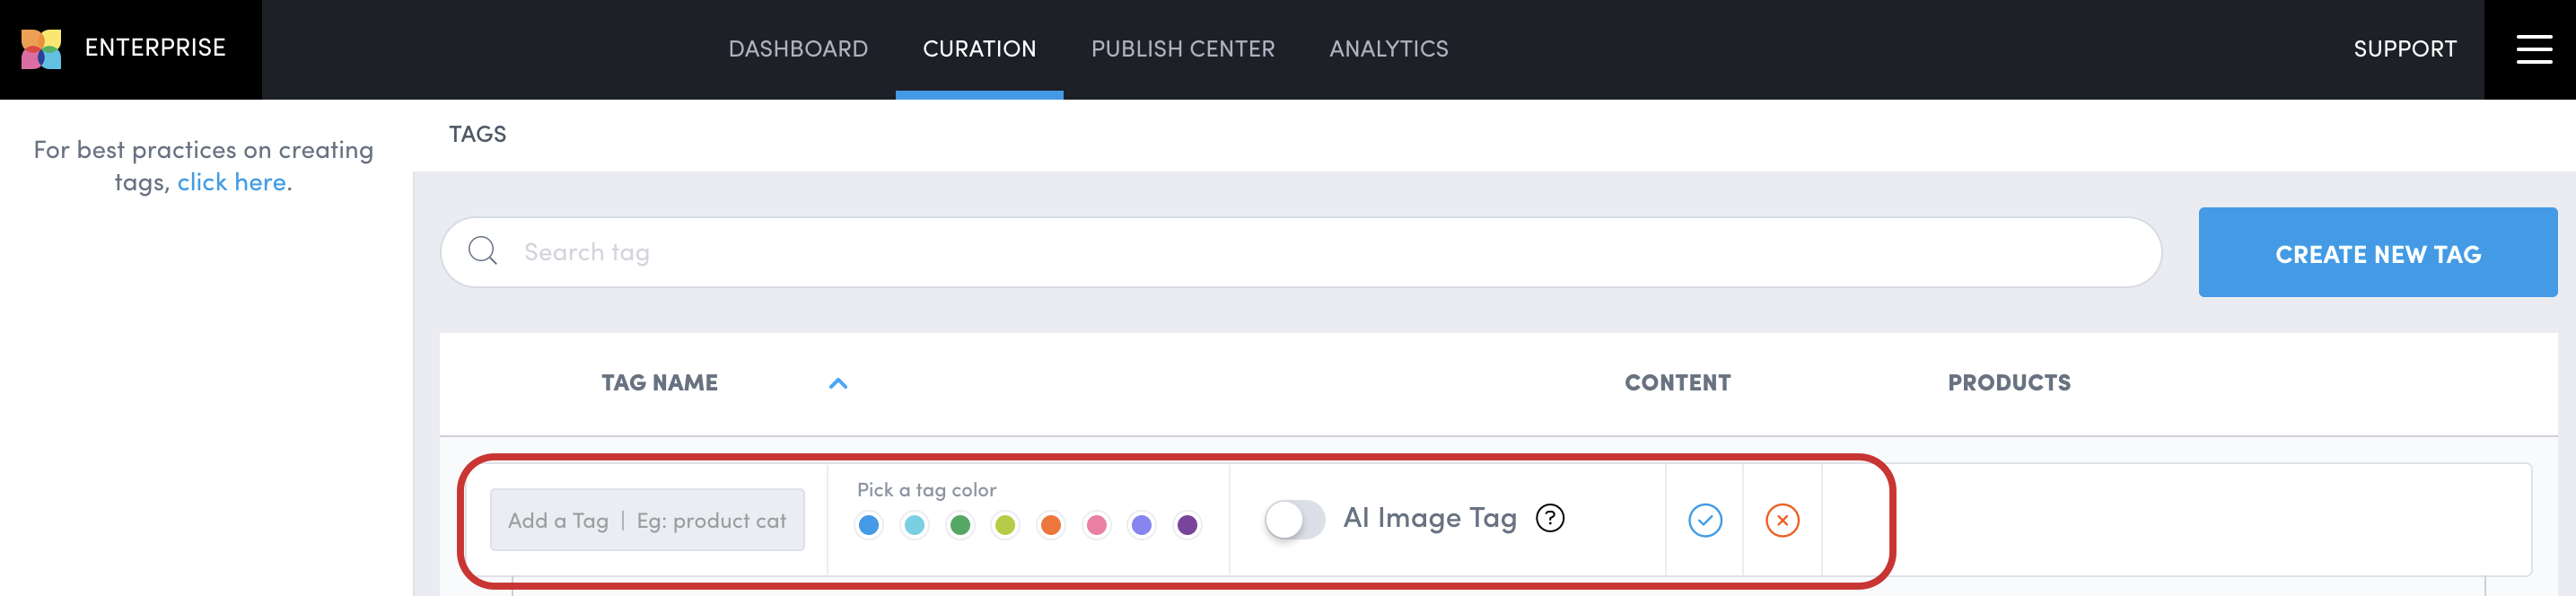
-
Enter the tag name and choose a tag color.
-
Click the blue checkmark to save.
Assign a Tag in Asset Details
Steps:
-
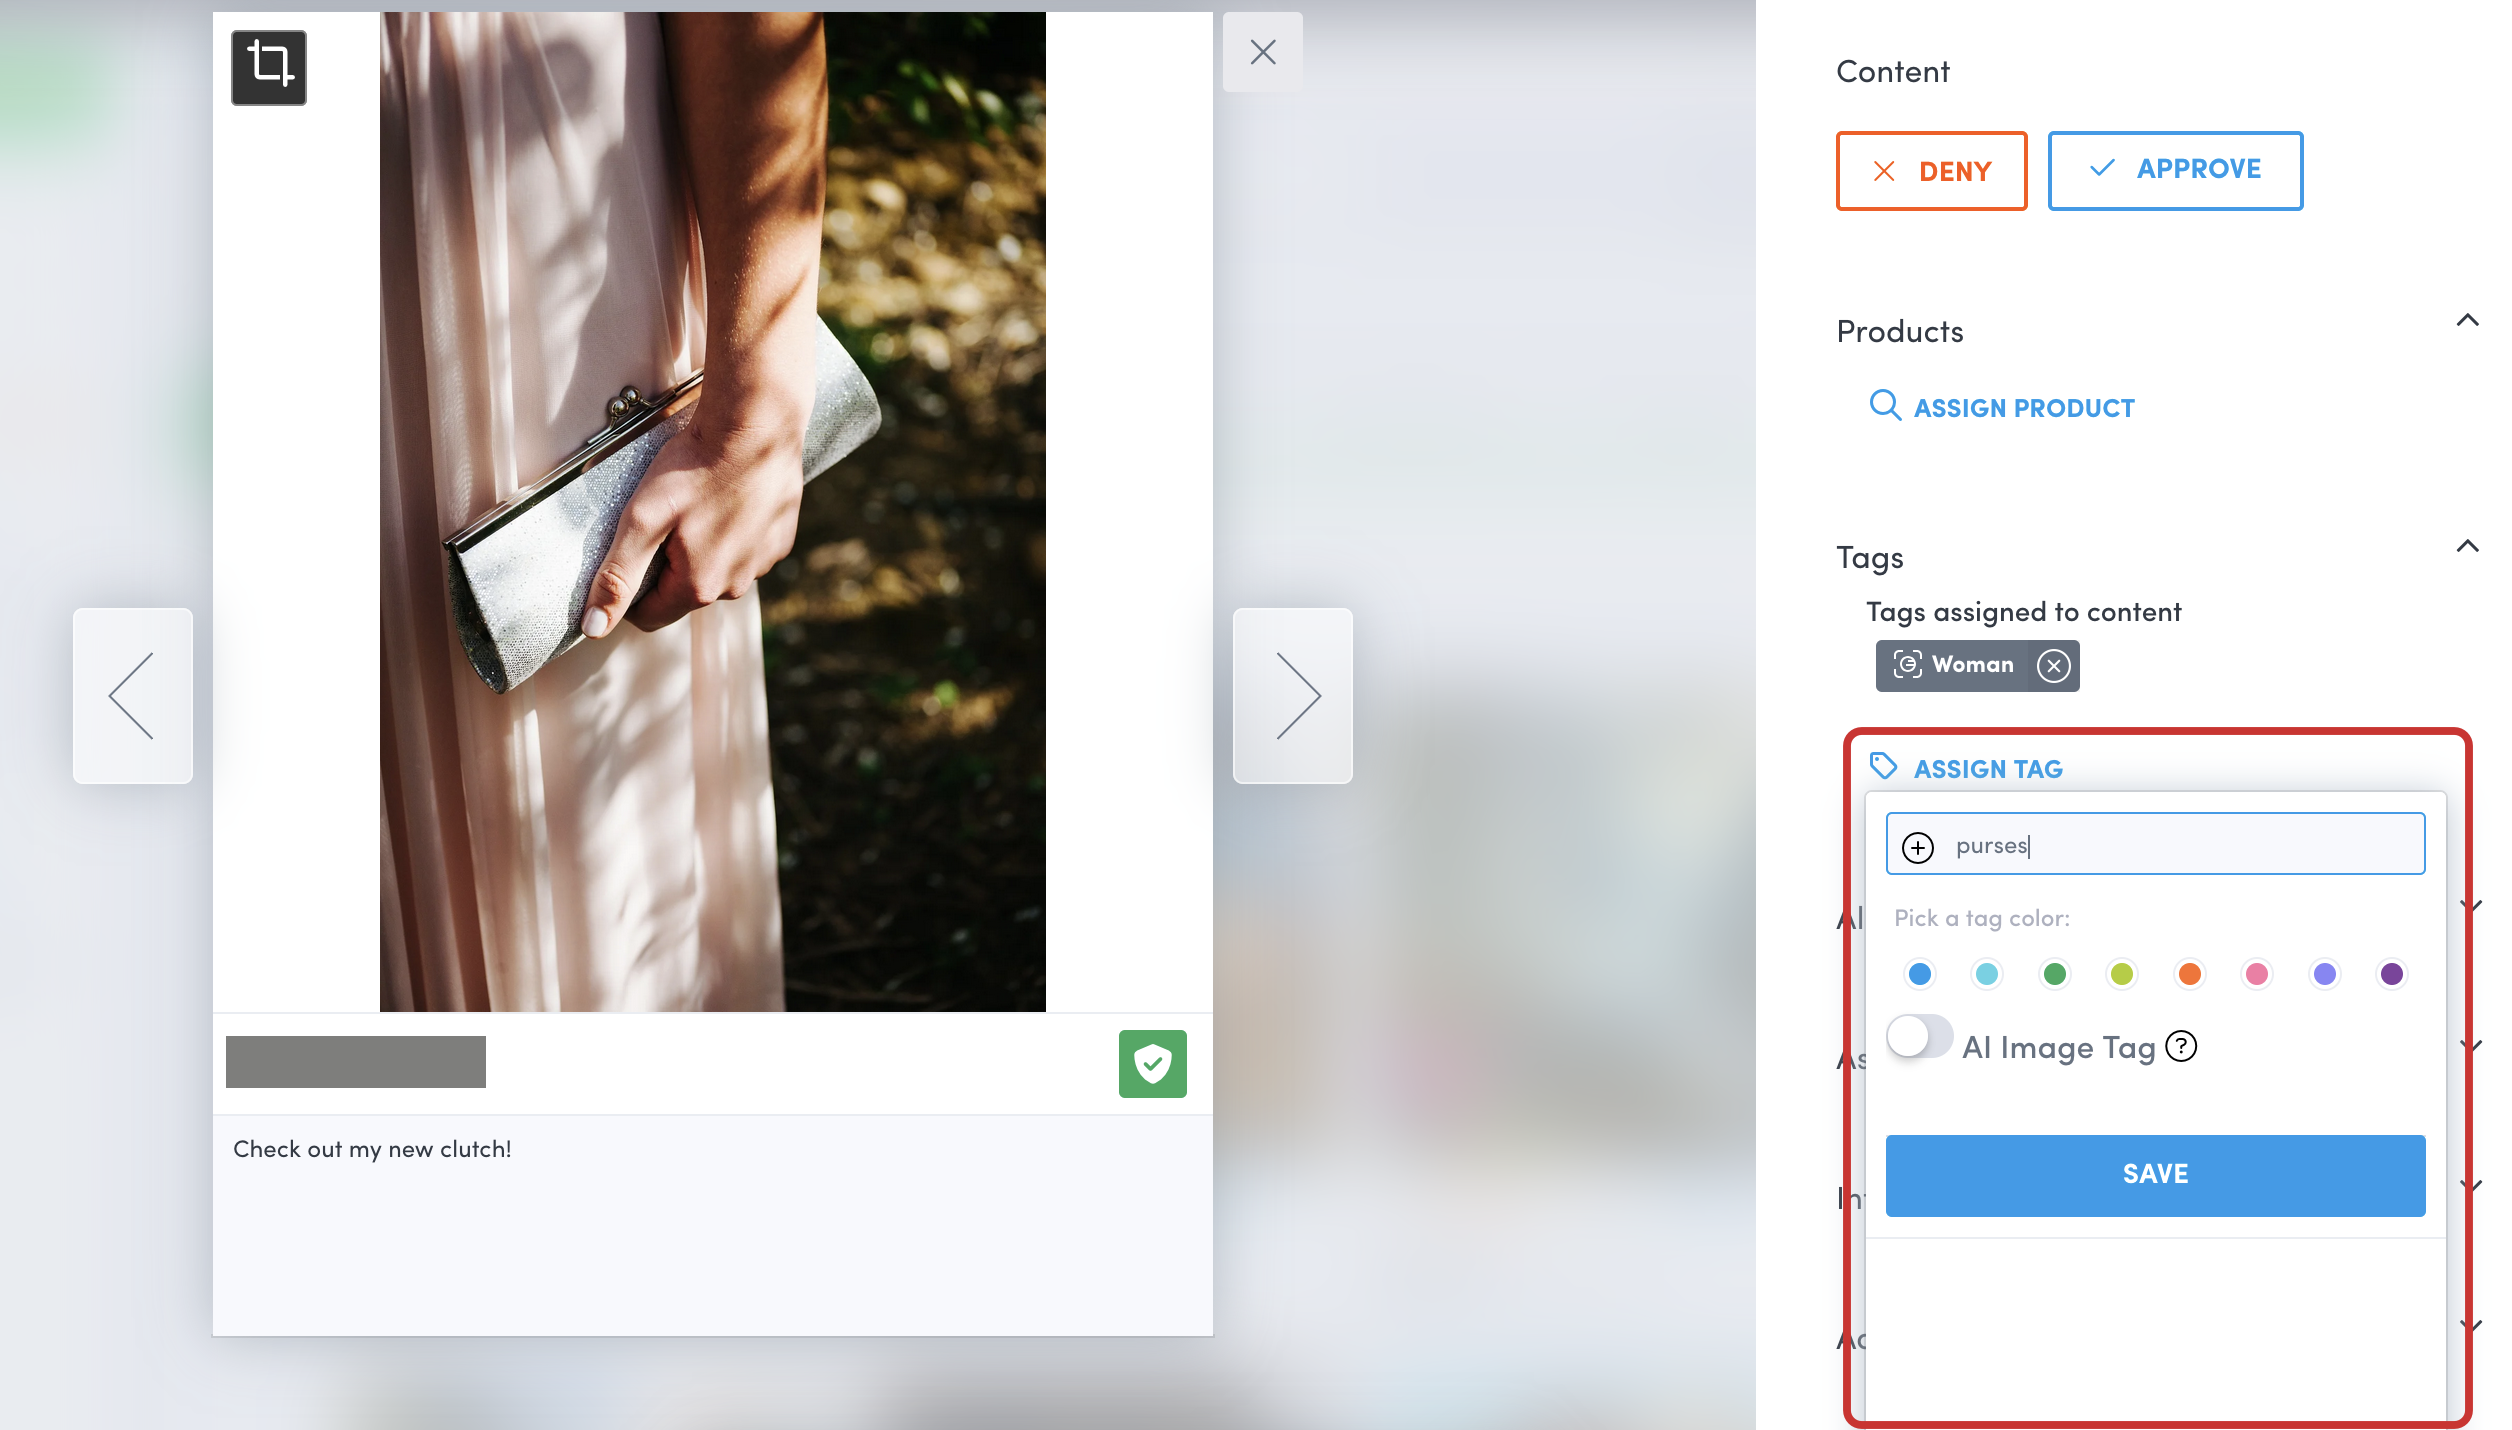
In the details panel for a piece of content in an album, click Assign a Tag.
-
Enter the tag name. If the tag already exists, it will populate underneath.
-
Choose a tag color and click Save.
Add a Tag during Multi-Select
Steps:
-
Click the check mark on one or more pieces of content.
The multi-select tool opens. -
Enter the tag name. If the tag already exists, it will populate underneath.
-
Choose a tag color and click Save.

Create an AI Image Tag
Emplifi UGC can automatically tag the content in your albums with an AI Image Tag to help you organize your content more efficiently. To learn more, see Image Recognition.
Create a Tag Product Tree
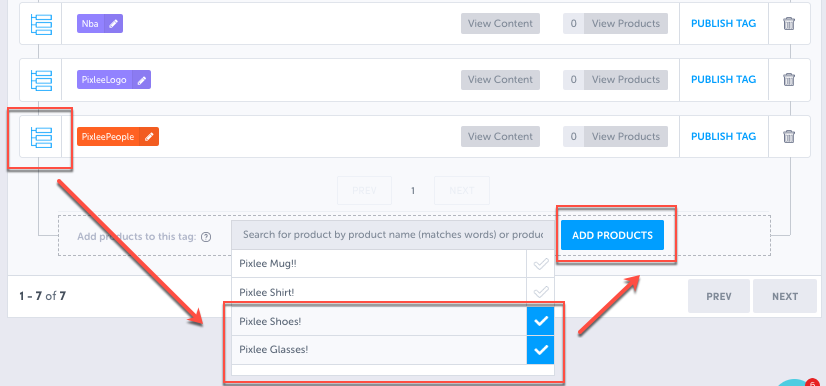
A tag product tree allows you to automatically associate tags with different products, so that when you assign a particular product to a photo, associated tags will also be added.
-
Click the blue product tree icon next to a tag.
-
Search for the products that you would like to associate with the tag and click the ones you want.
-
Click Add Products to have the products added to the tag
Publish a Category Description Page (CDP) Display
Go to our developer documentation to learn how to publish CDPs. Please make sure you've selected the correct ecommerce integration and then scroll down till you come across the CDP section. You can select this on the left side panel upon clicking into the link.
Do you have feedback or more questions? You can contact us through our Emplifi Customer Center.