Publish a Facebook Tab
Within the Publish Center, you can set up and manage from a variety of Emplifi UGC displays that include website displays, Emplifi UGC-hosted landing pages, email displays, Facebook tabs, Shoppable Instagram, and live displays. You'll be able to include 1 or more of them on your Facebook business page.
Follow these steps:
To ensure tabs lead to high-quality, accurate content, Facebook has their page tab feature available to only pages with 2000 or more likes.
Open your Publish Center.
Click on “Publish a Facebook Tab” within the “Facebook Tab” channel.

Title your display.
Select the album that you would like to display and apply any filter options
 If you don't see your album when connecting it to your display, it might be because it doesn't have any approved content in it.
Customize your display the same way as you did when publishing a website display.
In a separate tab on your browser, login to your Facebook account that is an admin to your Facebook business page.
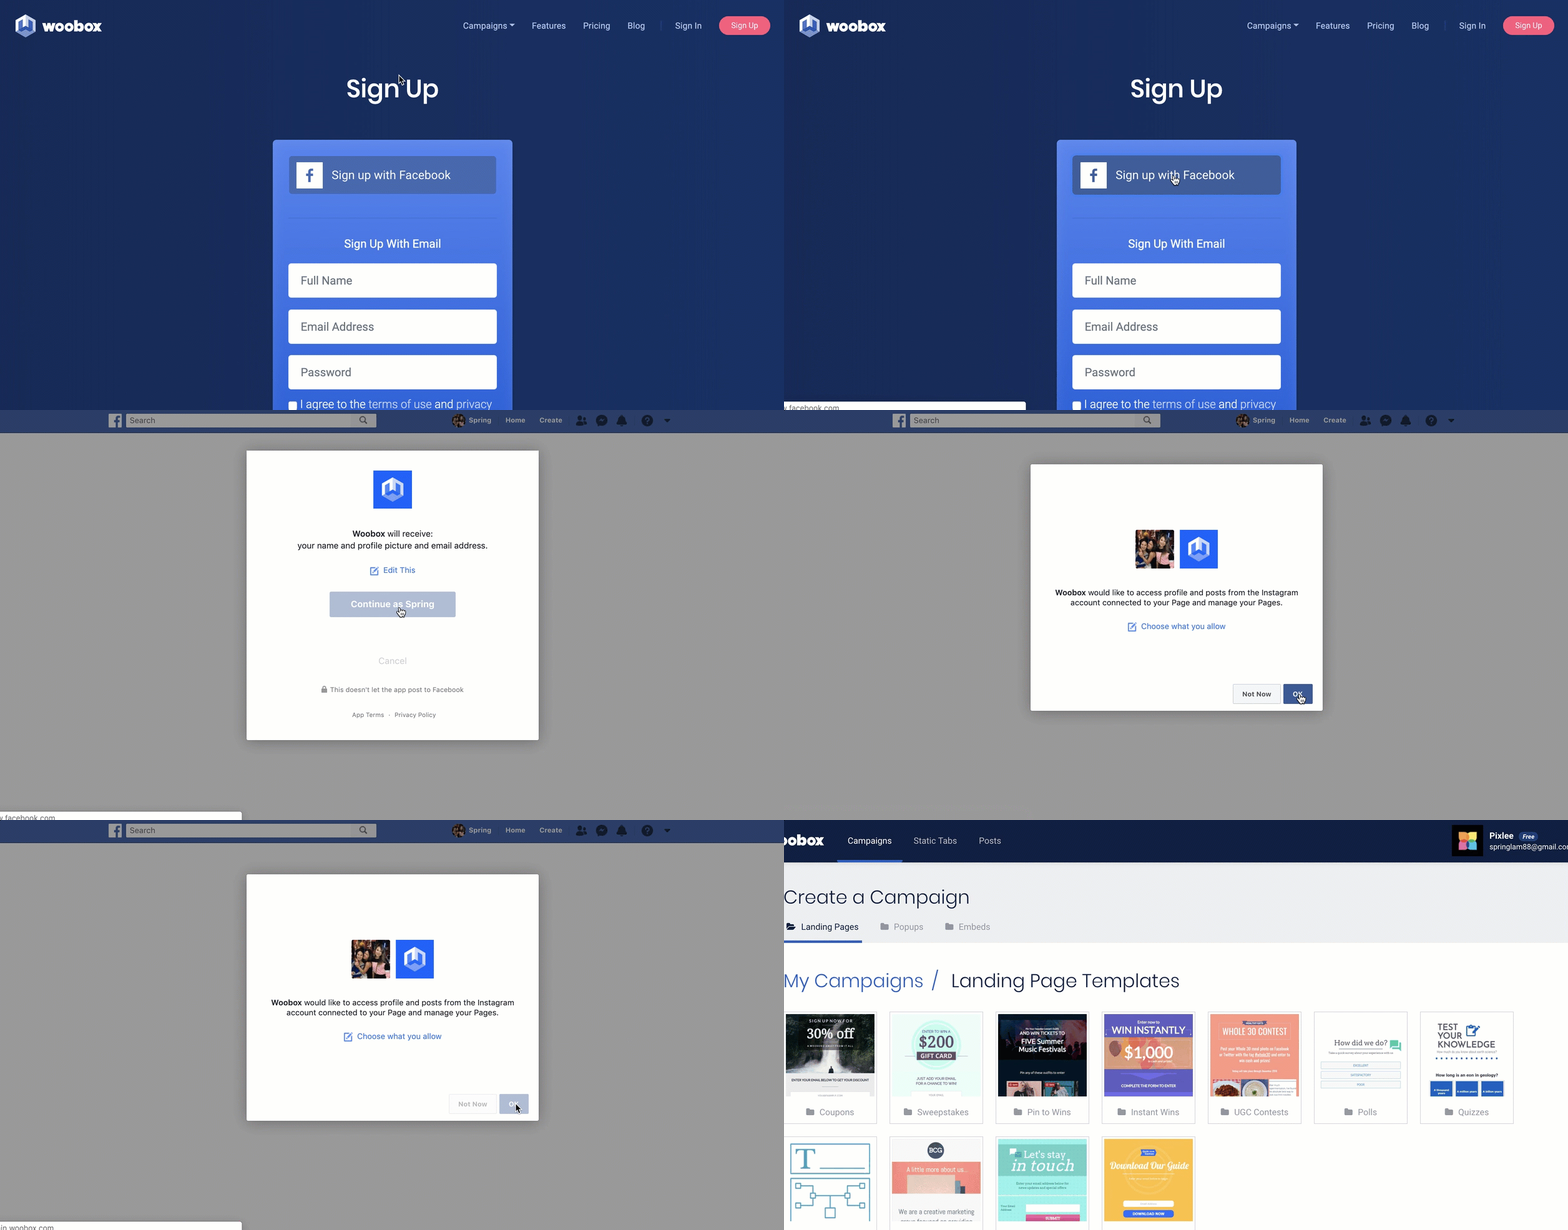
Sign up for a free Woobox Account here through syncing your FB account.
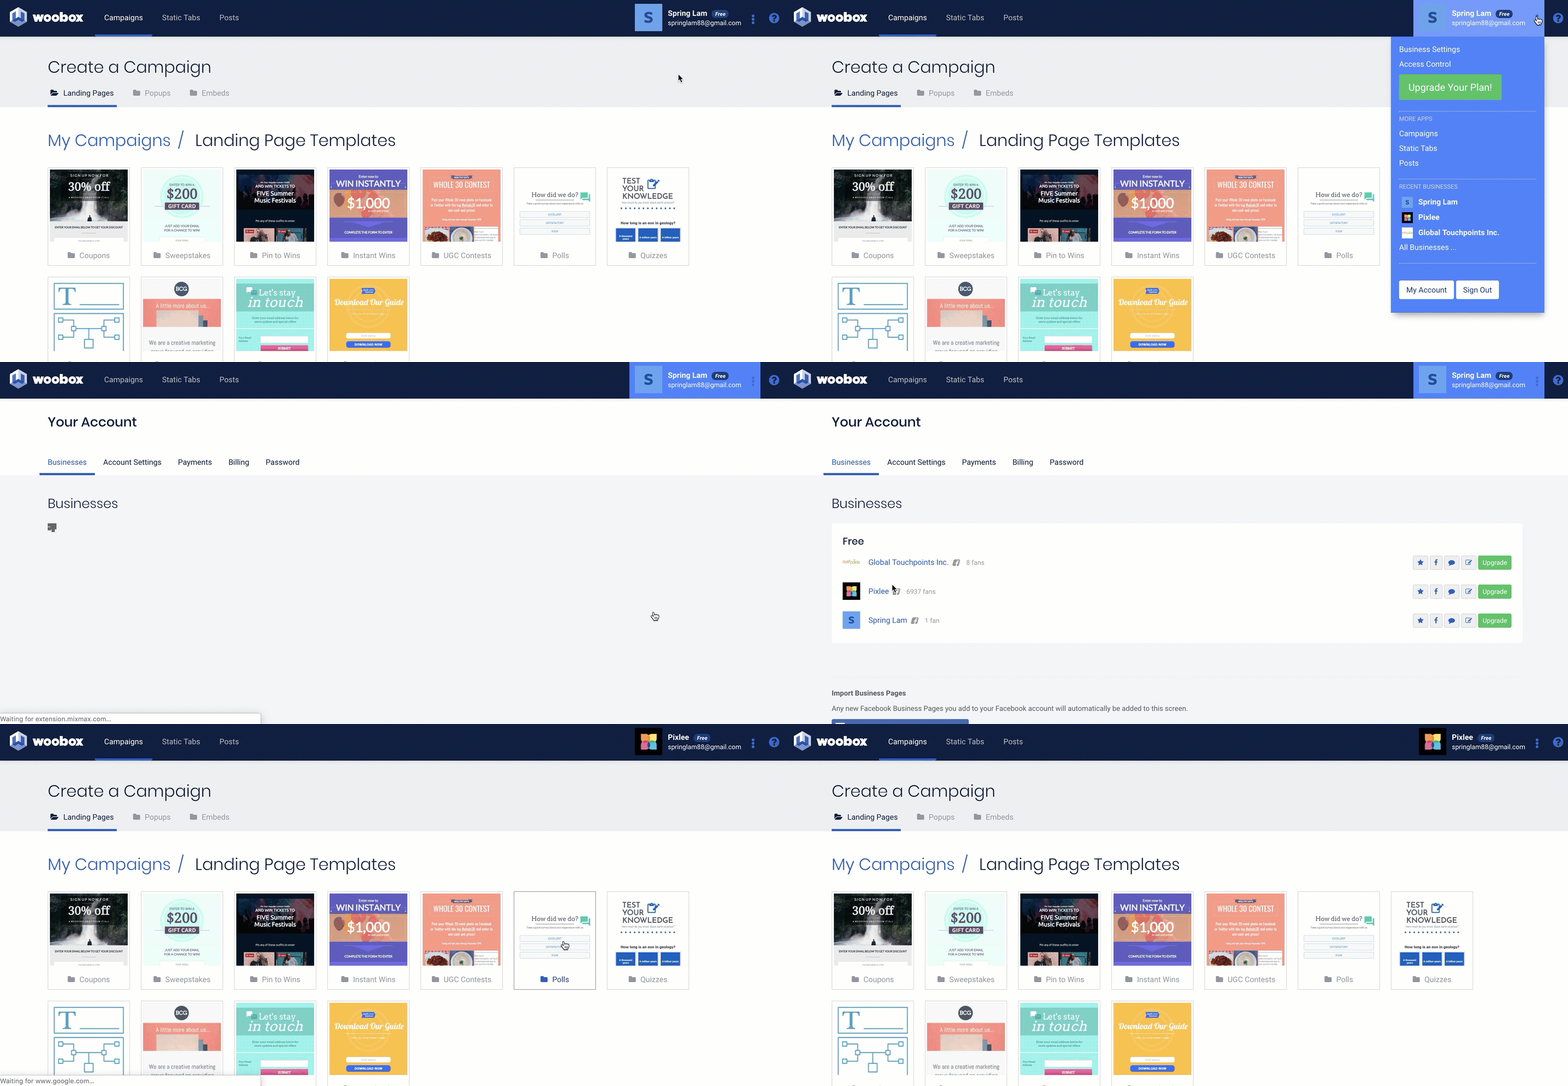
Make sure the correct business page appears in the top right corner. If not, click the drop down menu into "All Businesses" to select the business page that you’d like to add a Facebook tab for.
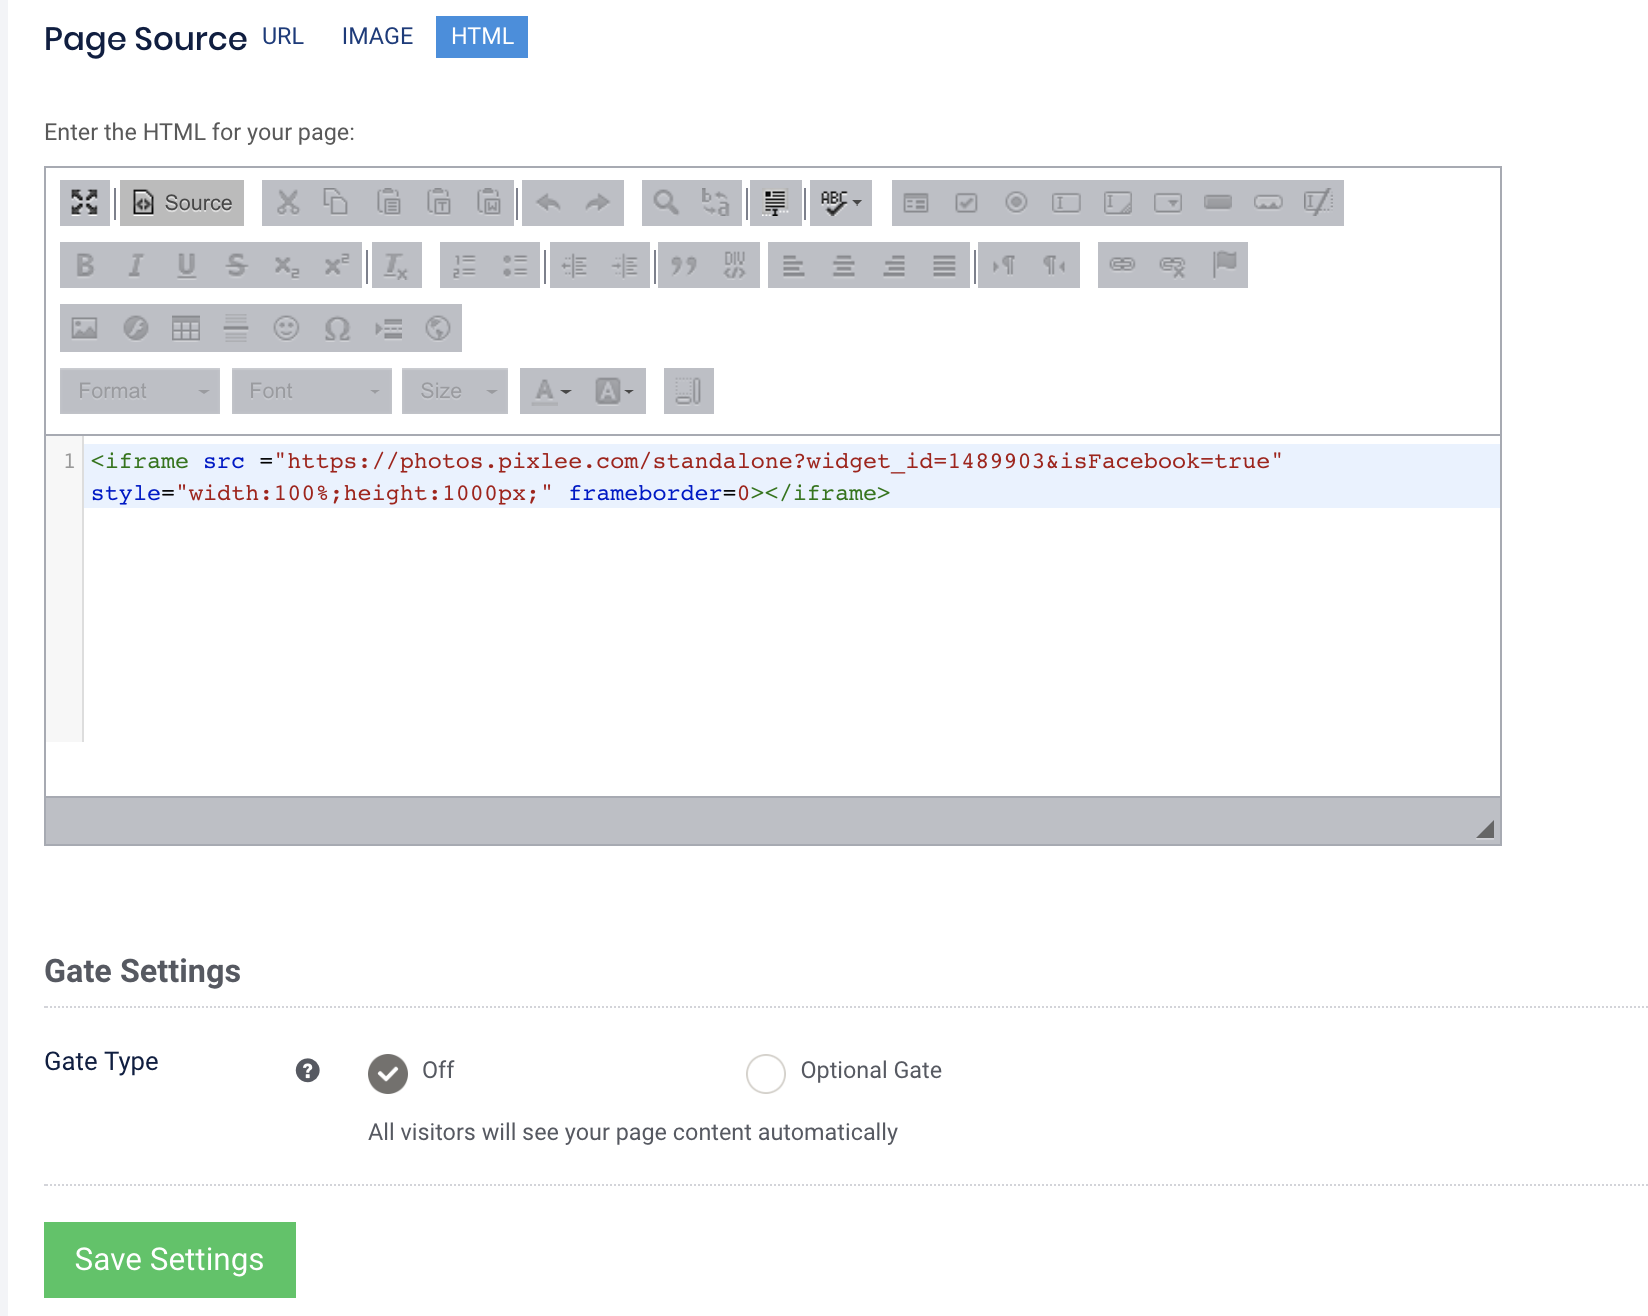
Click into "Facebook Tabs" section on the left panel and click on "HTML tab" to create one.
Insert HTML generated from Emplifi UGC and then click "Save Settings".
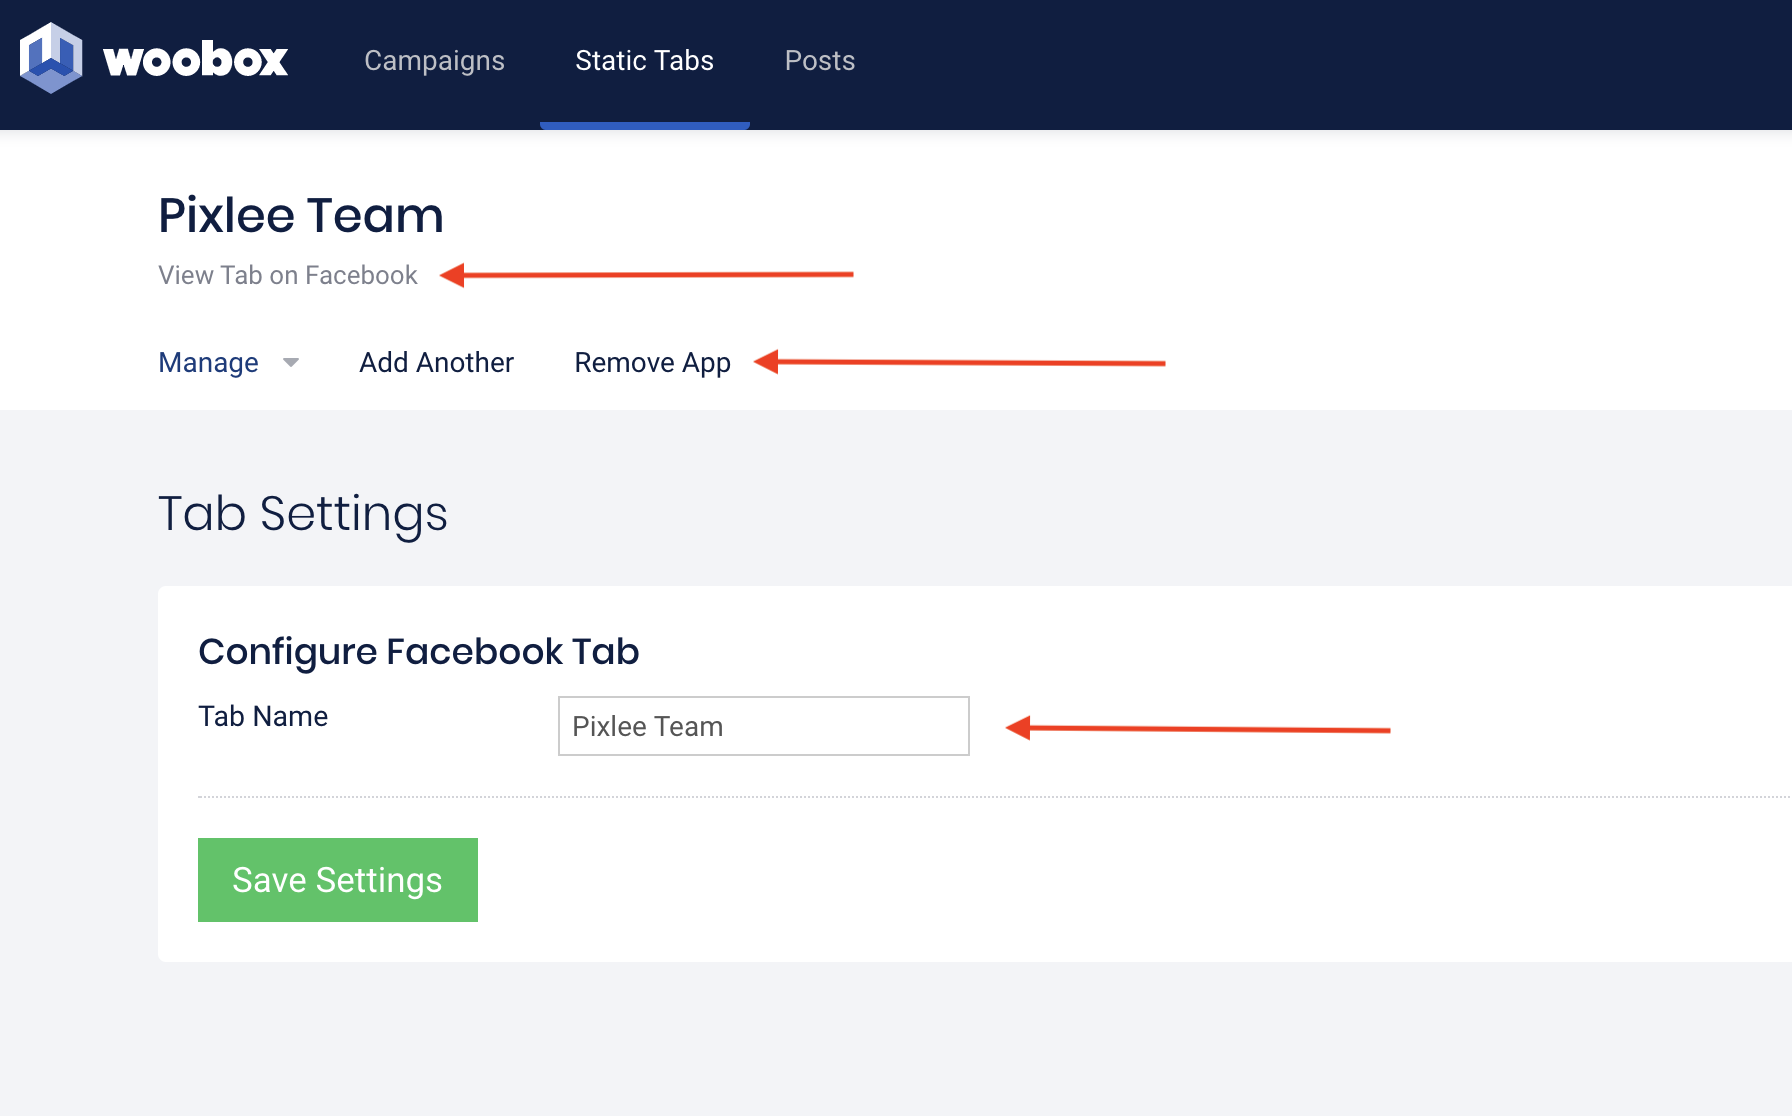
To rename this tab, scroll up on the same page to click on "Manage" -> "Tab Settings" to rename and save and you're all set!
On the same page you can see the gallery by clicking on View Tab on Facebook.
You can also delete the tab by clicking on Remove App.
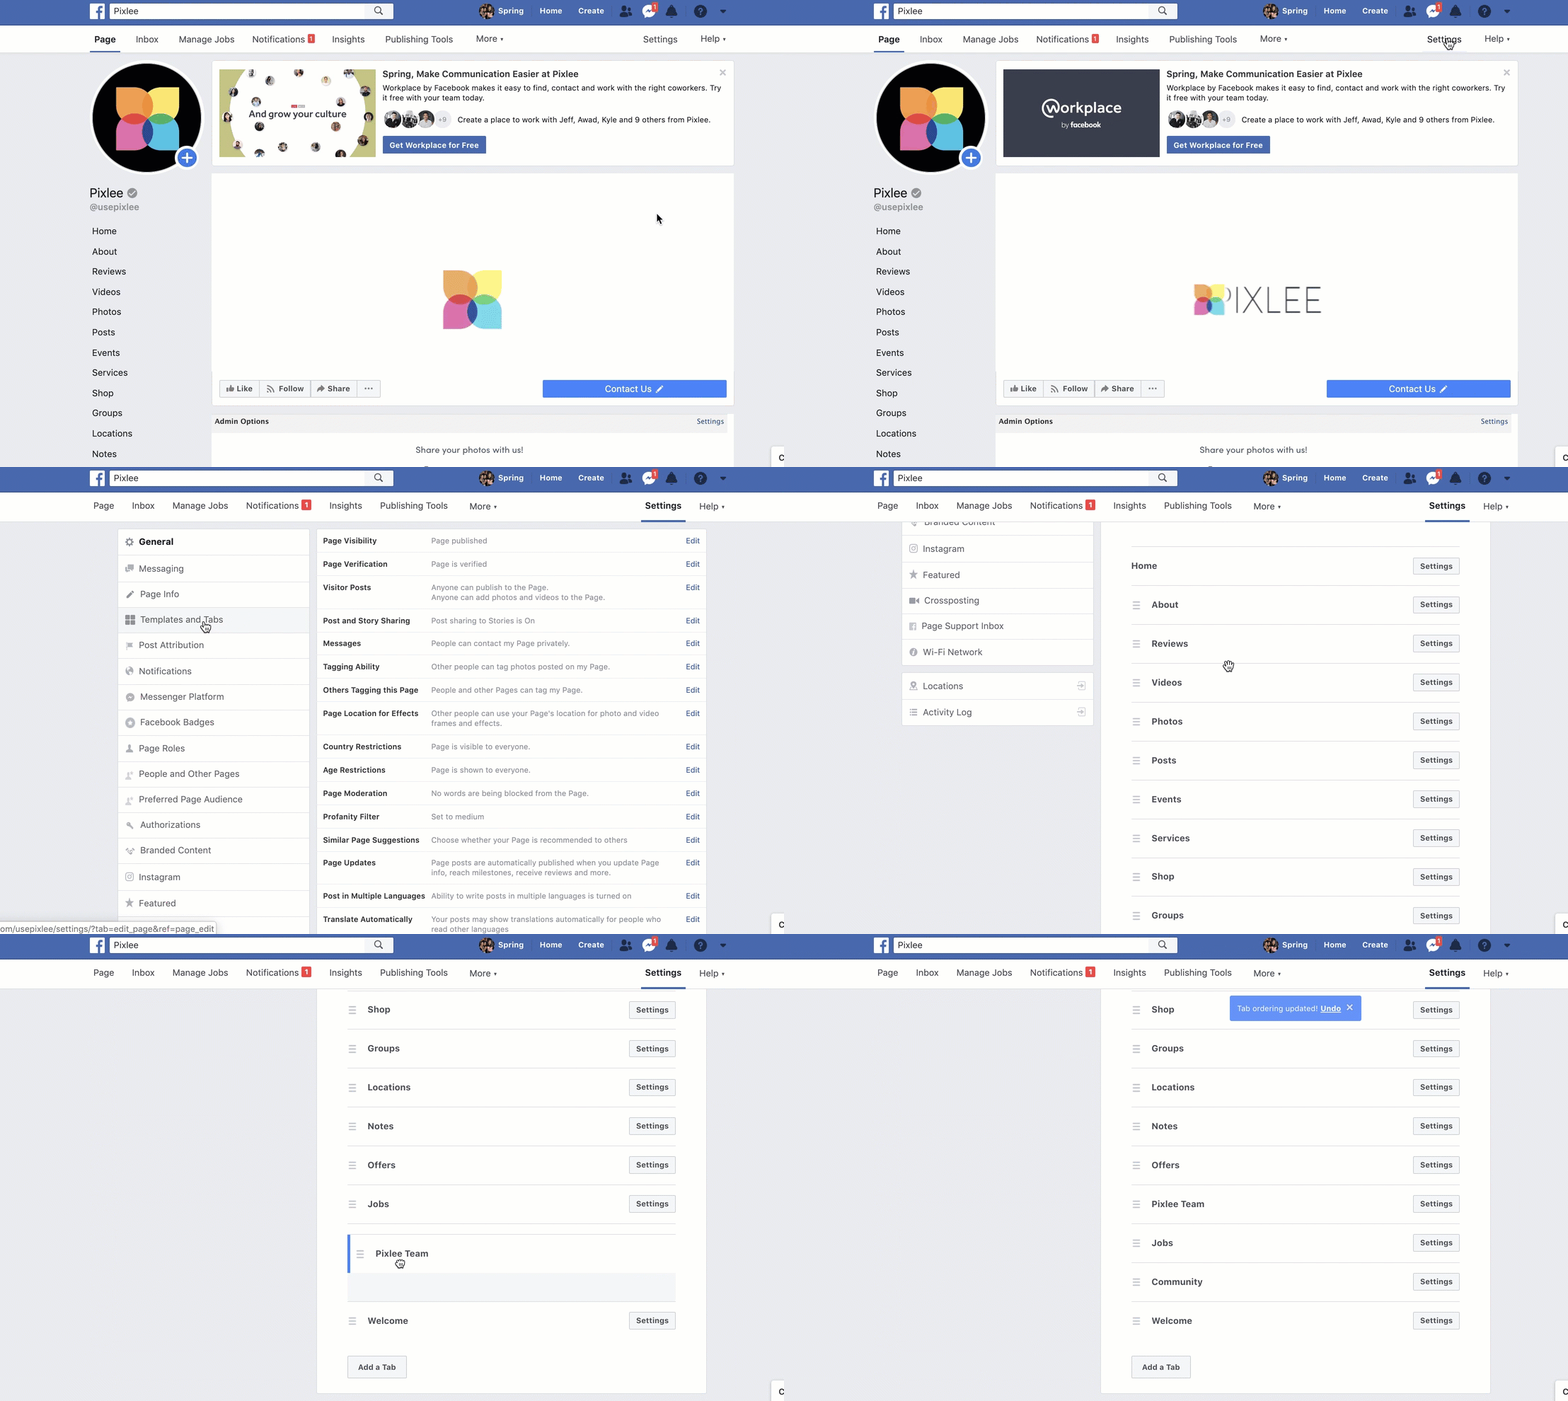
To reposition the Facebook Tab, you will have to do it through your Facebook business page settings by going to "Settings" -> "Templates and Tabs" and then dragging and dropping it to rearrange.
Do you have feedback or more questions? You can contact us through our Emplifi Customer Center.
