Set Up Filters in Community Feeds
Filtering allows you to customize what you see depending on your unique use case. This way, you can work smarter and focus on the most important conversations first.
You can apply filters in the following ways:
Inclusive (positive filtering)
Display all messages that meet the filter condition.
For example, selectEsperantoto display all messages written in Esperanto.Excluding (negative filtering)
Display all other messages except for those that meet the filter condition.
For example, excludeEsperantoto display messages that are written in any language except for Esperanto.
Define a filter
Filters in Community are very comprehensive and give you detailed control over what gets displayed and will be filtered out.
We recommend that you devise your filters carefully to avoid unexpected results.
Example:
Let’s create a filter over the “All incoming” feed in Community to display the following messages:
Sent through Instagram and Facebook
Of any media type excluding Status and Link
Written in English
Containing a negative sentiment
Steps:
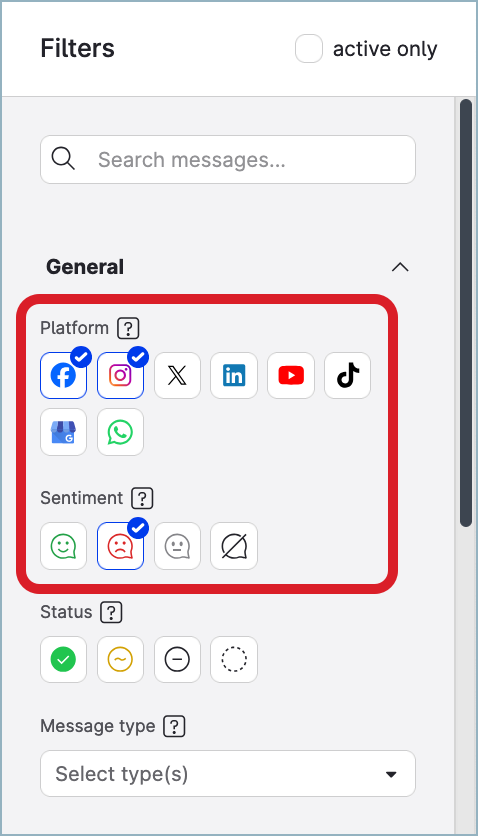
In the General section of the filter panel, do the following:
Under Platform, select Facebook and Instagram.
Under Sentiment, select Negative sentiment.
In the Chatter, priority, media types… section:
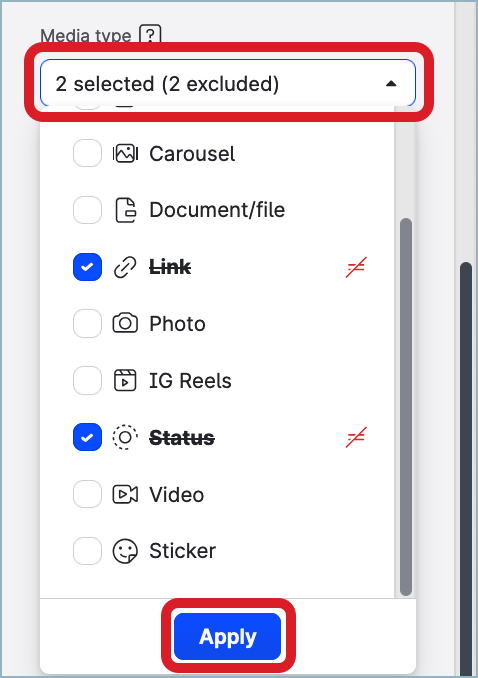
Open the Media type dropdown, hover over Link and click the Exclude icon that appears.

The Link option is crossed-out.
Repeat the same for Status, and click Apply.
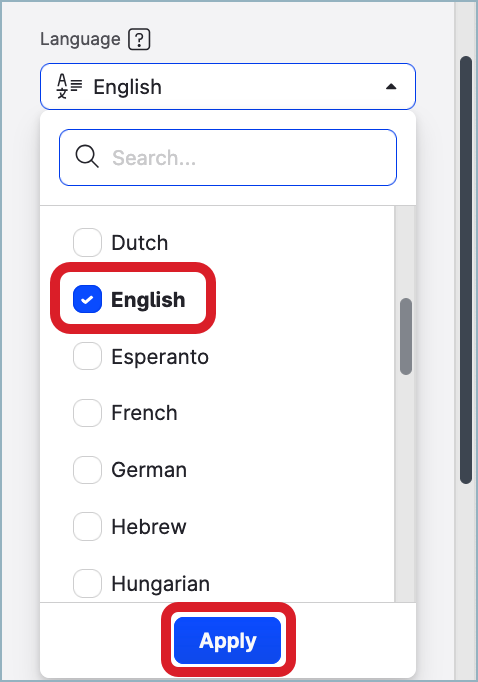
Open the Language dropdown, select English, and click Apply.
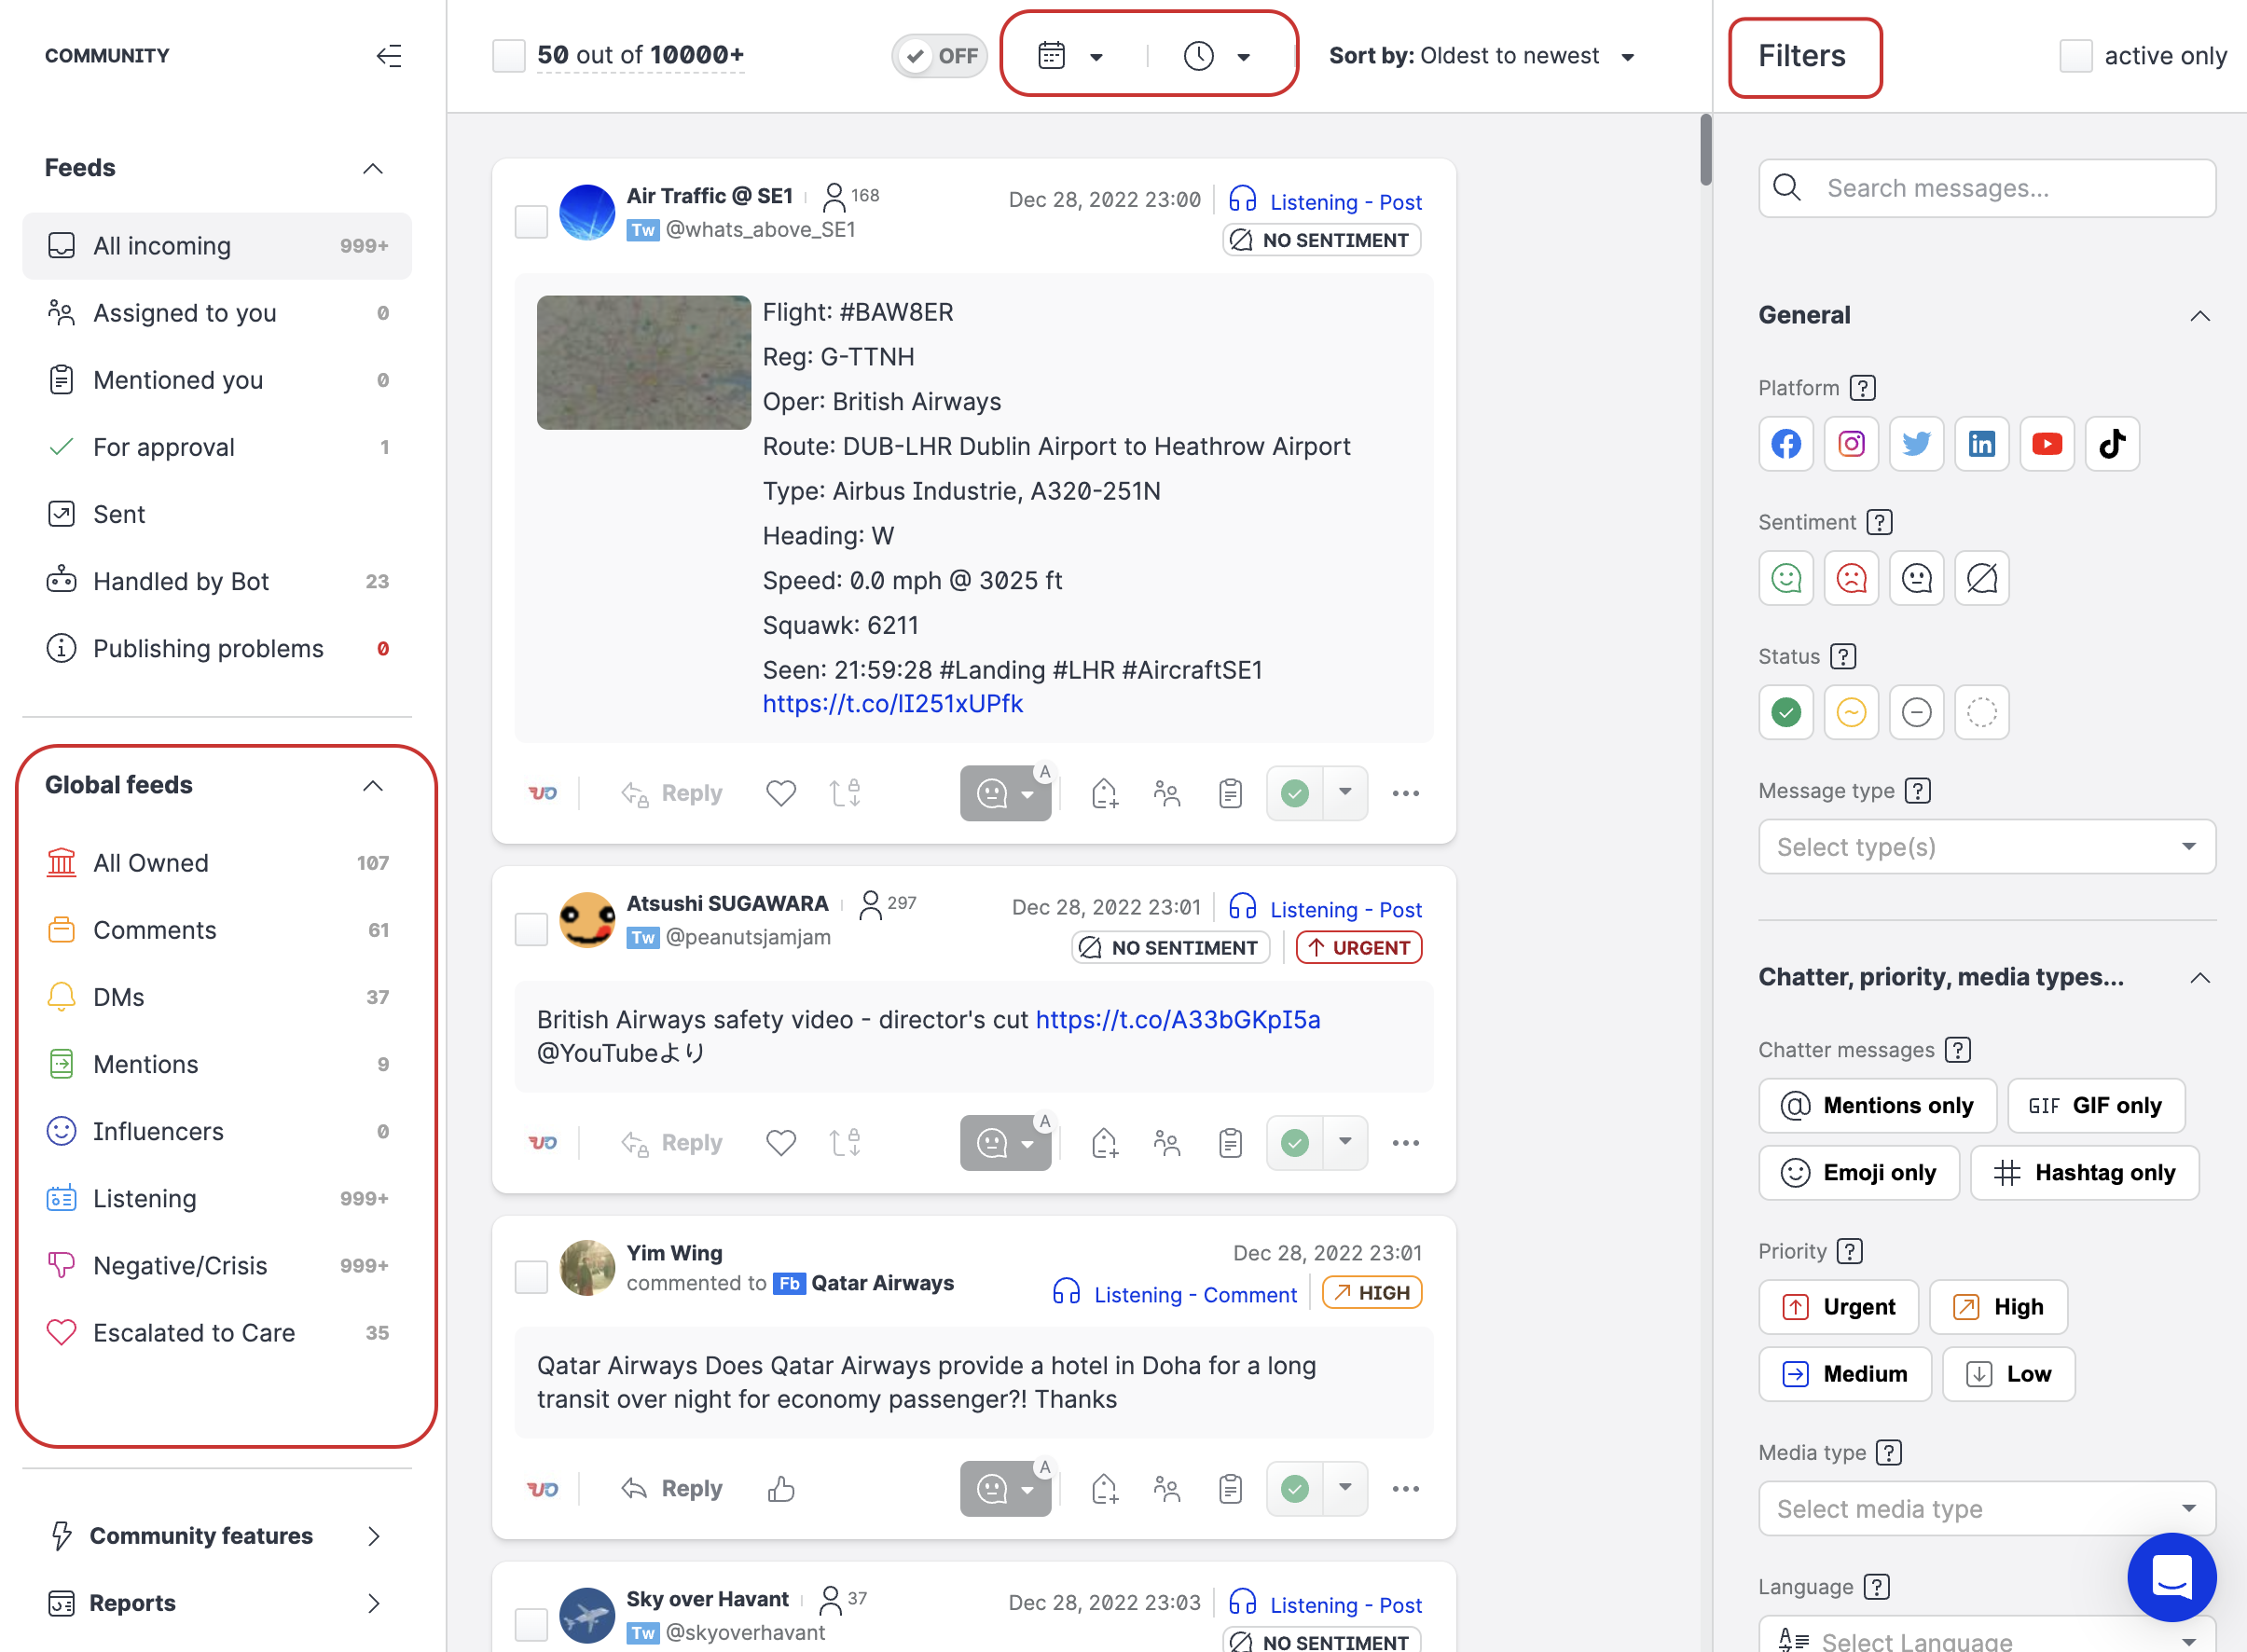
Click Filter at the bottom of the filter panel.
Community displays the messages to which your filter’s conditions apply.
Save a filter as a feed
To use a complex filter setup with multiple conditions repeatedly, you can simply save it as a filter feed.
Filter feeds can be private or global. You can save up to 30 global and 15 private feeds.
Even after you make a feed global, some users might not see the feed's full content. This is because profiles, labels and other filter elements in the saved feed keep their individual settings.
Steps:
Complete the filter setup’s as described in “Define a filter” earlier in this article, but in the last step click Save as feed instead of Filter.
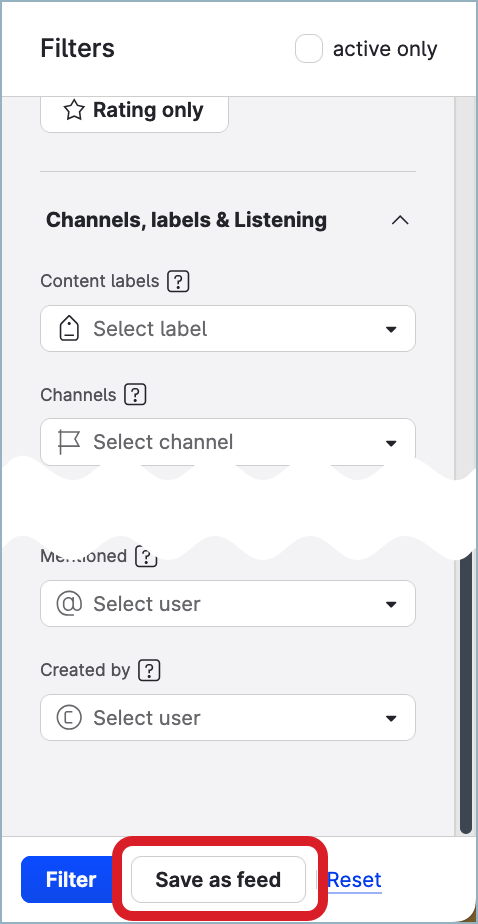
You are prompted to set up the properties of the feed.
Enter the name of the feed.
(Optional) Customize the color and the icon that the feed will be marked with in Community.
Decide whether to make the feed private or global.
Click Save.
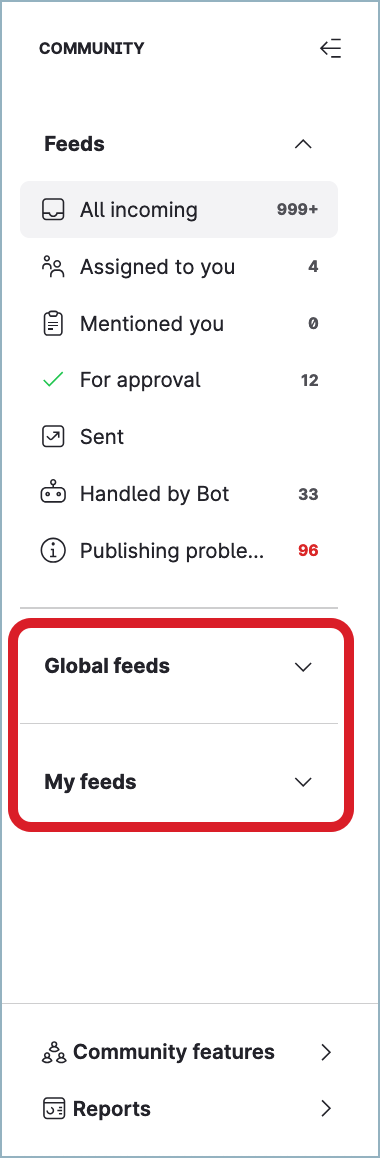
Your saved filter feed appears in the left feed column, either under Global feeds or My feeds depending on the visibility settings.