Adding Photos
-
Within the Emplifi UGC module, when you're customizing your email setting, under "Layout Customization," set your "Photo Style" to "Square".
-
Within the Listrak Composer, drag on 3 across structure and slide on 3 images. You can also select how you would like images to stack in mobile layout.
-
Drag each of the images onto the canvas.
-
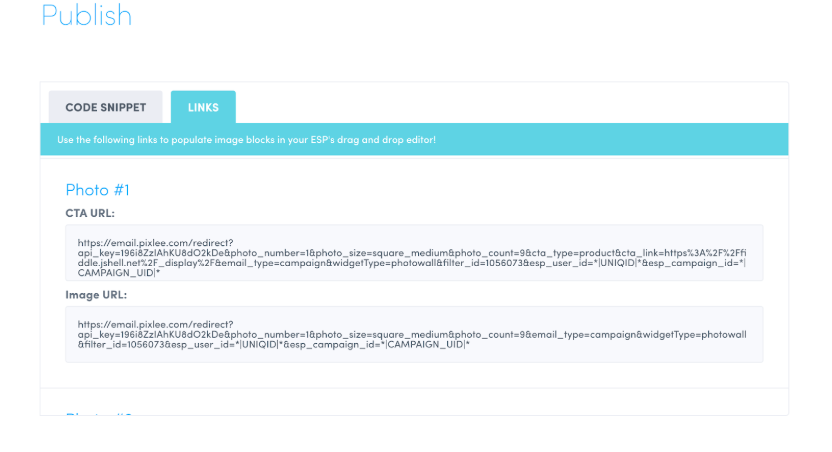
Click "Image Source" and enter the image source from Emplifi UGC, the link URL from Emplifi UGC (where they are redirected to when an image is clicked), and the link title (ex. hashtag, Dynamic Lifestyle Image, UGC).
To find the link source and redirect URL in the Emplifi UGC module, navigate to the email section of the Publish Center. Within your email display's settings, generate the embed code, and then toggle from "Code Snippet" to "Link." By doing so, you'll be able to find all of the correct links for all of the photos in your display for easy copying/pasting (depending on X amount of photos you want, there will be X amount of these <td> elements that you need to copy from).
Adding Headers and Subheaders
Adding in an Emplifi UGC email header using the Listrak Composer is very similar to adding a photo as described above:
-
Within the Listrak Composer, drag on the text element.
-
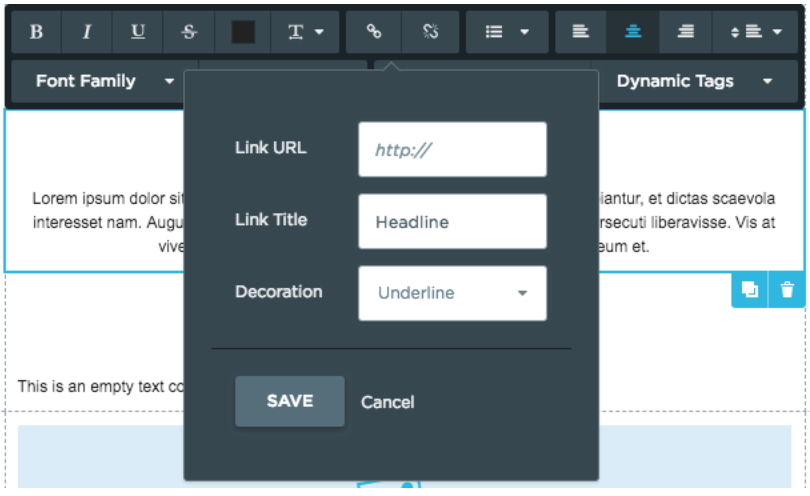
Change the text to match what the widget looks like in Emplifi UGC.
-
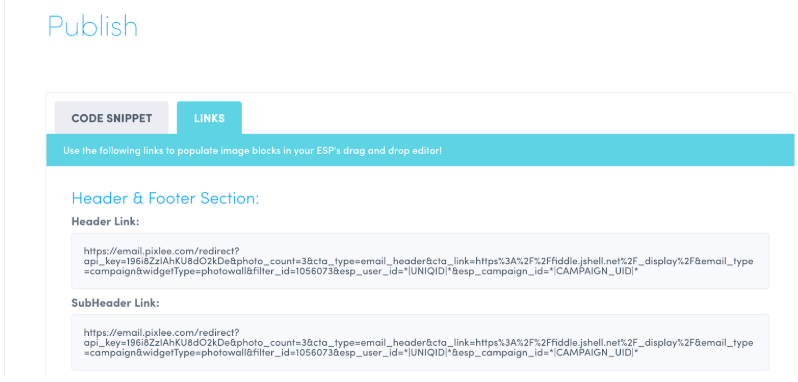
Double click on the text block in the composer, and change the link URL to the corresponding link provided by Emplifi UGC (where you can find in the "Links" section as mentioned above).
Adding Buttons
Adding the gallery button or uploader button to the Listrak Composer is very similar to adding header/subheader text as described above:
-
Within the Listrak Composer, drag on the button element.
-
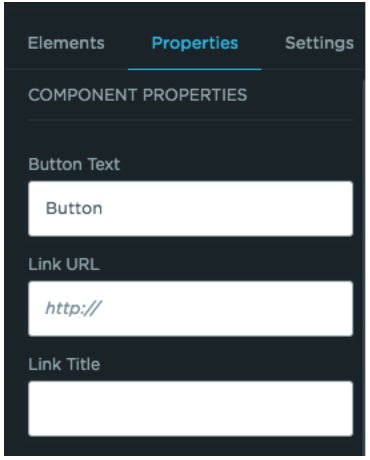
Click on the button to view the button properties on the right hand panel.
-
Change the button to visually match with the widget in Emplifi UGC .
-
Change the Link URL to the corresponding button URL provided by Emplifi UGC in the "Links" section as mentioned above.
Adding the Tracking Pixel
-
Add the Pixel, which is used for tracking email opens through Emplifi UGC.
-
Drag an image onto the canvas.
-
Click "Image Source" and enter the pixel URL into the Image Source (Remember, pixels are tiny are you won't see anything on screen when a pixel is added).
When you generate the HTML for an email display in Emplifi UGC, toggle to the "Links" section where you can scroll down to the bottom to find a section called "Tracking Pixel Link", where you can use as mentioned in step 3.
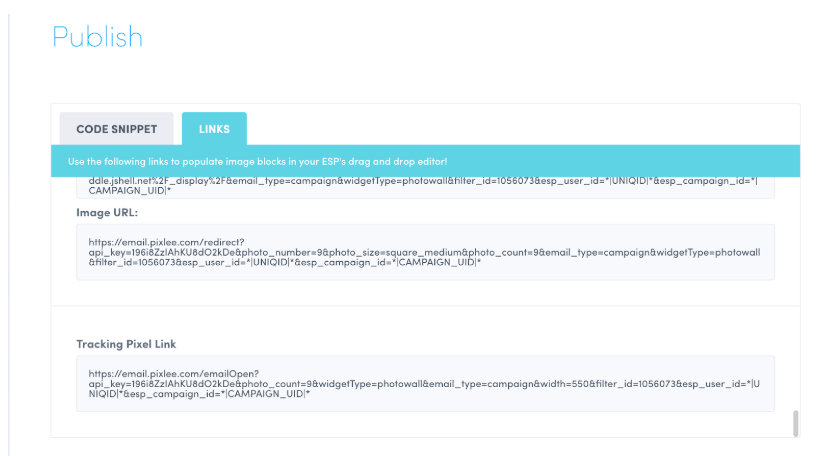
This returns an invisible "pixel" that won't affect your email layout in anyways, and will allow for us to track your email opens.
Do you have feedback or more questions? You can contact us through our Emplifi Customer Center.