Emplifi Bot supports multiple languages so you can support your international customer base and multilingual countries.
In this article, you will learn how to configure support for multiple languages in your bot and how to use automatic translation (beta) features for selected languages.
The following instructions assume that you have already created a bot within Emplifi, are happy with its content and are looking to translate its content for another region.
Set the default language
Settings > Language & Time
The default language of your bot is typically the primary language of your main market. For this guide, we use English as the default language. The primary language is also required to use translation features - you need to know, and define, what language you are translating from.
Steps:
-
On the main bot tab that shows all bots that you created, hover the cursor over the bot that you want to edit.
-
Click Settings.
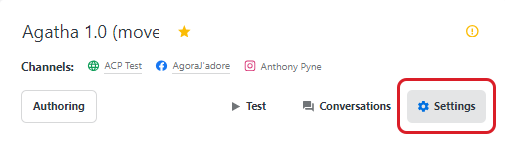
A pop-up menu with several tabs appear.
-
Click Language & Time.
-
In the drop-down menu, click the Default language option and select the default language of your bot.

The default language is, typically, the language that your bot is currently written in.
Define favorite languages
Settings > Language & Time
Steps:
-
On the main bot tab that shows all bots that you created, hover the cursor over the bot that you want to edit.
-
Click Settings.
A pop-up menu with several tabs appear.
-
Click Language & Time.
-
In the drop-down menu, click the Favorite languages option, and select favorite or commonly used languages in your translation efforts.
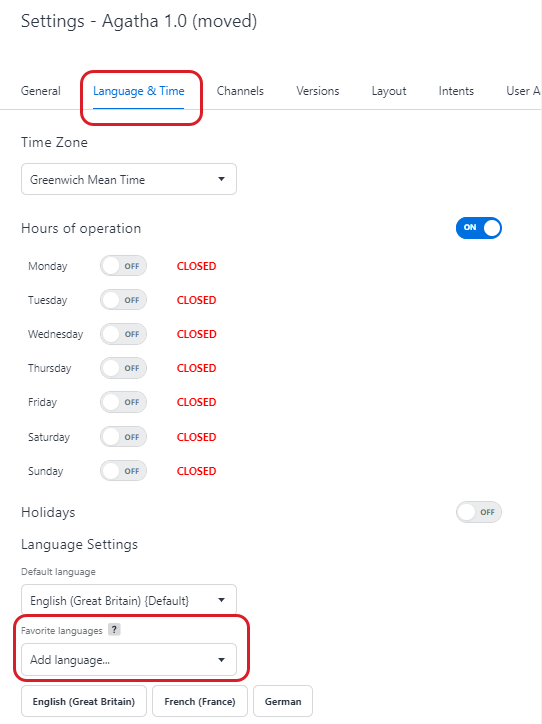
Your favorite languages will appear on top in the language picker when you are translating your bots.
Add new languages to nodes - Authoring
After you set up your default and favorite languages, you can start your translation efforts in your bot (as before.
This section assumes that you have a completed bot design ready for translation.
Steps:
-
Go to any bot flow, click any node that has text in it. Click the response options (small speech-bubble icon).
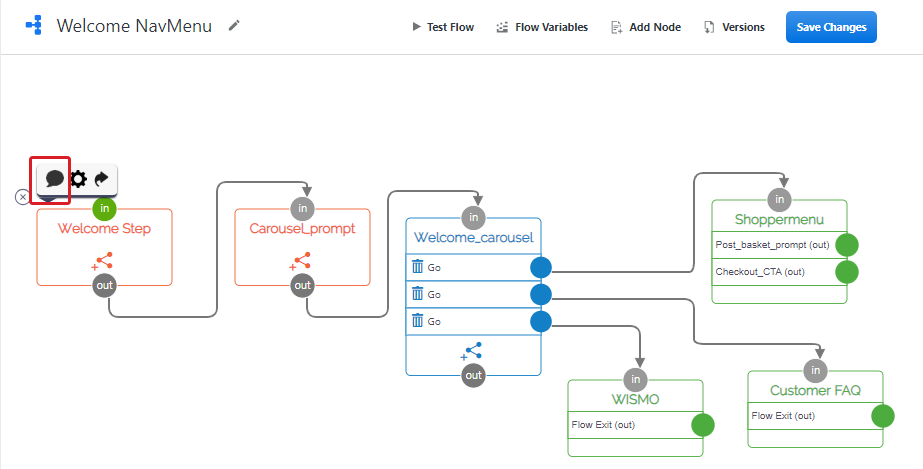
A window that shows your current text configuration for that node will open.
-
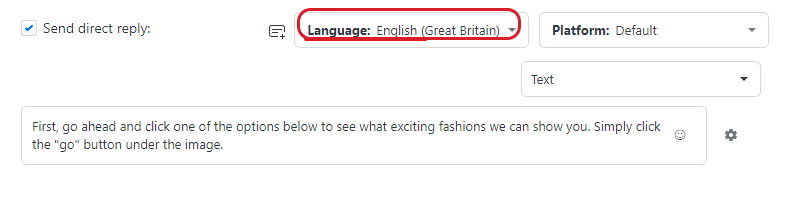
In the top right corner of this window, you will see two drop-down selectors. The one on the left shows the bots' currently selected language. Click the left-hand button to open the language menu.
-
To begin translating this node, you need to select another language.
Click the Languages drop-down.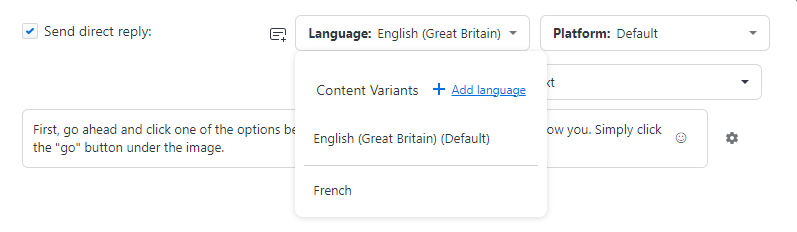
-
A dropdown menu opens. This menu screen shows you both your default language and the option to add new languages to your bot (content variants).
-
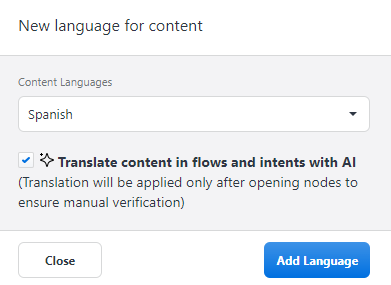
If you click Add language, another dropdown menu opens and shows a list of languages. Simply choose a new language to add it to your bot.
-
If you click Favorite Languages, they will be displayed first.
-
-
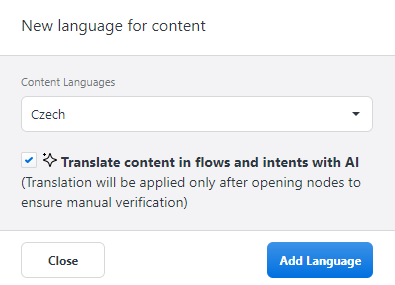
When you add your new language, you will have the option to use Emplifi’s automatic translation capability. If you want to use automatic translation for the new language, simply check or uncheck the checkbox.
-
Unchecking the box will simply show your default language copy in the node when you are reviewing the new language (as normal).
-
Some language pairs will not have a translation available. In these cases, you will just be shown your default copy, as above.
-
As detailed in the help text, a node has to be opened for translation to be applied to it (the same process as reviewing language copy within your bot as normal).
Editing translations
When adding a translation language, use the checkbox to either use automatic translation or manually.
If you choose manual translation, the language of your copy (text) does not change but the displayed language in the top right will.
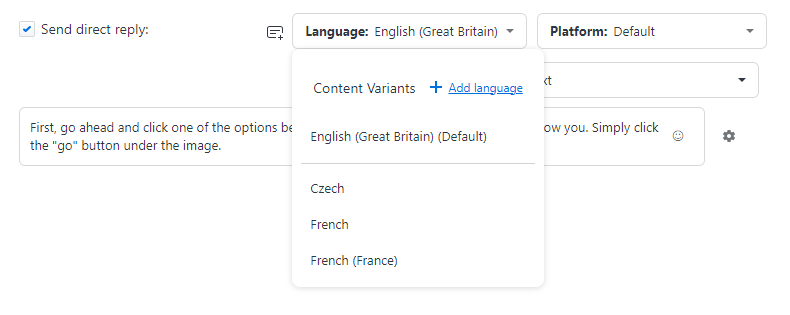
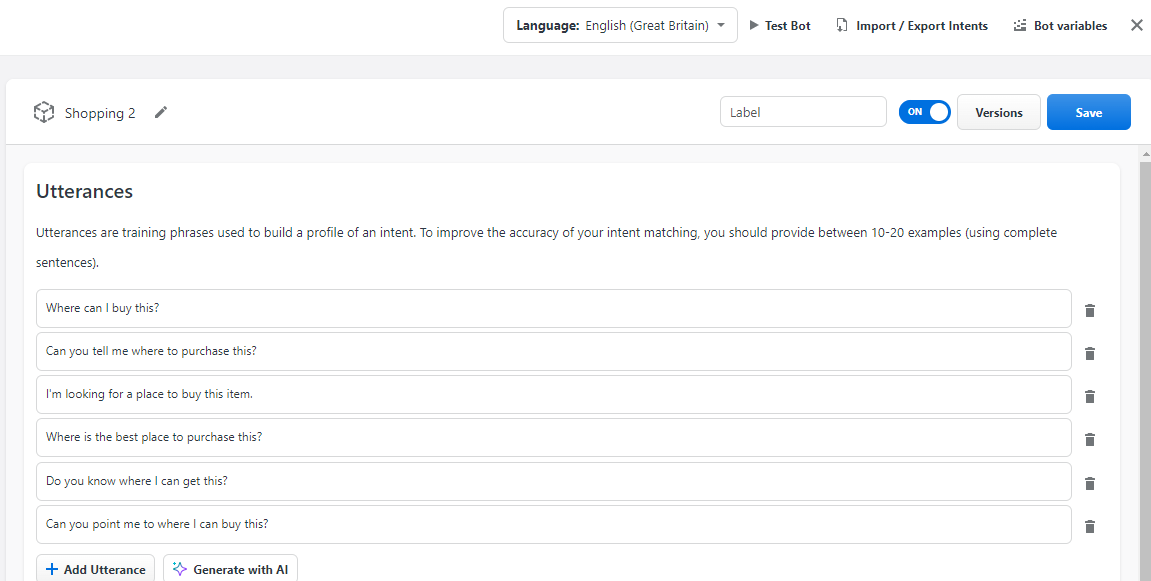
To use either automatic translation or manual translation, simply select the language that you want to edit from using the language selector drop-down (see the following image). The alternate languages that you selected will be separated by a line below your default language.
Choosing a language and switching to it will allow you to start writing translated copy for that language.
The language selector will change to display the current language you are working from. We recommend that you work node-by-node for one language before moving on to another but you can freely switch between languages using the selector.
Before editing, ensure that the selected language is your target language.
After you add the translation, simply click the displayed language icon in the top right again to either
-
select one of the new languages you have already added (to edit)
-
add a new language
Deleting a language from a node
If you want to delete a language from your list at any time:
-
Hover the cursor over the language shown in the drop-down list.
-
Highlight the language - this will display an edit icon.
-
Click the edit icon.
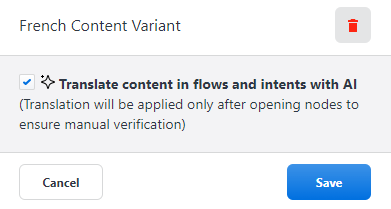
This will show the following prompt which allows you to turn automatic translation On or OFF, or delete the language variant.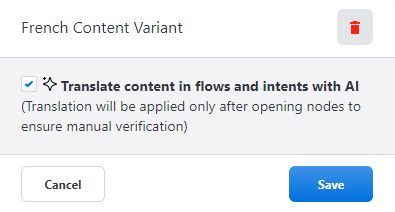
-
Confirm deletion in the warning dialogue.
Deleting a language deletes that language variant entirely. This will not impact your default
You cannot delete your default language.
To change your default, go to the Settings menu and follow the steps described in the Set the default language section above.
Alternatively, you can change the default from the language drop-down by clicking the edit button on your default language.
Add new languages to Intents
You can also configure your bot intents with multiple languages and responses to better identify and answer incoming customer questions.
This section assumes that you have already configured intents in your bot.
Steps:
-
Go to the intents section of your bot and click the intent that you want to edit languages for.
-
Click the language options in the top-right of the screen, then select the new language from the drop-down menu that appears.

This will allow you to edit the copy for both the intent and responses (if configured).
-
Click the language that you want to edit from the dropdown menu and add your translated text.
The screen will display the language you are currently working on in the top right.
Languages can also be deleted by clicking into the language settings, highlighting the language you wish to delete and clicking the trash can icon that appears.
Notes on Automatic translation (beta)
Automatic translation within Emplifi Bot will help you to quickly add multi-lingual support to your bots.
-
Automatic translation is currently in beta version and we cannot guarantee 100% accuracy.
-
Automatic translation is available for nodes, routing rules, and Intents.
-
Automatic translation will not work without selecting the default language.
You can, of course, use your own translation / localization workflow.
When you add a new language to your bots' Nodes & Intents (see instructions above), you will see an on-screen prompt (similar to the two following screnshots) that asks if you want to translate flows and intents with AI.
-
Clicking either save or add language will trigger automatic translation of any existing responses into the new language. Un-ticking the pre-ticked box will allow manual translation without using the automatic translation beta.
-
Translations will only be generated once you click into a copy node.
-
Click Cancel if you want to abandon the process.
Translation review best practices
Every translation requires a review.
Review is an integral part of any translation/localization efforts. That applies to human translation and machine/automated translation.
Ideally, the review would be conducted by a native speaker (or a person fully proficient) of the target language.
-
vocabulary consistency
-
non-dictionary words
example: Emplifi -
your brand-specific words, names, and phrases
Ensure that your taglines are not translated within the grammatical structure of the sentence. -
Cultural specifics related to the target language.
Innocent phrase in language A might be offensive when translated into language B. -
Focus on one-line prompts and responses where there might not be enough context to ensure correct translation.
Once satisfied with the copy, you can publish your changes as normal.