Set Up Looker Studio Connector with Emplifi
Integrating social media insights alongside the rest of your marketing or business intelligence data gives you a holistic understanding of your entire digital strategy, all in one place. With Emplifi Looker Studio Connector you’ll be able to include your social media data from Emplifi Public API in your charts and graphs together with your own data.
Only data from the profiles monitored in your Emplifi platform will be available.
Check the Official Looker Studio Connector description here.
The Looker Studio Connector is a layer between Emplifi API and Looker Studio itself and helps you work with your data in an intuitive way, directly in the BI tool. The majority of metrics available in the Emplifi API are also available in the Connector (for more details, see the List of metrics and sections not available in the Connector section below). For more information about Emplifi Public API and a description of metrics, visit the official documentation https://api.emplifi.io/.
All the data pulled from the API will depend on the pages and corresponding data connections monitored in your Emplifi platform, meaning that you won’t have access to insights metrics data if:
you don’t own the page.
insights are not connected.
the insights token is expired.
You will have access to a profile’s public data as long as it’s being monitored in your Emplifi platform.
To start using the Connector, you first need to have access to Emplifi Public API.
How to Access Emplifi Public API
Go to Emplifi platform Settings → Integrations & API.
In this menu, you have all the possible integrations that we offer.
If the Emplifi Public API integration is not yet activated, click the Request button - your Account Manager will be automatically notified and contact you as soon as possible.
If you already have the API integration activated for your account, you can contact our support team to get your login API credentials. The login credentials are generated from a user in your Emplifi platform. Each user has unique API credentials.
Once your API credentials have been granted by our Support team, you can start working with the Connector.
Login and Authorization
Steps:
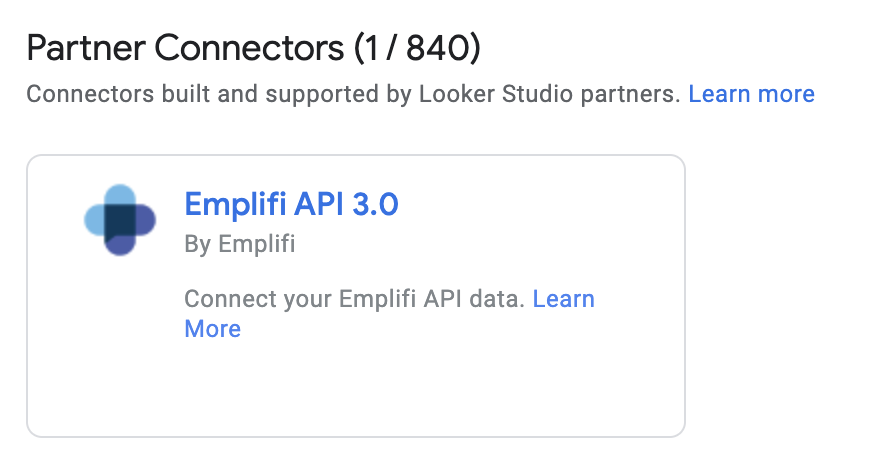
You can find Emplifi Connector in the Looker Studio Overview (ensure that you are logged in to your Google account);
 Ensure that you are using the latest version of the connector.
After accessing the link above, you should be prompted to complete a form. Feel free to complete the form according to your specifications, and once you’re done click Save.
Authorize the Connector.
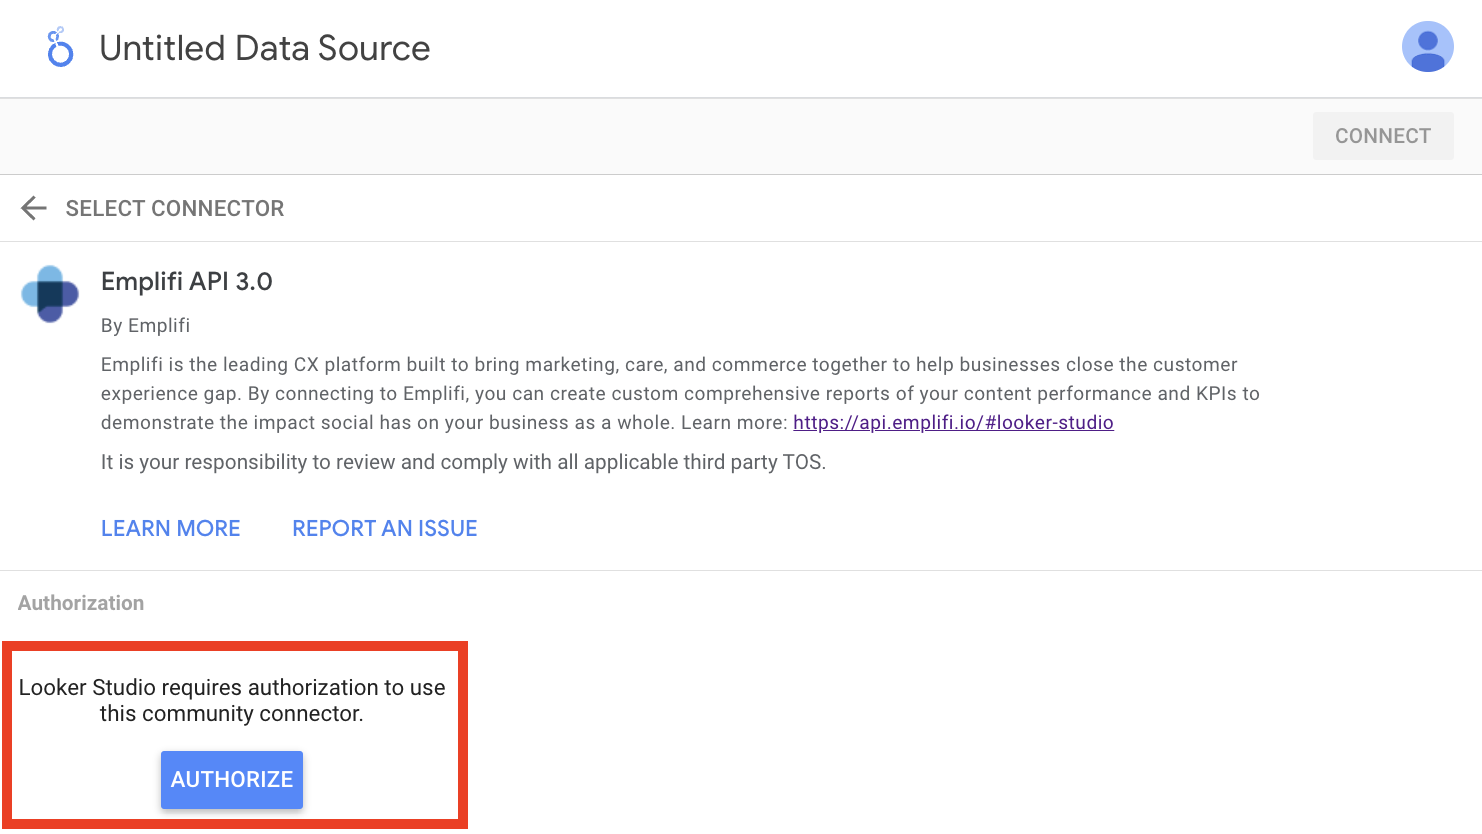
A new window/tab will open requesting you to choose a Google account in order to continue to the Emplifi API 3.0.
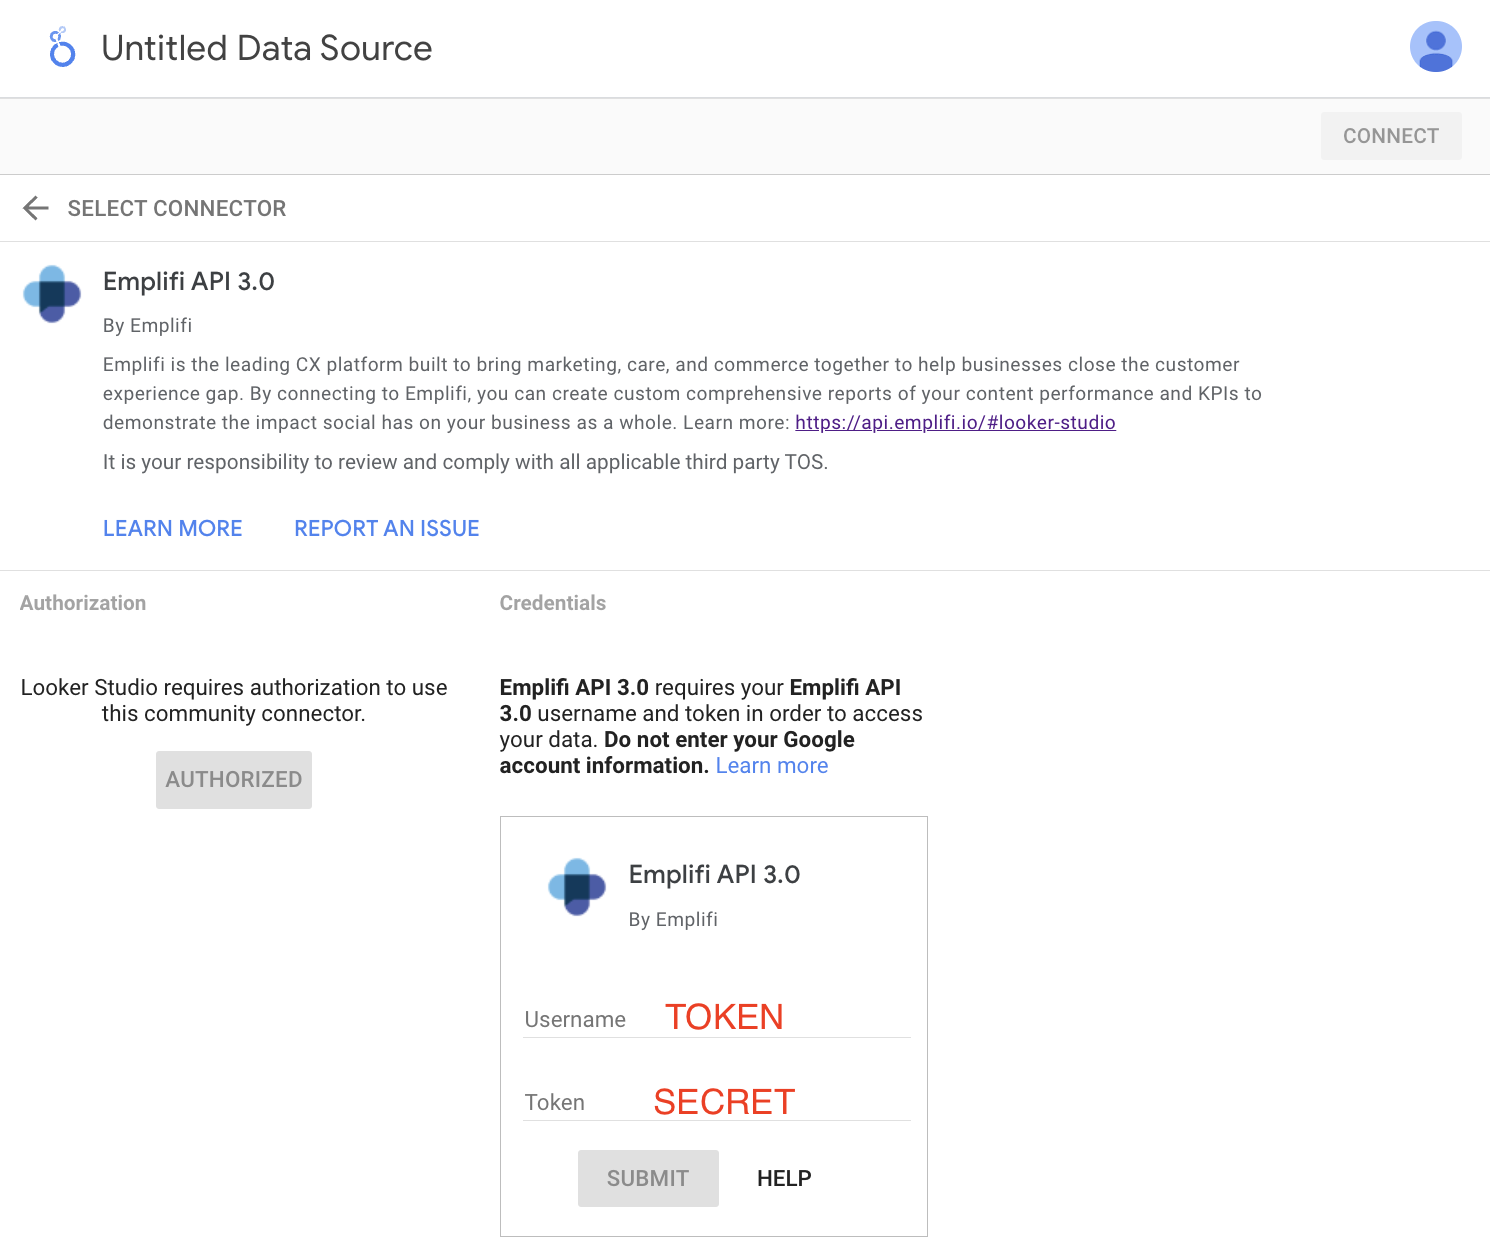
You need to “Allow” the Connector to access your Google account;Enter the credentials granted by our support team. It’s important to note that your credentials are ‘Token’ and ‘Secret’, while the connector will ask for the Username (our ‘Token’) and Token (our ‘Secret’). Click Submit.
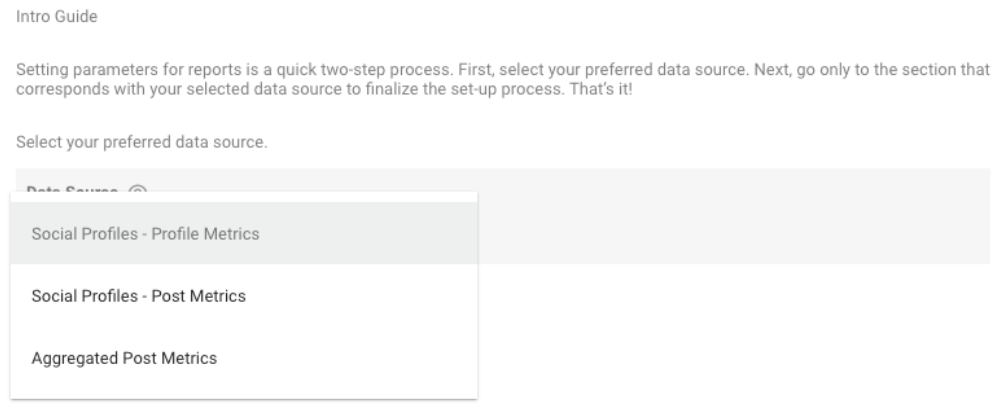
After login, you’ll be able to set your report parameters, such as selecting the Data Source, a list of selectable pages monitored in your Emplifi platform, an option to include Insights, etc.
Once you are satisfied with the parameters set up, as the final step, click Connect.
If everything goes accordingly, the connection is successful and you are ready to create your custom reports.
List of metrics and sections not available in the Connector
Assets API: https://api.emplifi.io/#assets
Community Content: https://api.emplifi.io/#community-content
Here is a list of all the links mentioned in this guide: